Menus
The visibility of the menu items under the top menu and on the hamburger menu is controlled through the permissions defined for the user. See permissions for more information.
Top Navigation Menu
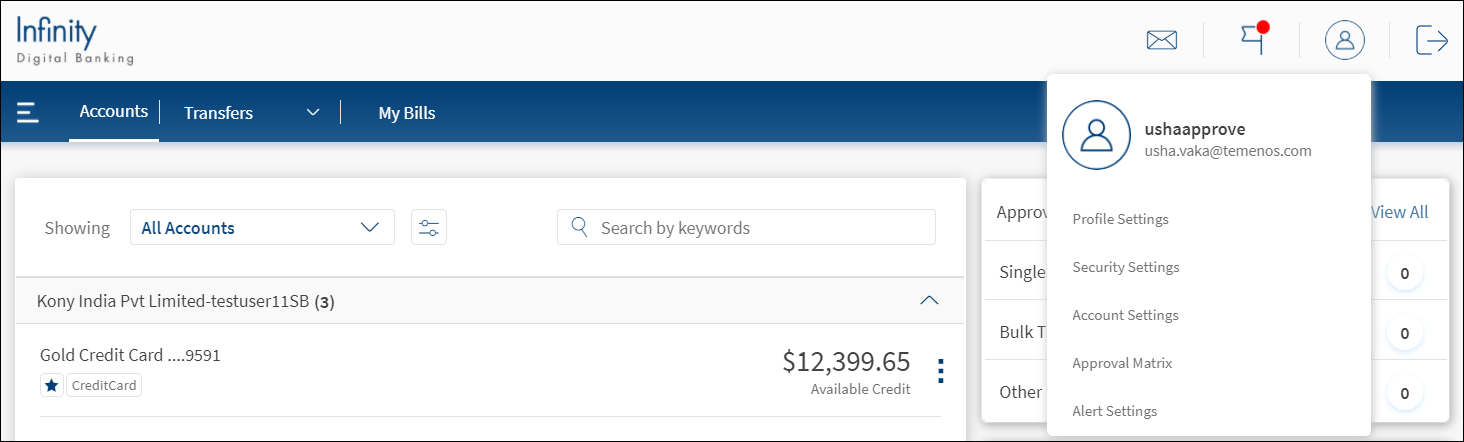
The top navigation menu is available on the header of all screens. Do as required:
- Accounts. Click to view the account dashboard; list of your accounts with the bank; view the cash position chart showing credits and debits, your messages, and upcoming transactions; and approvals and requests.
- Transfers. Click to manage payees and transfers.
- My Bills. Manage bill payees and payments.
- Hamburger or Side Menu. Click
 to view the hamburger or side menu. The side menu displays the various activities that you can do in the modules.
 - Profile Settings. Click to manage your profile, account, security, and alert settings.
- Alerts and Messages. Displays the messages and alerts that you received in the inbox.
- Help. Click to view relevant contextual help content to understand and use the app features easily.
- Feedback. Click to send a feedback for the banking experience.
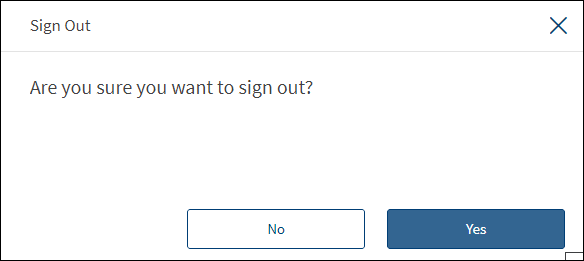
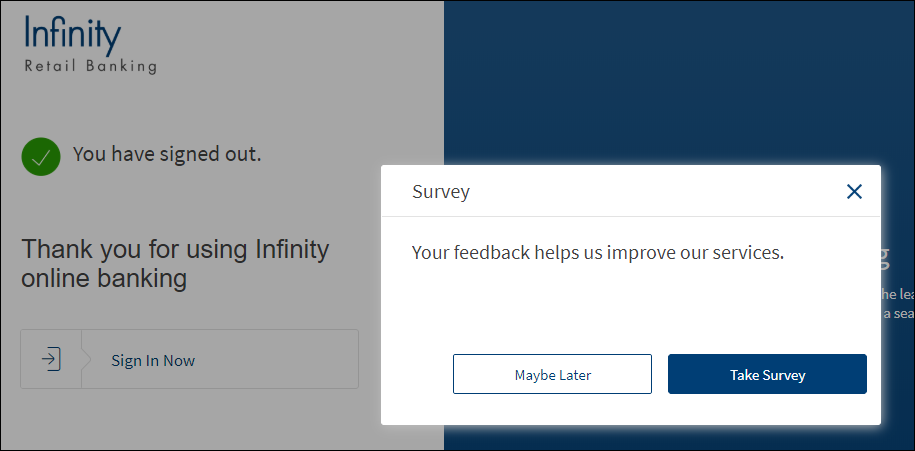
- Sign Out. Click to sign out of the application. The app displays a message prompting you to confirm, and on confirmation, displays a screen to log on again. The user name is retained but masked if you had selected the Remember Me check box during the earlier login.
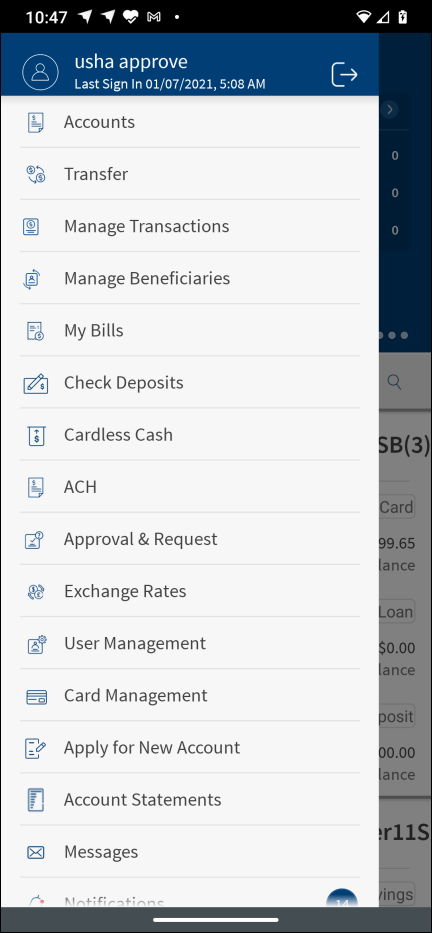
Hamburger or Side Menu
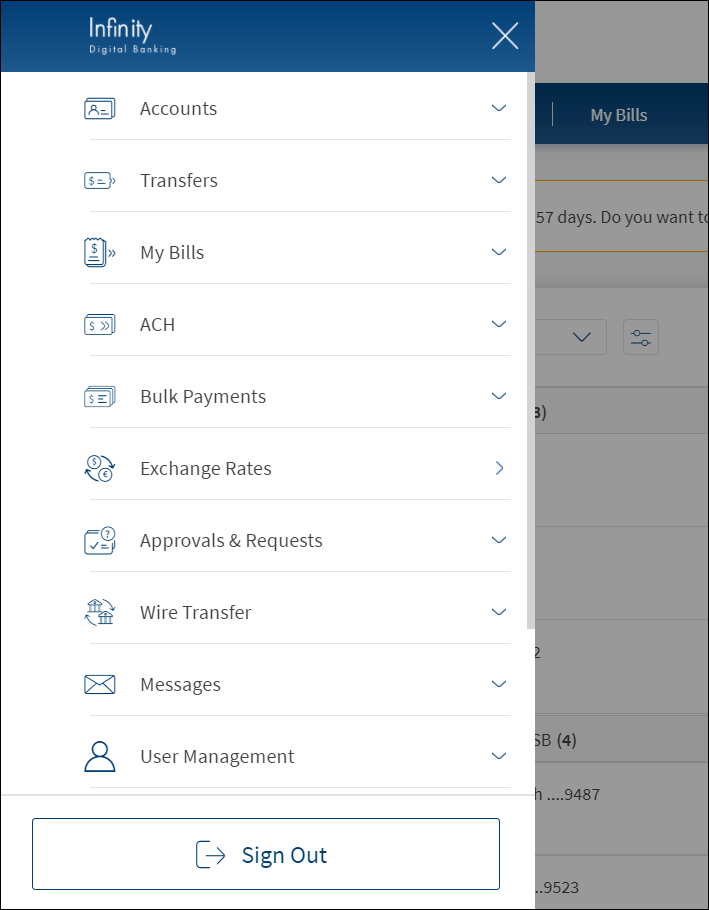
Click ![]() the hamburger or side menu on the top menu. The side menu displays the various activities you can do in each module. Do as required.
the hamburger or side menu on the top menu. The side menu displays the various activities you can do in each module. Do as required.
- Accounts. Click to view the account dashboard; list of your accounts with the bank; view the cash chart showing credits and debits, your messages, and upcoming transactions; view recent and scheduled transaction details; manage cards; cheque management, and open new personal account.
- Transfers. Click to manage internal and external transfers; manage payees; and view the details of recent, pending, and scheduled transactions.
- My Bills. Click to pay a bill, view the bill pay history, view the bill payee list, and add a bill payee.
- ACH. Click to view the list of Account Clearing House (ACH) templates, perform ACH transaction with or without template, upload ACH files, ACH history, and pending ACH approvals.
- Bulk Payments. Click to initiate bulk payments by uploading a file (.CSV or .XML) or through online template.
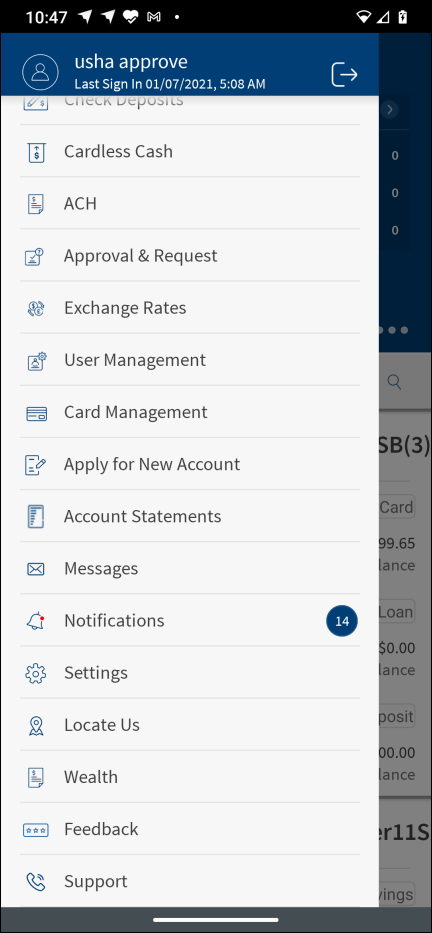
- Approvals & Requests. Click to view the list of pending approvals which require your action or the list of pending requests you raised.
- Exchange Rates. Click to calculate the exchange buy and sell rates between the base and quote currencies
- Wire Transfer. Click to make a wire transfer, bulk wire transfer, add recipients to wire transfer, manage recipients in wire transfer and view wire transfer transaction history.
- User Management. Click to manage business users and custom role templates.
- Messages. Click to view the alerts and messages and send new messages.
- Settings .Click to manage the profile settings, security settings, account settings, alert settings, and approval matrix.
- About Us. Click to view the terms and conditions, view the privacy policy, contact the bank, locate an ATM or a bank, and read the FAQs.
- Sign Out. Click to sign out of the application. The application displays a message prompting you to confirm, and on confirmation, displays a screen to sign in again. The user name is retained but masked if you had selected the Remember Me check box during the earlier login.
Mobile Banking Menu
The visibility of the menu items on the hamburger or side menu is controlled through the permissions defined for the signed in business user. See permissions for more information on permission details and online banking menu for more information on the menu items and description.
Do as required:
For other phone banking feature documentation, refer to the Retail Banking guide.
Configuration
The visibility of the menu items under the top menu and on the hamburger menu, is controlled through the permissions defined for the user. See permissions for more information. The permissions at user levels are defined during user creation and while editing the user details after the user is created. In case the user does not have access to any of the features, that option will not be visible on the form and on the menus. The permissions at the company level and role level are defined in the Spotlight application.
APIs
For the complete list of APIs, see Experience APIs documentation.
In this topic