Manage Recipients
Use the feature to manage recipients. The recipients added by a business user are displayed to all other business users under the same company / business.
A user can have access to multiple contracts and a contract can have single or multiple Customer IDs within it. Also, a contract can be a combination of single or multiple retail and business customer IDs. The beneficiaries are stored/associated at a customer ID level and all the actions of view, edit, and delete a beneficiary is controlled by the permissions the user has at the customer ID level. A user can share the beneficiary with other customer IDs (to which the user has permission) or associate with one or multiple customer IDs. In the "Manage Beneficiary" screen, the beneficiaries are listed based on the customer IDs to which the user has access. The beneficiaries are stored in the DBX DB.
A contract can have the following use cases and a user associated with the contract can be classified as:
- Single Retail Customer ID (Retail)
- Multiple Retail Customer IDs (Retail)
- Single Business Customer ID (Business)
- Multiple Business Customer IDs (Business)
- Multiple Retail & Business Customer IDs (Combined)
Key points:
- The beneficiaries created are associated with Customer ID.
- A logged-in user can create/edit a beneficiary only if the user has permission for Create Beneficiary feature action under any of the following: Transfer/Bill Payment/Bulk payment/Domestic and International Wire/P2P.
- If the logged in user has access to more than one Customer ID, the user will have an option to share the beneficiary with one or multiple Customer IDs (to which the user has permission).
- If the user has Edit permission, the user can edit the beneficiary also as stated above.
- In case of Delete, if the user deletes a specific beneficiary, it will be deleted against all the customer IDs linked to it.
- While making a payment, when a user selects a specific account based on the customer ID of the that account in the "To" field, all the beneficiaries are listed.
- The same logic is applied when making payment through "Send Money" option from the Manage Beneficiary screen. This is applicable only for transfers.
- In the "Manage Beneficiary" section, the beneficiaries are listed based on the customer IDs the user has access. Also, if the same beneficiary is available across multiple Customer IDs, the beneficiary appears once on the screen. On clicking the Beneficiary, the number of customer IDs with which it is associated are displayed.
- In addition to the customer ID level access, the beneficiary listing is based on the Feature level permission of the logged-in user.
- If a user tries to add a same beneficiary record which is already associated with that customer ID, the system will do a duplicate check and throw error.
The Manage Recipients tab is common across Interbank, Intra Bank, and International Fund Transfer. If the business user does not have permission for all the following feature actions under all three features, the Manage Recipients tab will not be displayed. But if the user has the feature action permission under any one of the Fund Transfer type, the Manage Recipients section will be displayed.
- Create Recipient
- Delete Recipient
Menu path: Transfers > Manage Recipients
The application displays the list of recipients previously added.
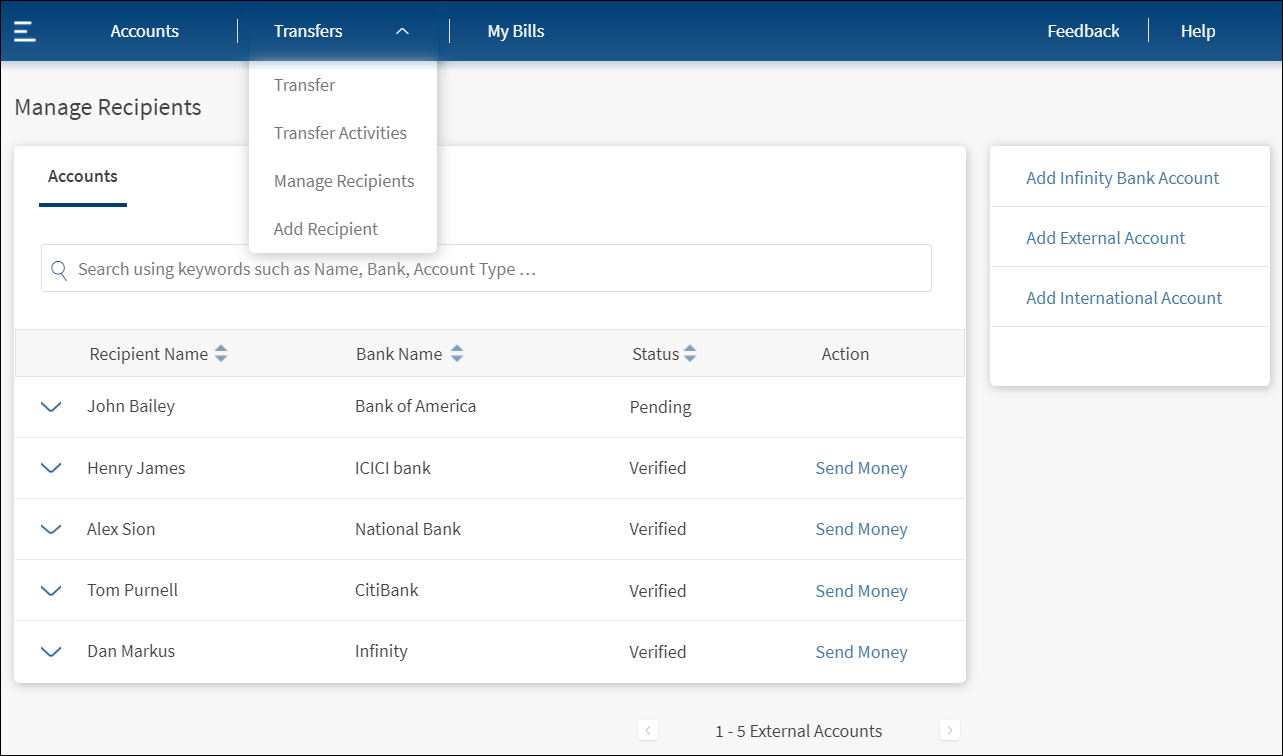
The manage recipients screen has Accounts tab and displays the list of accounts that are added to the database. The list includes
- Digital banking accounts
- External accounts
- International accounts
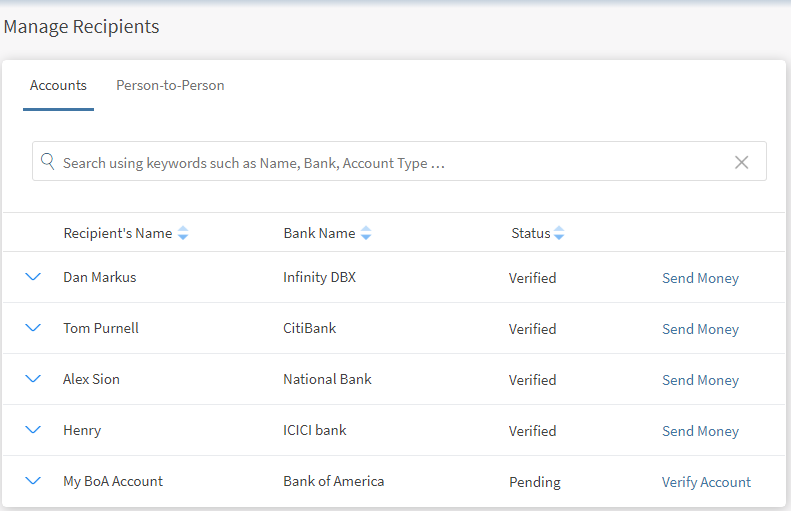
Accounts Tab
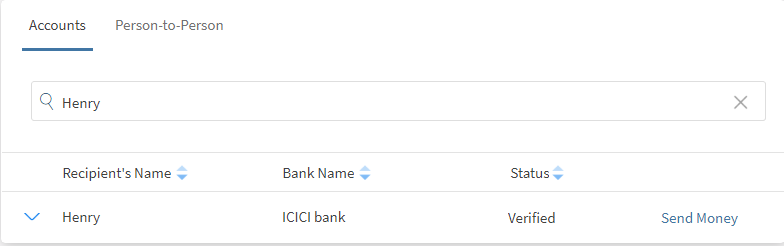
The accounts tab displays the following details:
- Recipient Name
- Bank Name
- Status (Verified or Pending)
- Actions that you can perform on a transaction - Transfer Money
The list is sorted by Transaction Date by default, but you can sort the list based on any of the columns by using the sort  icon (
 denotes sorted by that column).
You can do the following:
- Transfer money to a recipient
- View recipient details
- View previous transfer activity of a recipient
- Modify the details of a recipient
- Delete a recipient
- Search for a recipient
Transfer Money to a Recipient
Use the feature to transfer money to a required recipient from the list.
The app displays the Transfer screen to specify the required details and initiate a transfer to the recipient.
View Recipient Details
Use the feature to view the details of the recipient accounts.
Click the down arrow beside a recipient name to view the recipient details.
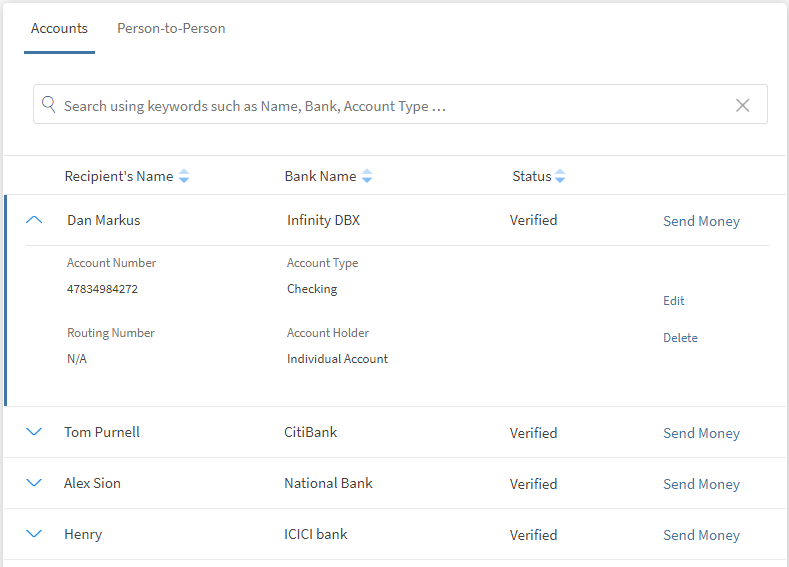
The following details are displayed:
- Account Number. The account number of the selected recipient. The account number is provided while adding the recipient.
- Account Type. Type of the account (such as savings, checking, and so on).
- Routing Number. Bank routing number where the account is opened.
- Account Holder. The person handling the account (such as individual account, joint account, and so on).
You can do the following:
From the recipients list, select the required recipient to view the activity.
The app displays details such as the recipient name, from account, and total amount deducted to date among others.
Navigate back to the recipients screen if required.
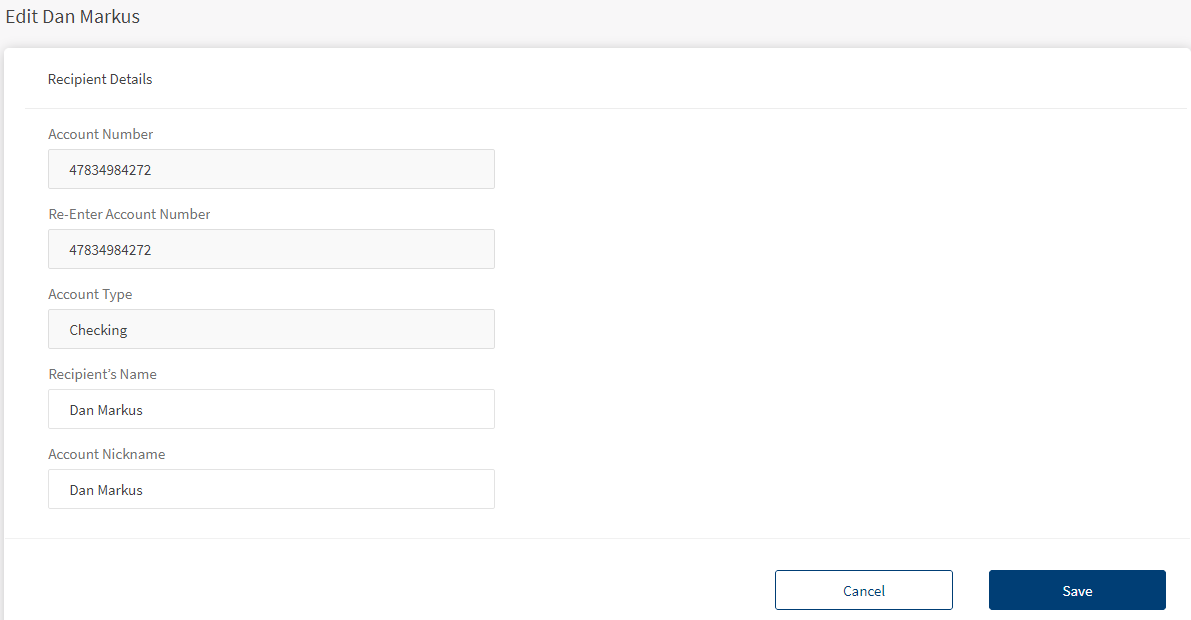
Edit Recipient Details
Use the feature to modify the details of the selected recipient.
Click the down arrow beside a recipient name. The recipient account details are displayed.
Click Edit to edit the recipient details.
Note: You can modify only the recipient's name and nickname.
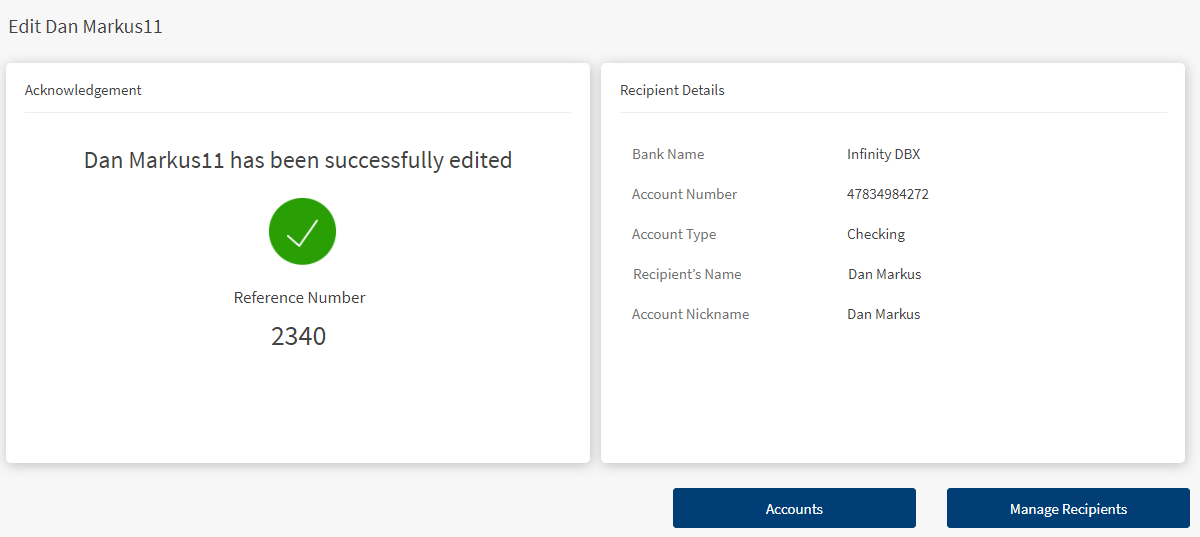
Make the necessary changes and click Save. An acknowledgment screen appears. You can do the following on this screen:
- Redirect to Accounts screen.
- Redirect to Manage Recipients screen.
Delete a Recipient
Use the feature to delete a recipient.
Click the down arrow beside a recipient name. The recipient account details are displayed.
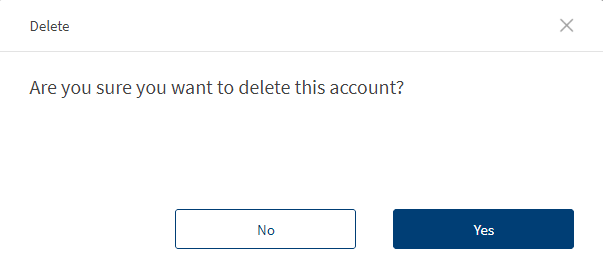
Click Delete to delete the selected recipient account.
In case of mobile banking, swipe the required recipient from right to left, and delete the record. Alternatively, you can also delete a recipient on the details screen. The app removes the record from the list.
Search for a Recipient
Use the feature to search for the recipients added to the list.
In the recipients list screen, enter a keyword in the search bar such as the recipient name, nickname, bank name, and so on and hit Enter. The recipient matching the provided search criteria is shortlisted and displayed.
In this topic