Defining Events for a Component Service
This section describes how to define and trigger events for a Component Service (EE).
Prerequisites
The following are the software requirements that you need to meet before you define and trigger an event for a Component Service.
- Event Designer
- Transact R19
- TAFJ R19
Step 1: Creating an Event Designer Project
For information, see Creating an Event Designer Project.
Step 2: Creating a New Event
-
Under the project you have just created, right-click the events folder to invoke the Create new event wizard. This ensures that the event is created under the events folder.
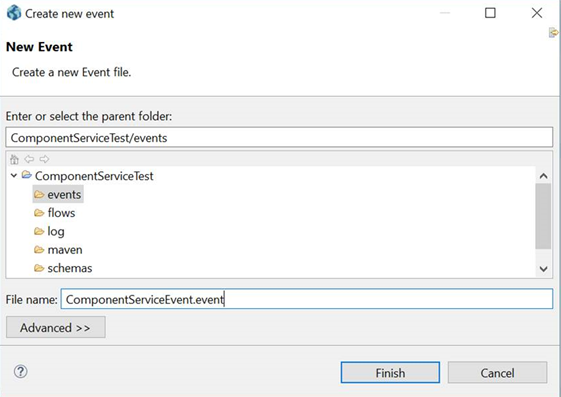
- Enter a name for the new event and click Finish. An Exit Point screen is displayed for the new event:
Step 3: Defining the Flow
-
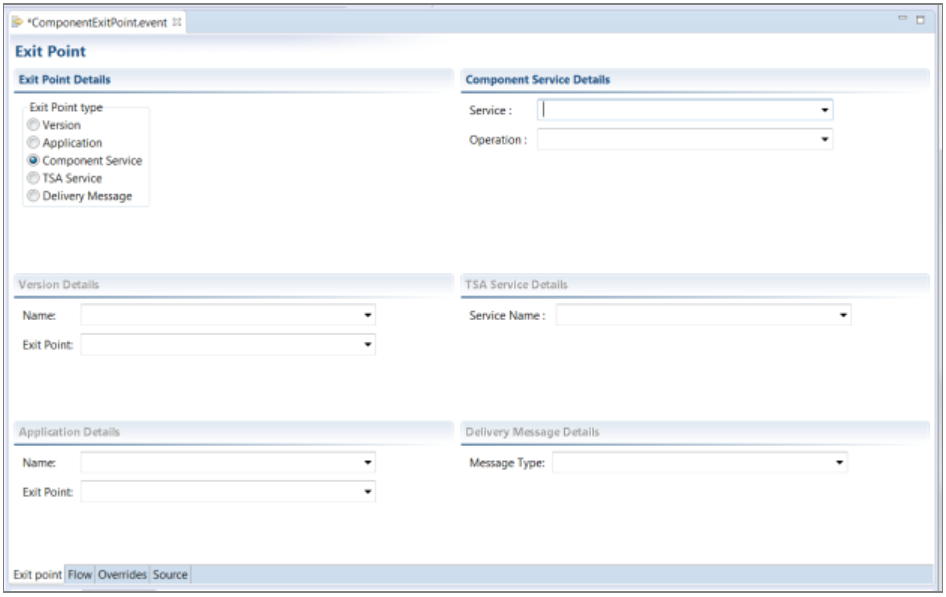
On the Exit Point Screen, set Exit Point Details to Component Service. This will enable the Component Service Details.
-
Select the Service and Operation for which the event should be triggered.
-
Click the Flow tab.
- Enter a name for the flow.
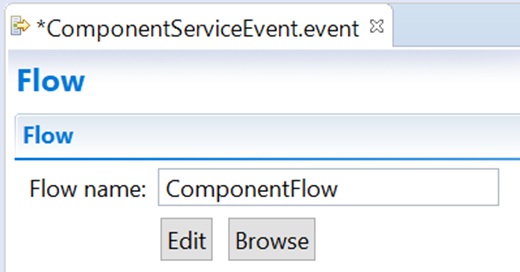
-
Click Edit. The Flow Definition screen is displayed:
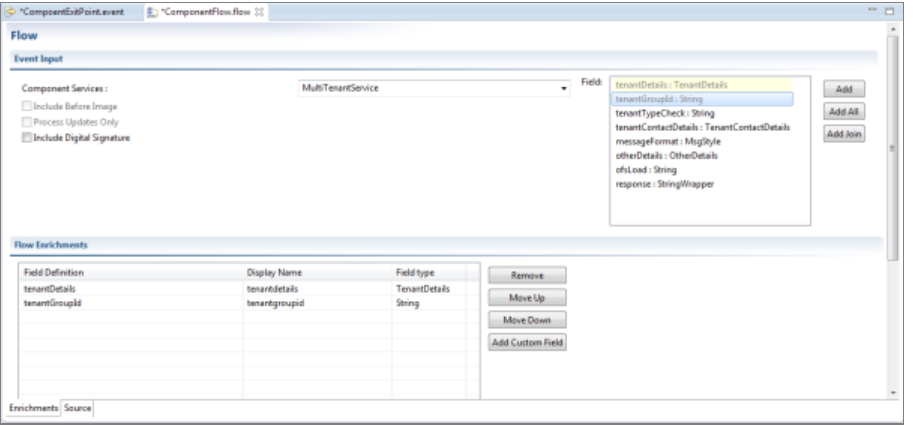
-
Select the required fields for the flow.
- To select a number of individual fields, hold down the Control key and click the required fields.
- To select a block of fields, hold down the Shift key and click the last field in the block.
- To select all fields, click Add all.
- To remove any selected field, click Remove.
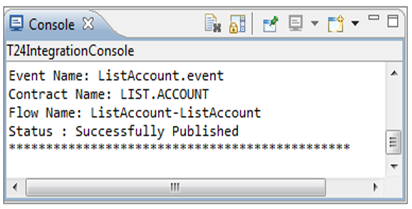
- Use the Move Up and Move Down buttons to change the order of the selected fields. The published status of the event gets displayed in the event console.
-
Save the event.
Step 4: Publishing the Event to Transact
- Make sure the event and flow are saved.
-
Publish the event to Transact. The published state of the event is displayed in the console.
-
Refresh the Project Explorer Window, to display the published schema and the log.
Triggering an Event
To trigger the event, you need to make a call to the method for which the event is designed.
- Write a subroutine to populate values for the parameter. For example, below is a code snippet to populate the parameter TenantDetails:
Trigger event for the component service
tenantDet<tenantDet.tenantId> = “1”/
tenantDet<tenantDet.signOnUser> = “Test User”
tenantDet<tenantDet.pgmVersion> = “1”
tenantDet<tenantDet.targetRecordId> = “ID1”
tenantDet<tenantDet.tenantType> = “Tenant”
- After populating the values, lower the parameter value:
tenantDet = LOWER(tenantDet)
- Add the code to call the routine:
CALL
MultiTenantService.updateConsoleTableEvent(tenantDet,tenantGroupId,tenantTypeCheck,tenantContactDetails,msgFormat,othrDetails,ofsLoad,response)
- Invoke the routine to trigger the event.
Depending on the environment, this routine can be attached to either a VERSION or an APPLICATION.
In this topic