Setting up Weblogic Server
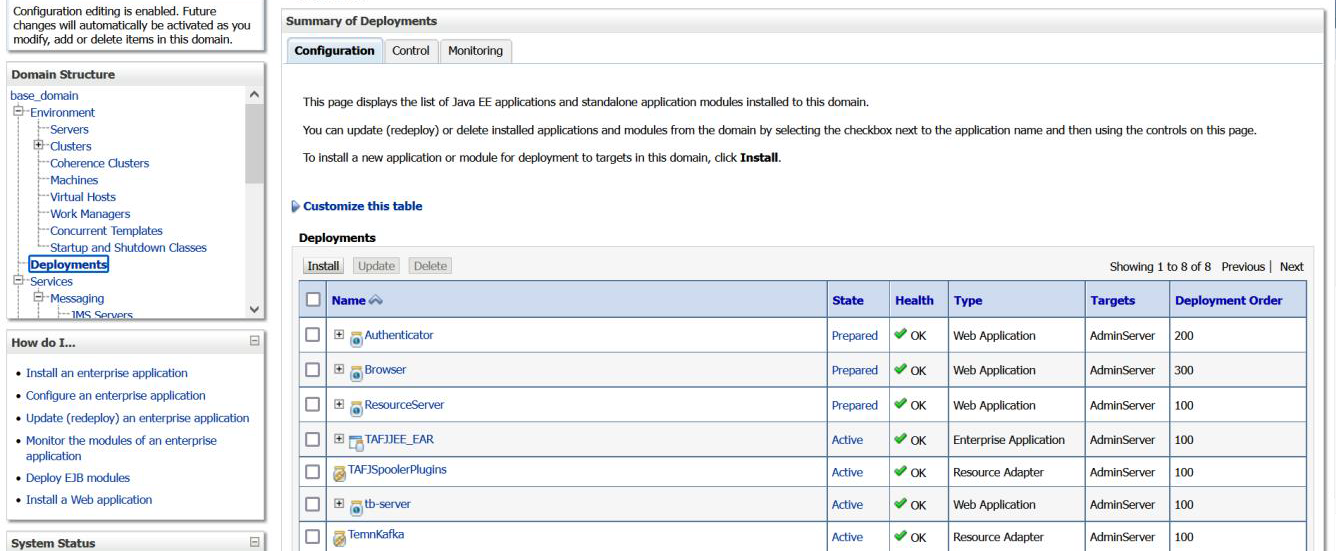
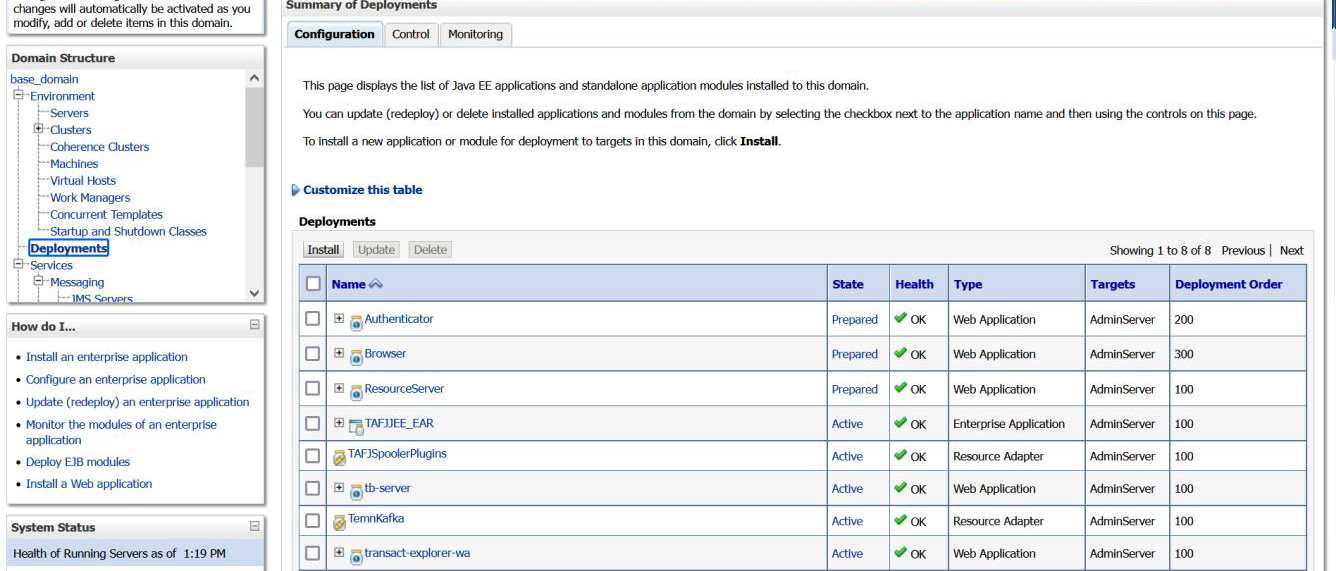
This topic includes the detailed procedure to install, configure, and run the Weblogic server. This also includes the installation procedure for the supporting system files such as, TAFJJEE_EAR, TAFJSpoolerPlugins.rar, TemnKafka.rar, tb-server.war, and transact-explorer-wa.war.
To set up a Weblogic server,
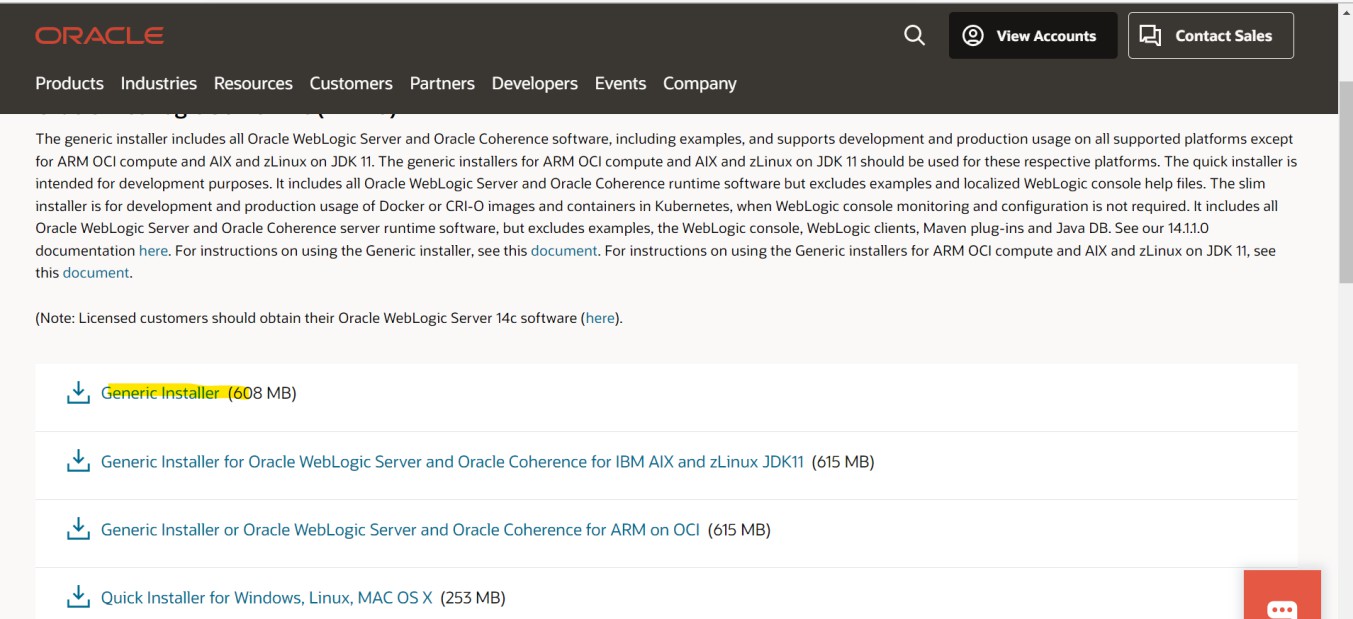
- Download the WebLogic server from the below URL. https://www.oracle.com/in/middleware/technologies/fusionmiddleware-downloads.html
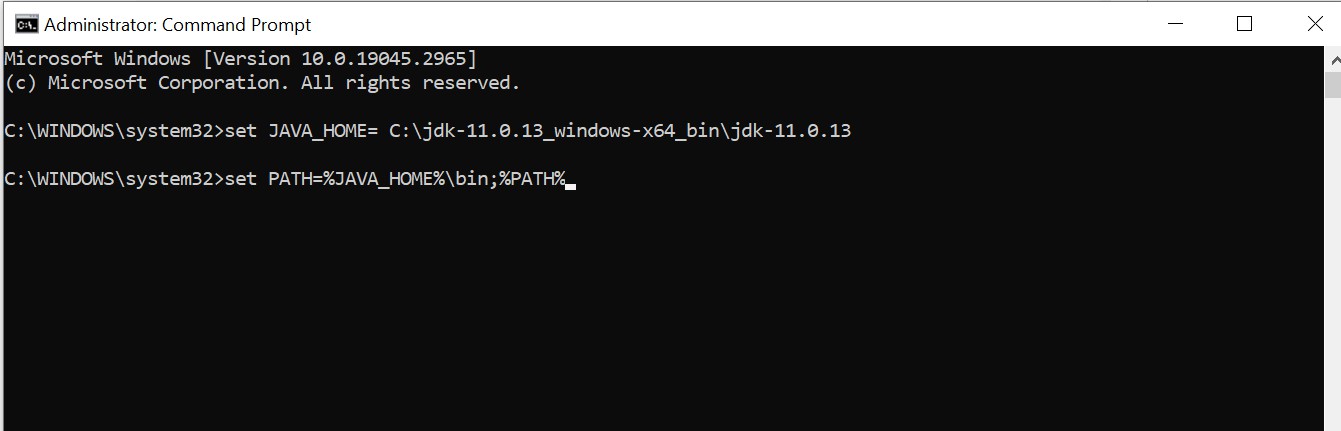
- To set Java home, run the below command in the command prompt as administrator.
set JAVA_HOME= C:\jdk-11.0.13_windows-x64_bin\jdk-11.0.13
set PATH=%JAVA_HOME%\bin;%PATH%
- Run the setup using the below command:
cd C:\Weblogic\fmw_12.2.1.4.0_wls_lite_Disk1_1of1 java -jar fmw_12.2.1.4.0_wls_lite_generic.jar
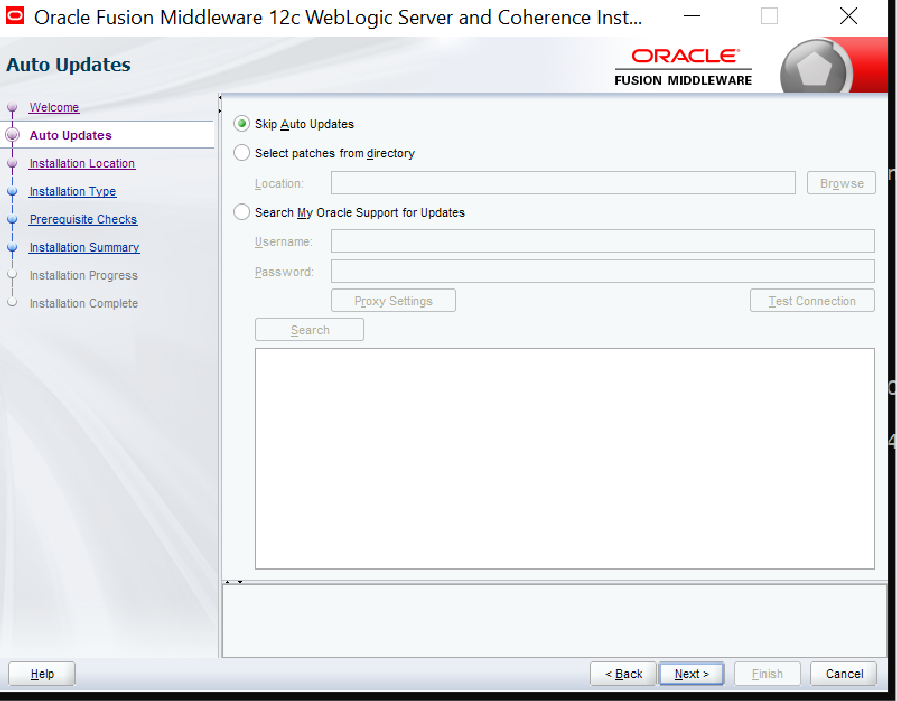
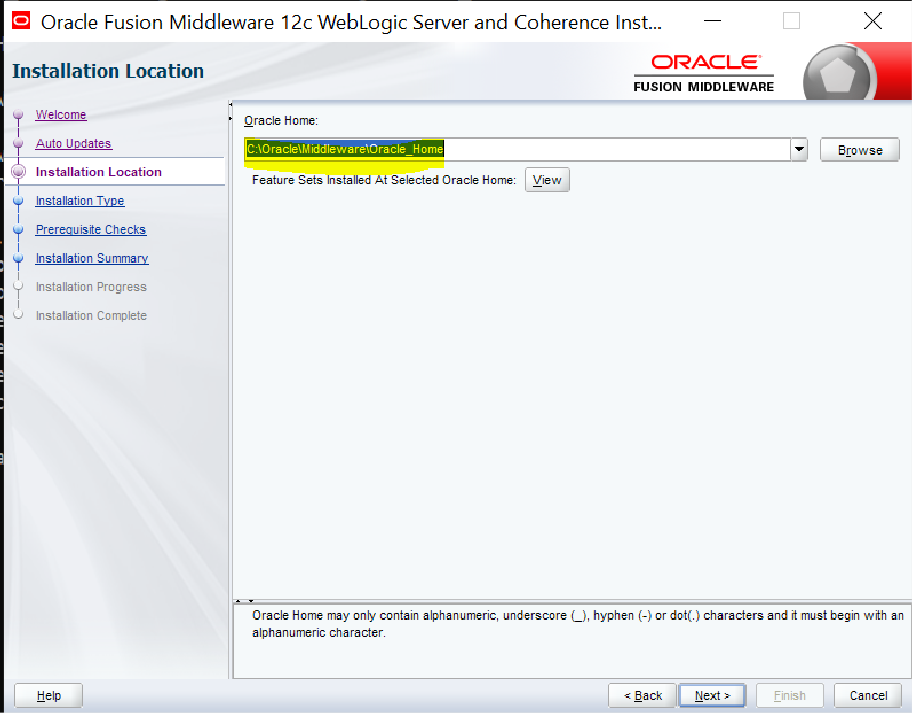
- Click Next on the Welcome and Auto Update screens. The Installation Location screen appears.
- Verify the Oracle Home location and click Next. The Weblogic server application installs in this location. The Installation Type screen appears.
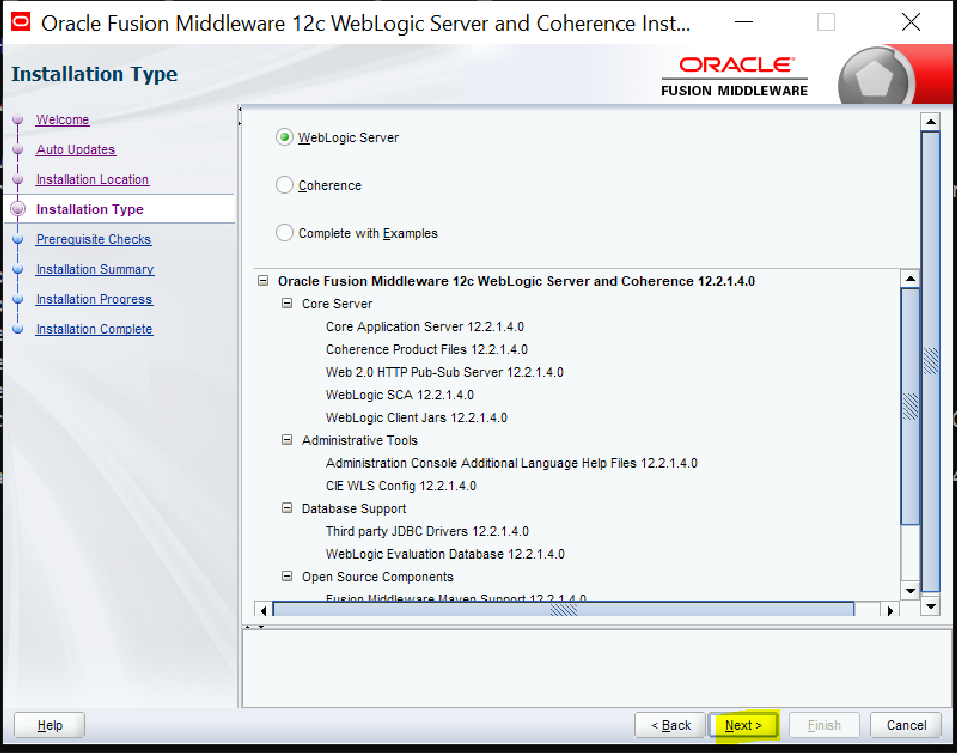
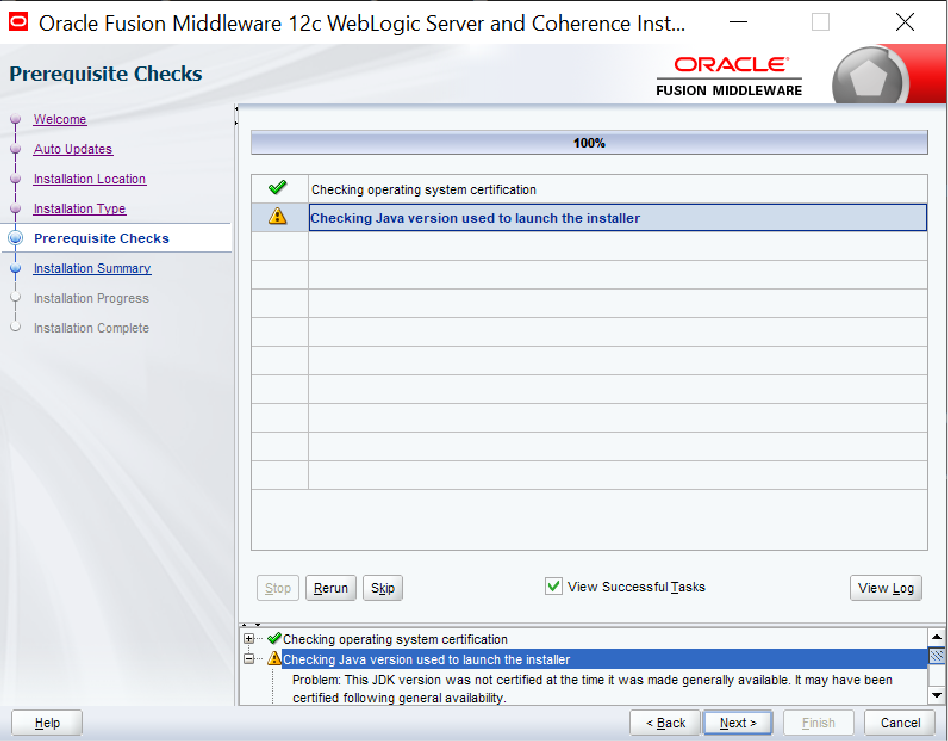
- Select Weblogic Server and click Next. The Pre-requisite Checks screen appears.
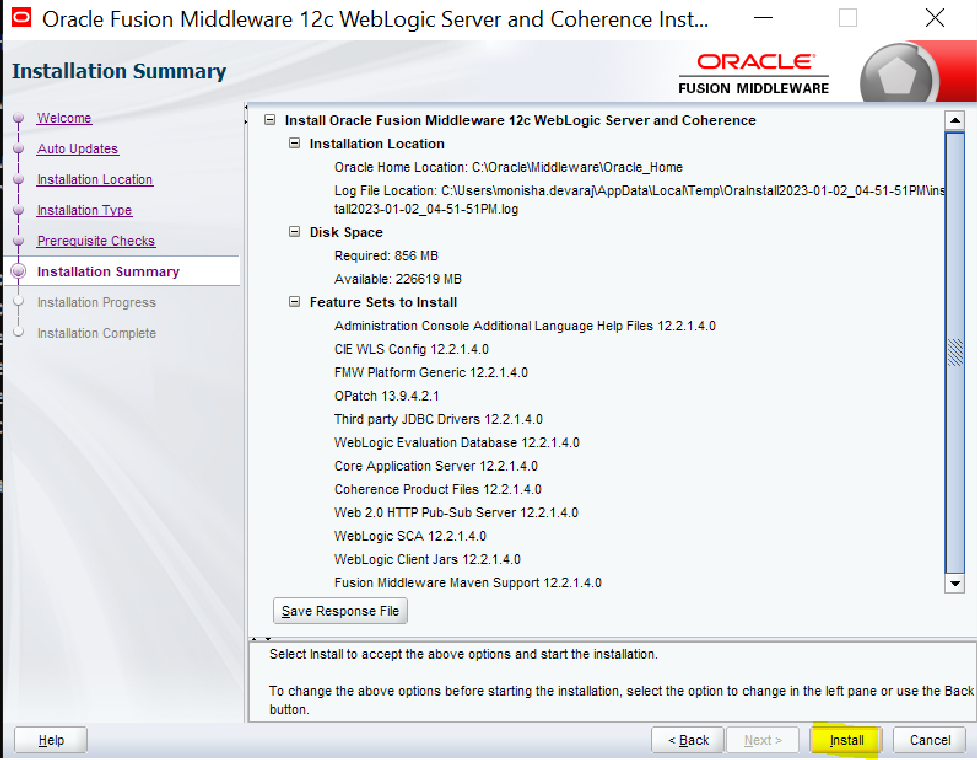
- After the check completes, click Next. The Installation Summary screen appears.
- Check the installation summary and click Install.
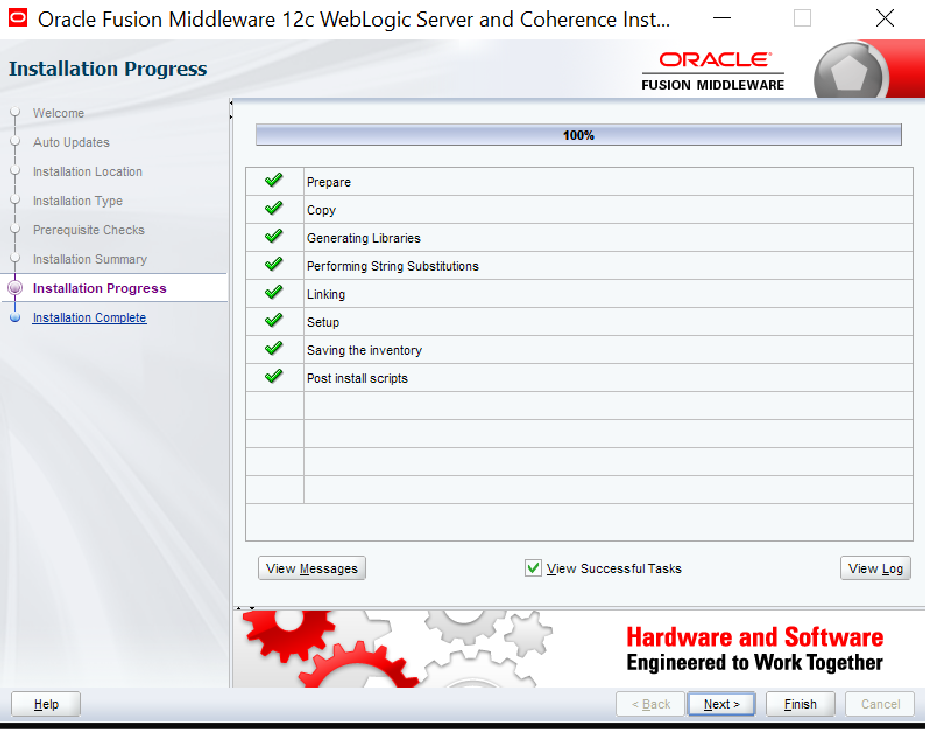
- After successful installation, click Next. The Installation Complete screen appears.
- Click Finish to complete the installation.

The Weblogic server setup application appears.

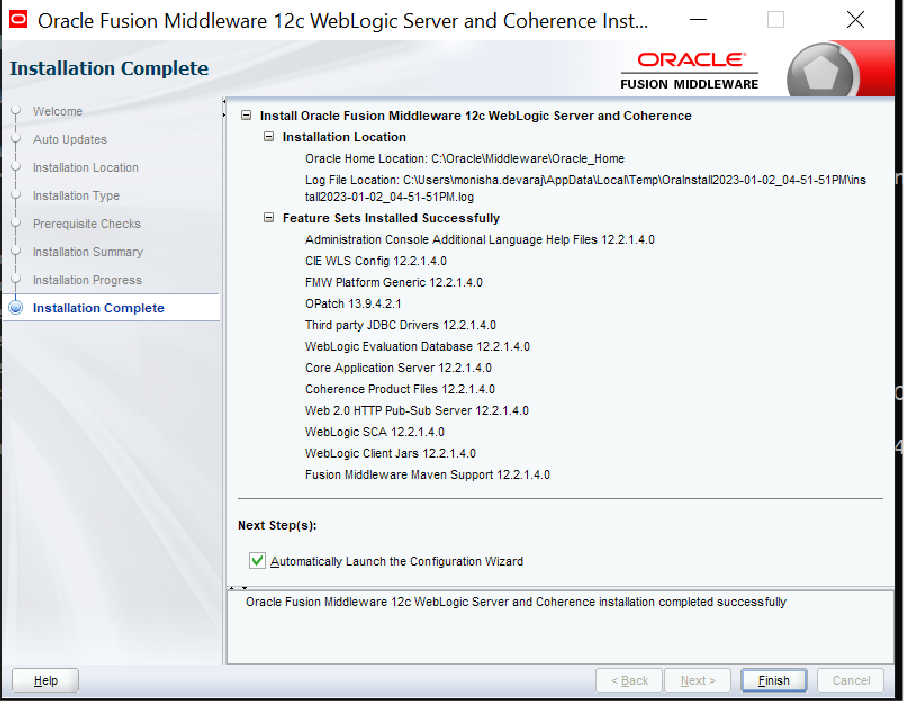
You have now successfully installed the Weblogic server.
Configuring Weblogic Server
After successful installation, the setup prompts you to configure the Weblogic server.
To create a domain and configure the server,
- Select Create a new domain, verify the below defaulted path and click Next. The Templates screen appears.

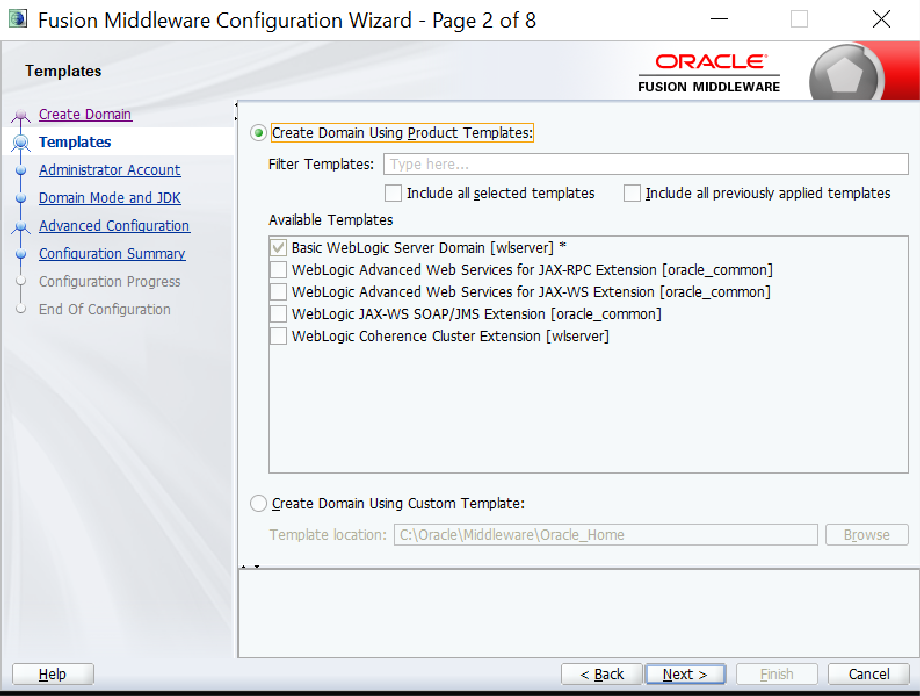
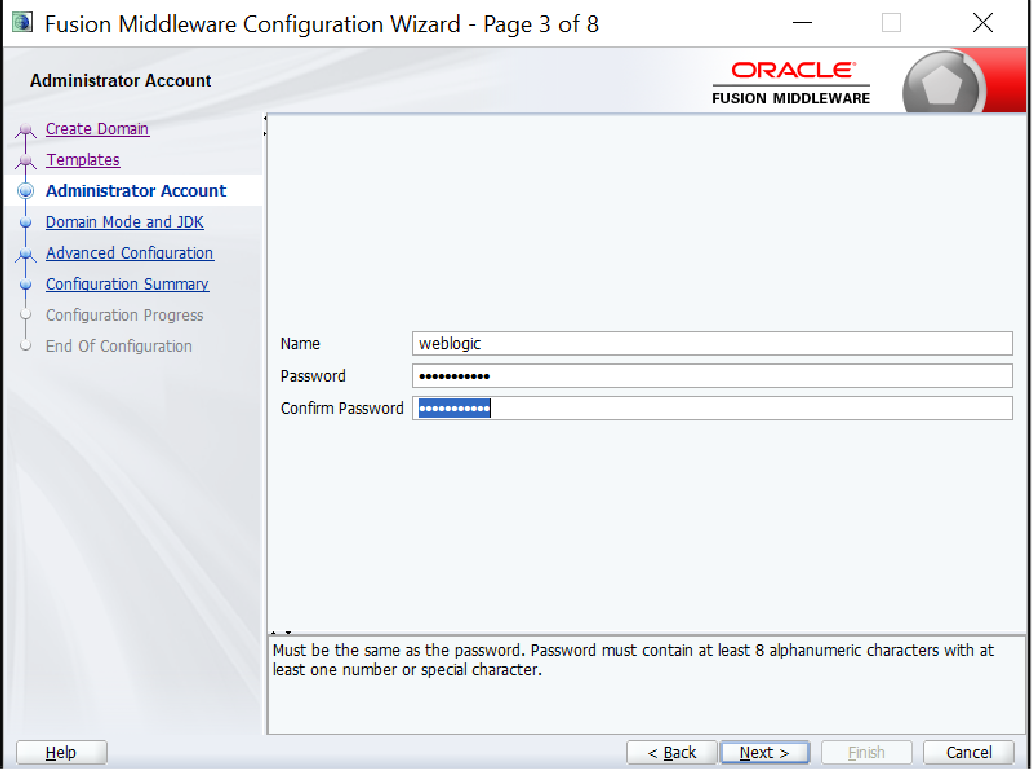
- Select Create Domain Using Product Templates and select Basic Weblogic Server Domain [Wlserver] in the Available Template section. The Administrator Account screen appears.
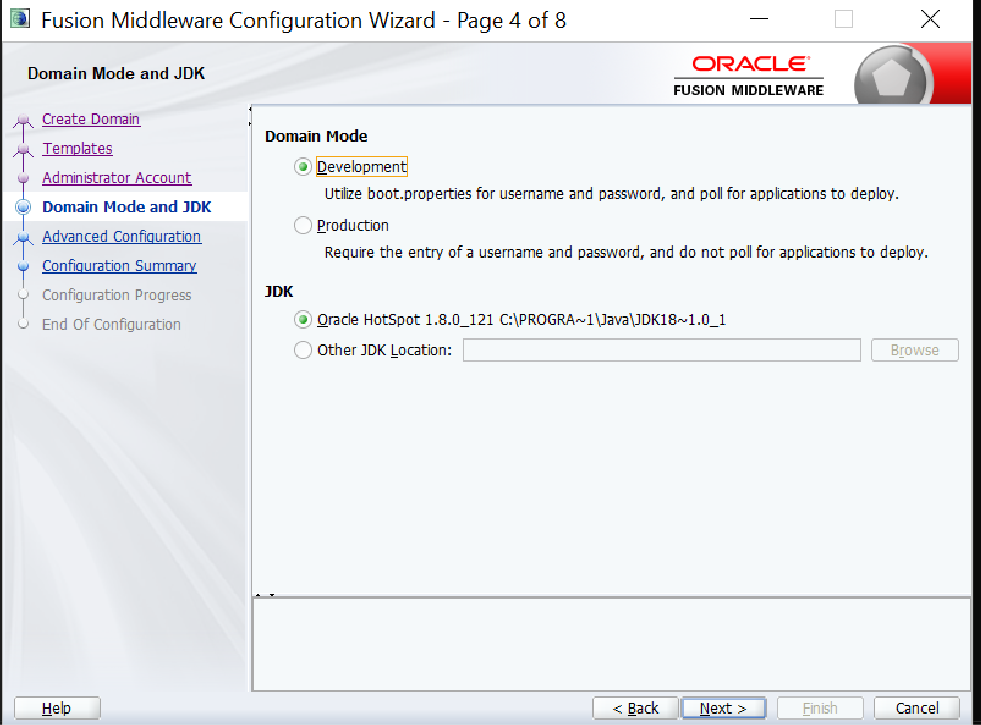
- Provide the name and password and click Next. The Domain Mode and JDK screen appears.
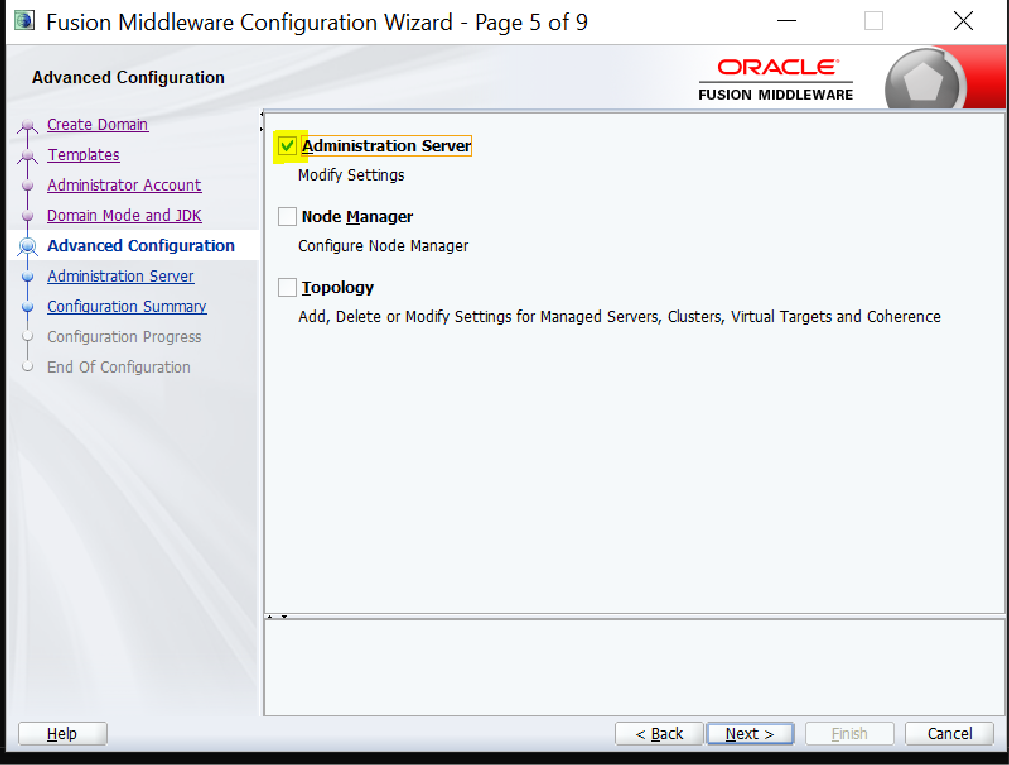
- Select Development as domain mode and Oracle HotSpot as JDK. The Advanced Configuration page appears.
- Select Administration Server and click Next. The Administration Server appears.
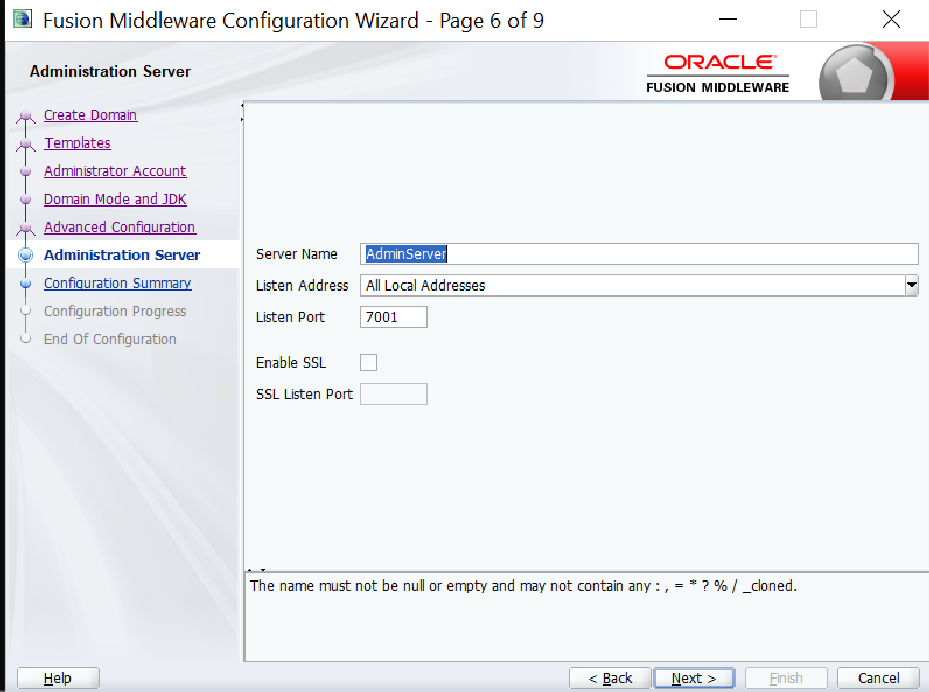
- Provide the below details and click Next. The Configuration Summary screen appears.
- Server Name
- Listen Address
- Listen Port
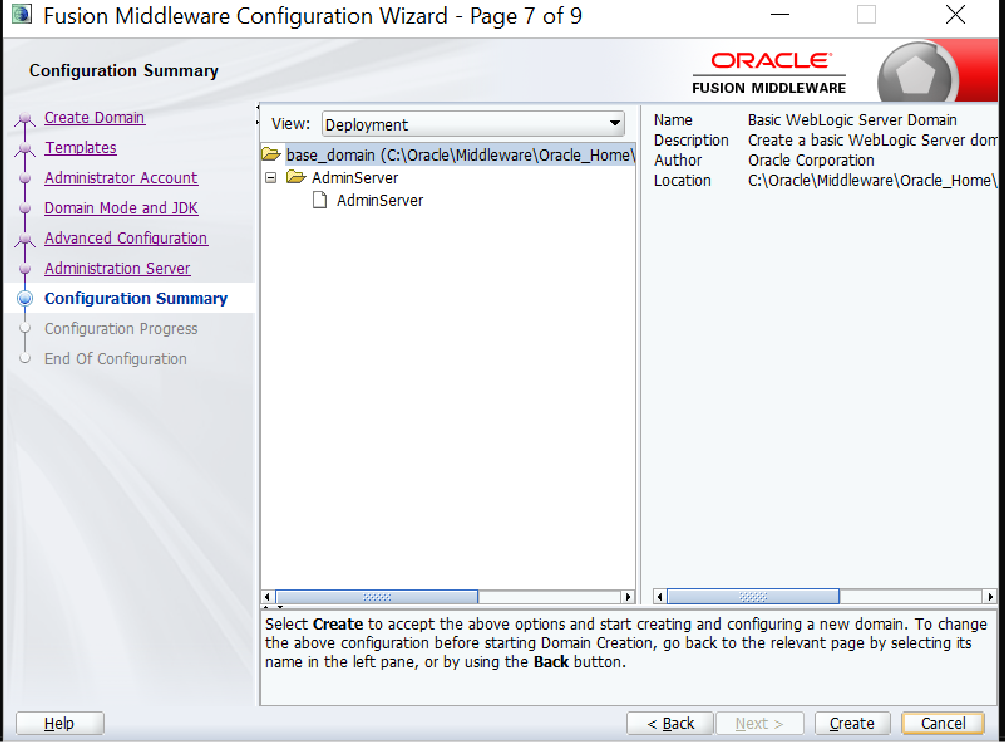
- Verify the configuration details and click Create. The Configuration Progress screen appears.
- After successful completion, click Next. The End of Configuration screen appears.
- Click Finish to complete the configuration setup.
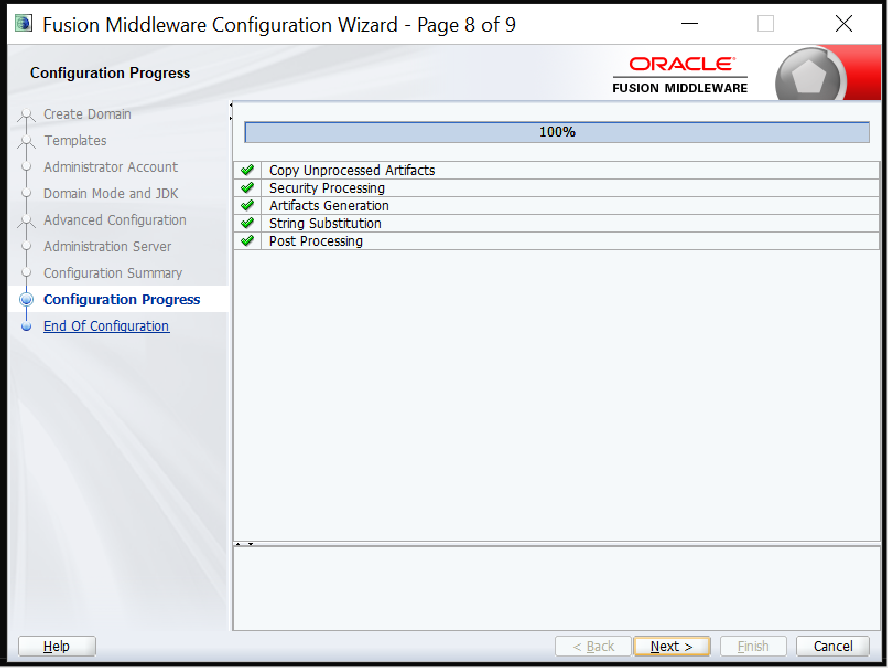
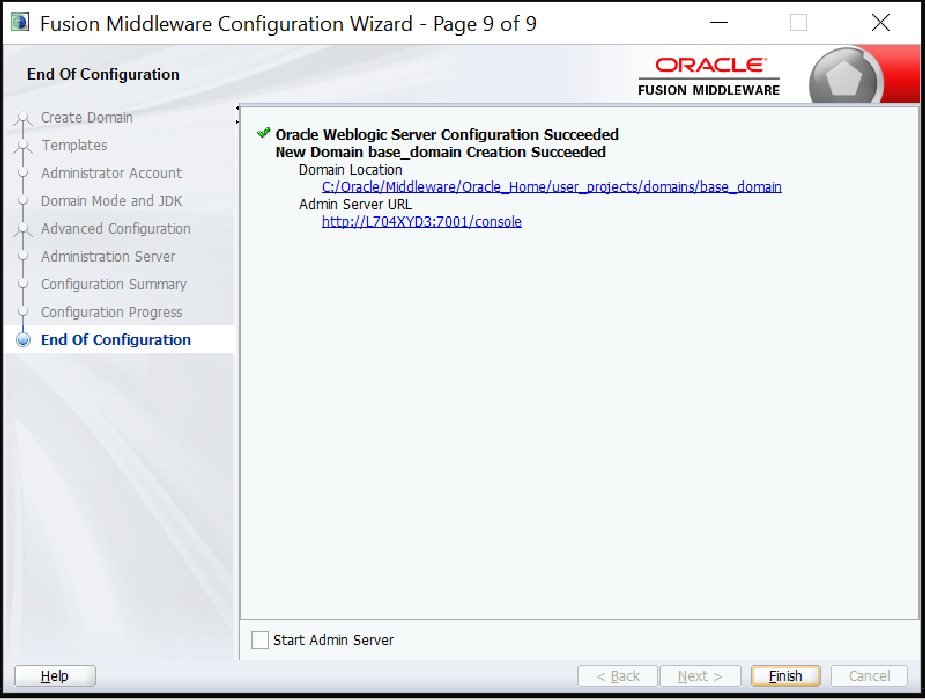
The Weblogic server is successfully configured.
Running Weblogic Server
To run the Weblogic server,
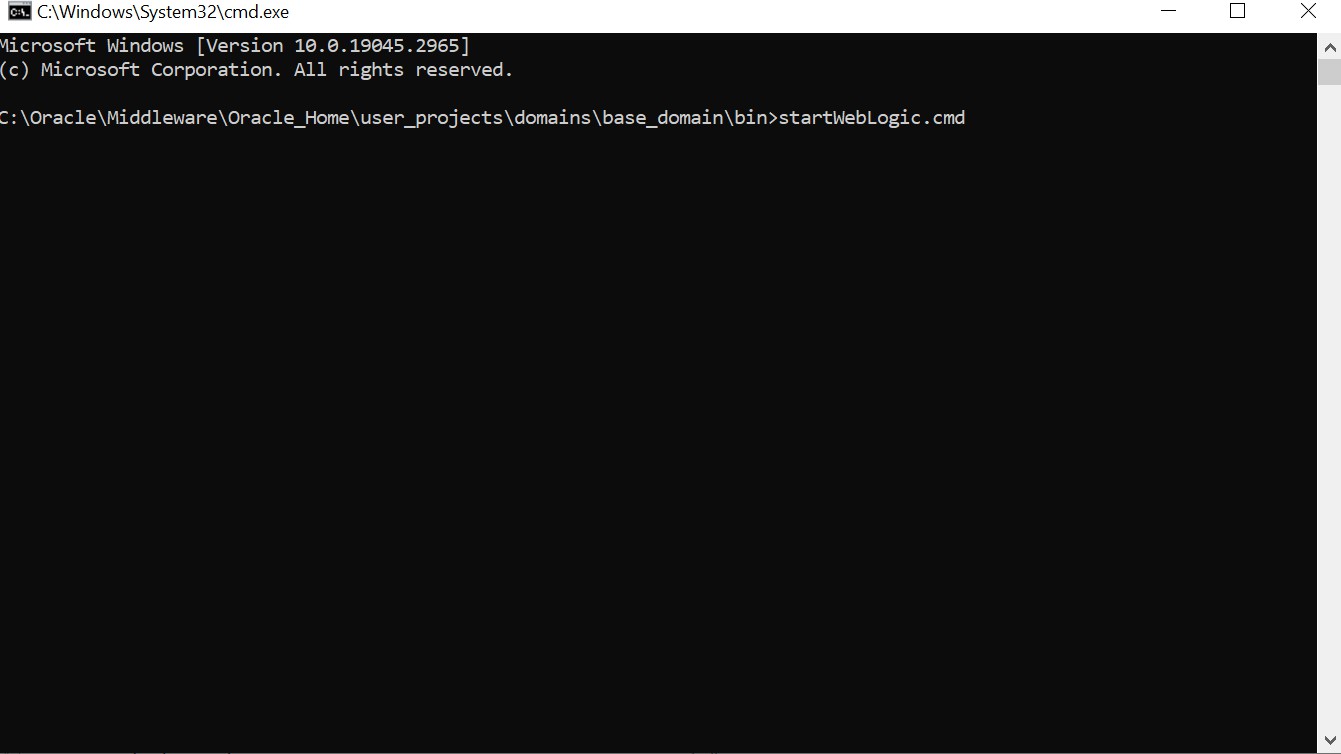
- Navigate to C:\Oracle\Middleware\Oracle_Home\user_projects\domains\base_domain and open the command prompt.
- Start the server using startWebLogic.cmd command.
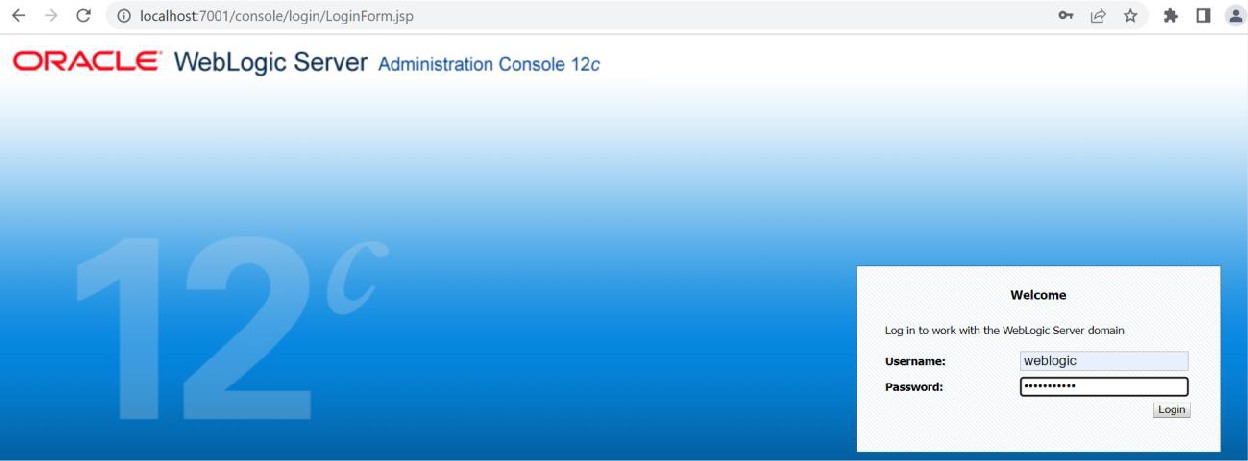
- Launch http://localhost:7001/console and log into Weblogic using your credentials.
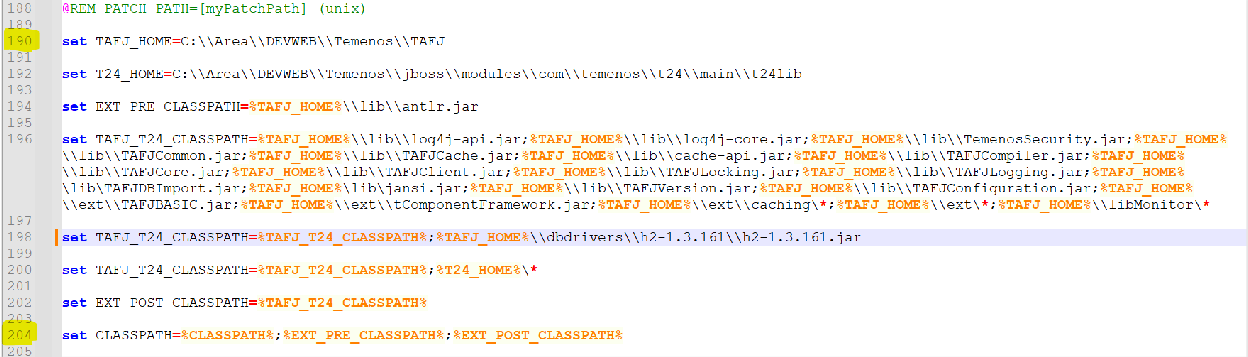
- Open the setDomainEnv.bat file under C:\Oracle\Middleware\Oracle_Home\user_projects\domains\base_domain\bin in edit mode.
- Add the below commands after the 188 line number.
set TAFJ_HOME=C:\\utp\\UTP-DEV-RET-2023.05.08-01-1271-saf-retailsuite-developer-s08\\Temenos\\TAFJ
set T24_HOME=C:\\utp\\UTP-DEV-RET-2023.05.08-01-1271-saf-retailsuite-developer- s08\\Temenos\\jboss\\modules\\com\\temenos\\t24\\main\\t24lib
set EXT_PRE_CLASSPATH=%TAFJ_HOME%\\lib\\antlr.jar
set TAFJ_T24_CLASSPATH=%TAFJ_HOME%\\lib\\log4j-api.jar;%TAFJ_HOME%\\lib\\log4j- core.jar;%TAFJ_HOME%\\lib\\TemenosSecurity.jar;%TAFJ_HOME%\\lib\\TAFJCommon.jar;%TAFJ_HOME%\\lib\
\TAFJCache.jar;%TAFJ_HOME%\\lib\\cache- api.jar;%TAFJ_HOME%\\lib\\TAFJCompiler.jar;%TAFJ_HOME%\\lib\\TAFJCore.jar;%TAFJ_HOME%\\lib\\TAFJClie nt.jar;%TAFJ_HOME%\\lib\\TAFJLocking.jar;%TAFJ_HOME%\\lib\\TAFJLogging.jar;%TAFJ_HOME%\lib\TAFJDBI mport.jar;%TAFJ_HOME%\lib\jansi.jar;%TAFJ_HOME%\\lib\\TAFJVersion.jar;%TAFJ_HOME%\\lib\\TAFJConfigur ation.jar;%TAFJ_HOME%\\ext\\TAFJBASIC.jar;%TAFJ_HOME%\\ext\\tComponentFramework.jar;%TAFJ_HOME
%\\ext\\caching\*;%TAFJ_HOME%\\ext\*;%TAFJ_HOME%\\libMonitor\*
set TAFJ_T24_CLASSPATH=%TAFJ_T24_CLASSPATH%;%TAFJ_HOME%\\dbdrivers\\h2-1.3.161\\h2-1.3.161.jar set TAFJ_T24_CLASSPATH=%TAFJ_T24_CLASSPATH%;%T24_HOME%\*
set EXT_POST_CLASSPATH=%TAFJ_T24_CLASSPATH%

set  CLASSPATH=%CLASSPATH%;%EXT_PRE_CLASSPATH%;%EXT_POST_CLASSPATH%
- Navigate to the T24Setup.py file under C:\Dev\TAFJ\appserver\weblogic and comment the [#execfile('createNode.py')] line.
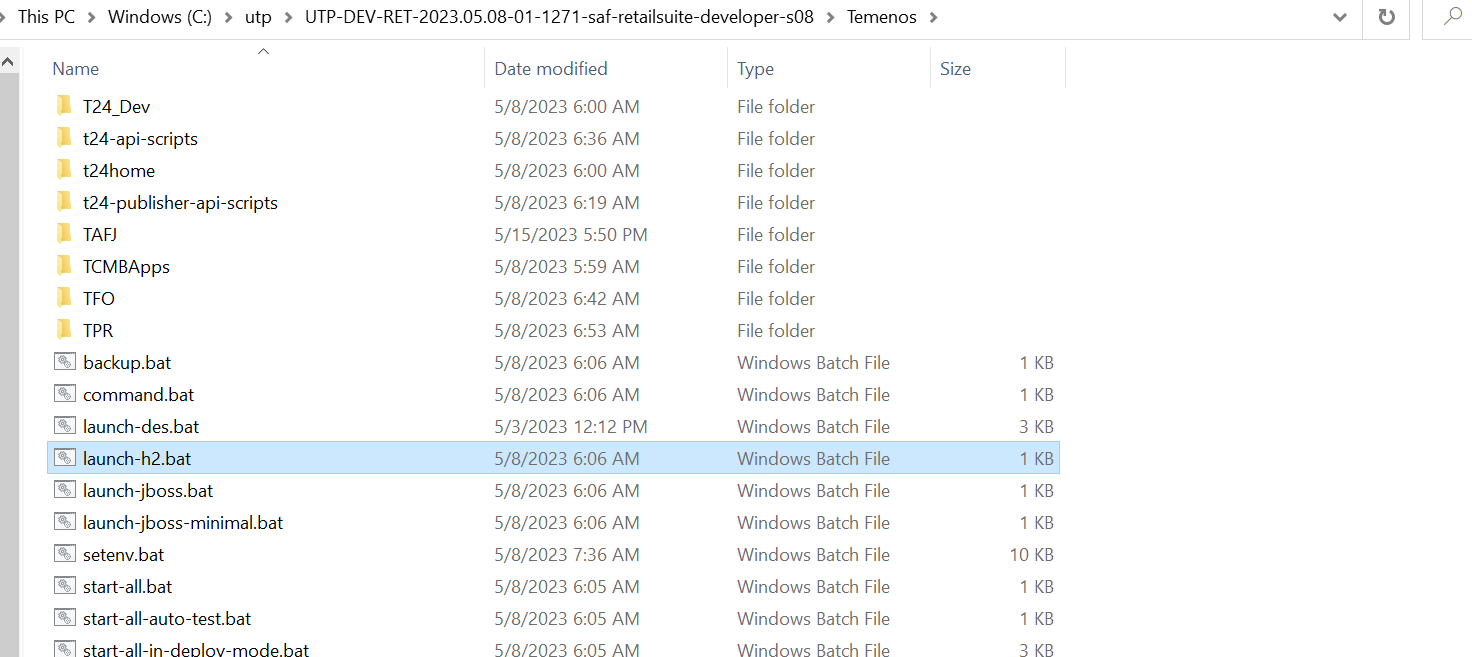
- Launch the h2 server (launch-h2.bat) from the utp area.
- After starting the server, open command prompt from the C:\utp\UTP- DEV-RET-2023.05.08-01-1271-saf-retailsuite-developer- s08\Temenos\TAFJ\appserver\weblogic path and type set MW_HOME= C:\Oracle\Middleware\Oracle_Home.
- Run the T24Setup.cmd command.
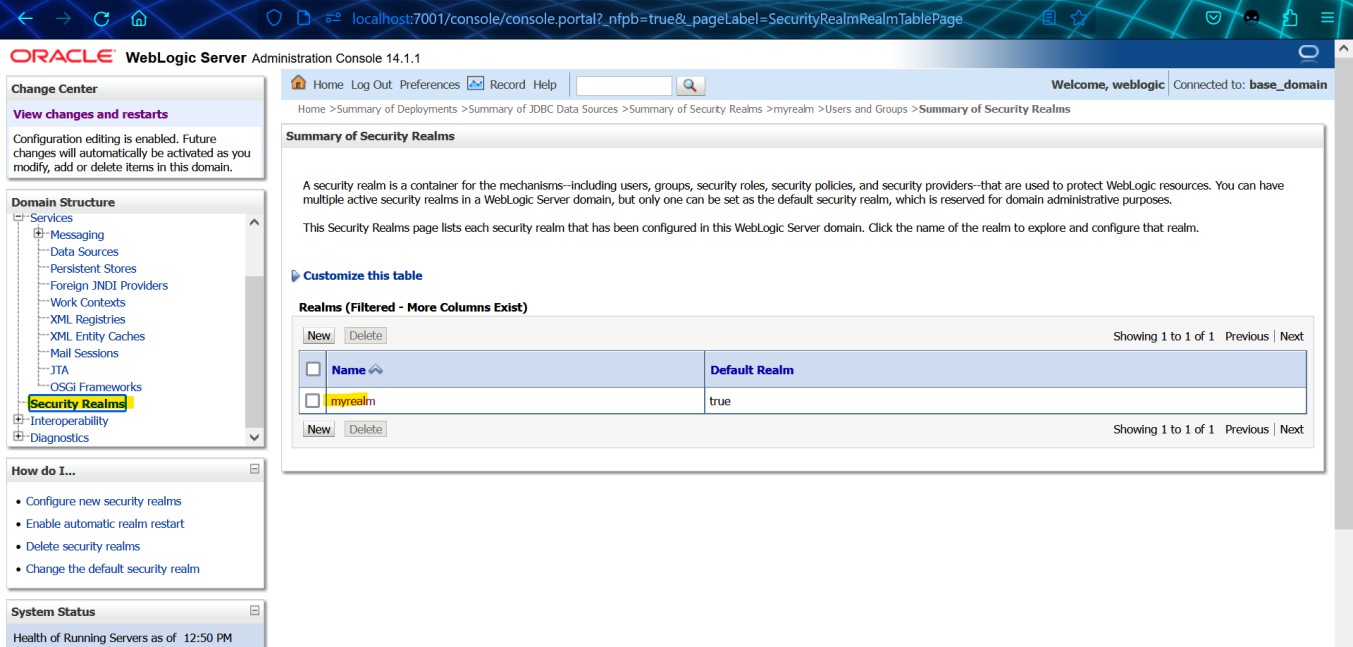
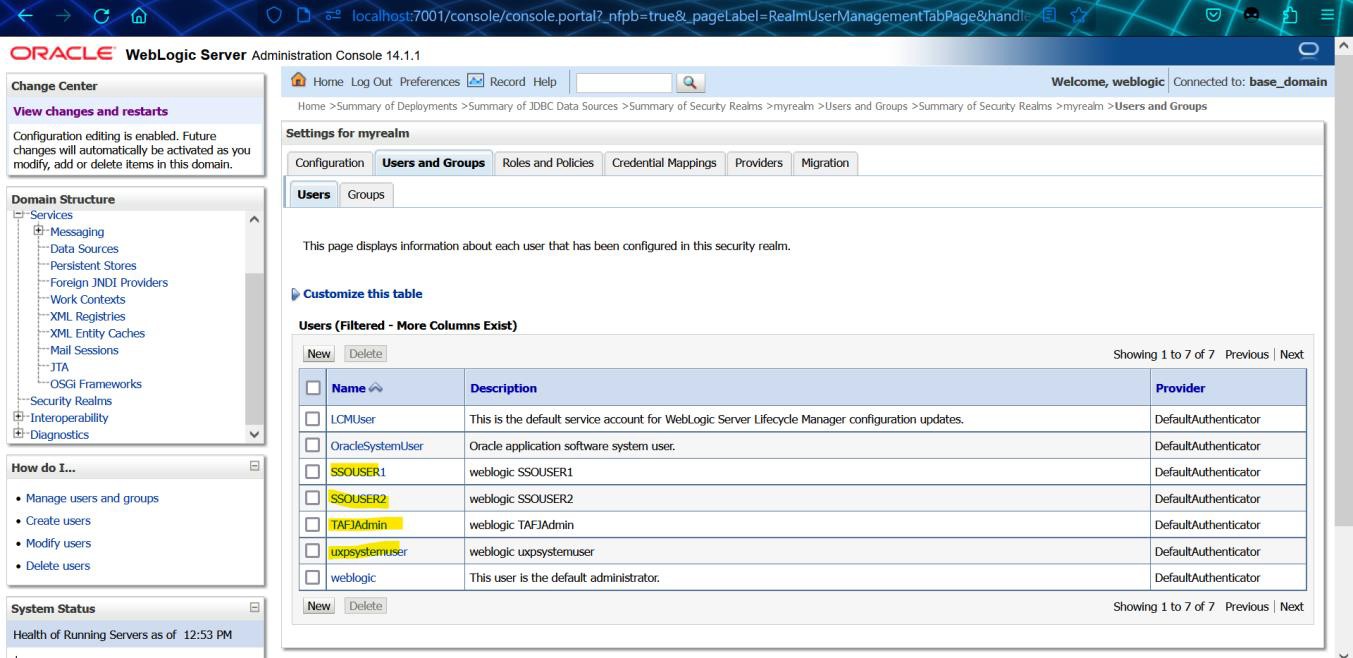
- Create the below highlighted users in the default Realm.
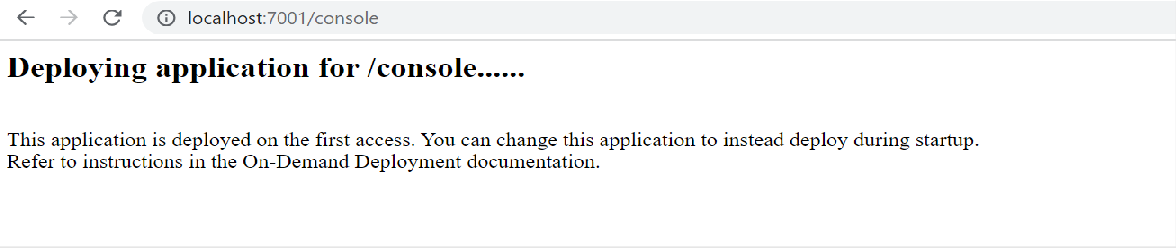
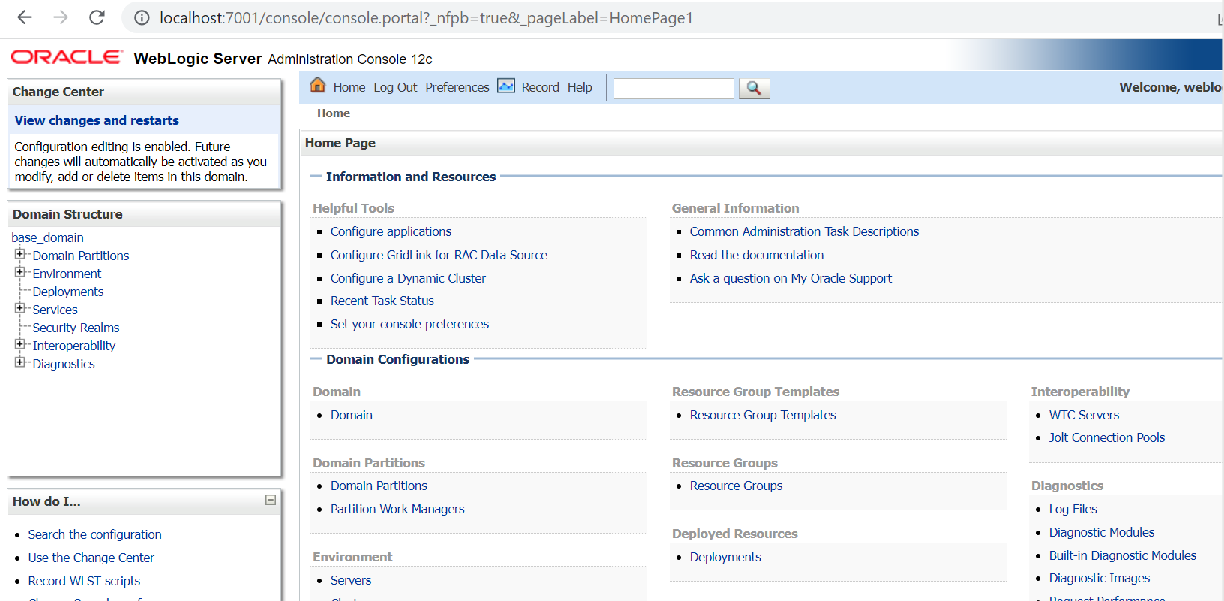
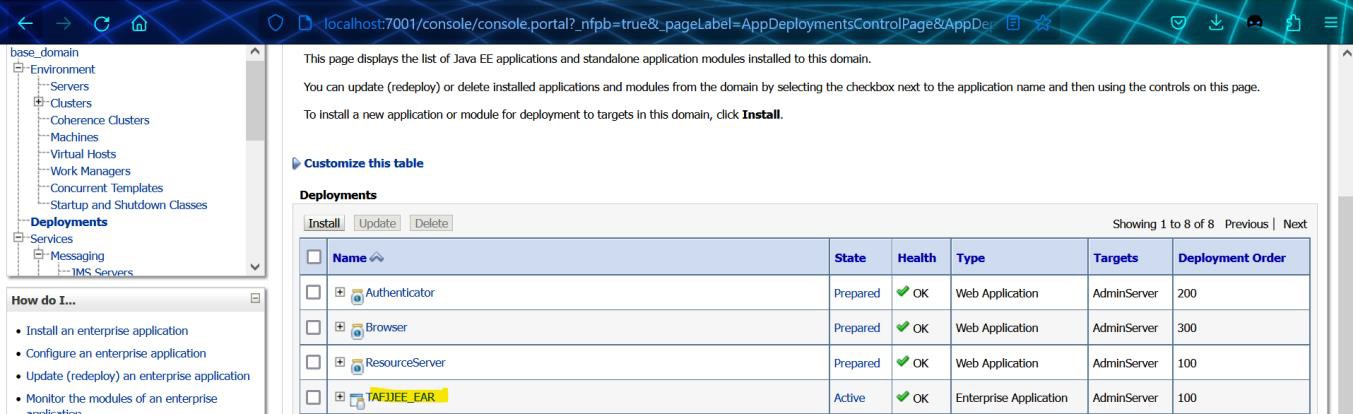
After successful login, the application navigates to the home page of the Weblogic Server Administration Console.
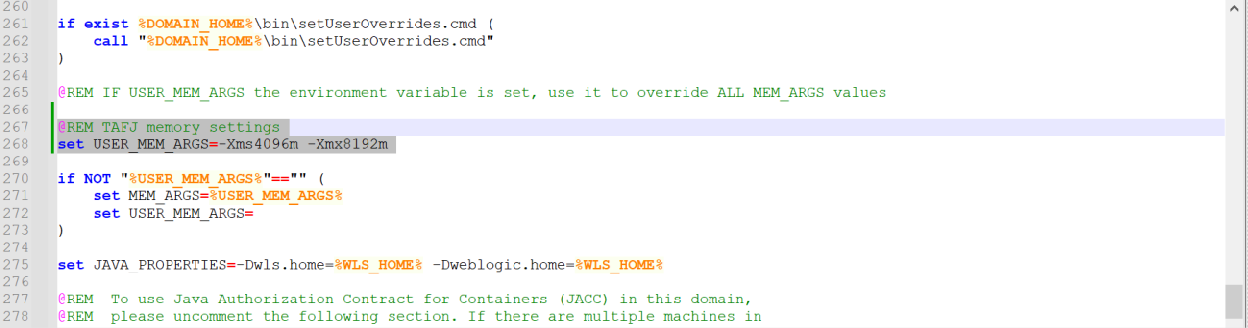
>@REM TAFJ memory settings
set USER_MEM_ARGS=-Xms4096m -Xmx8192m
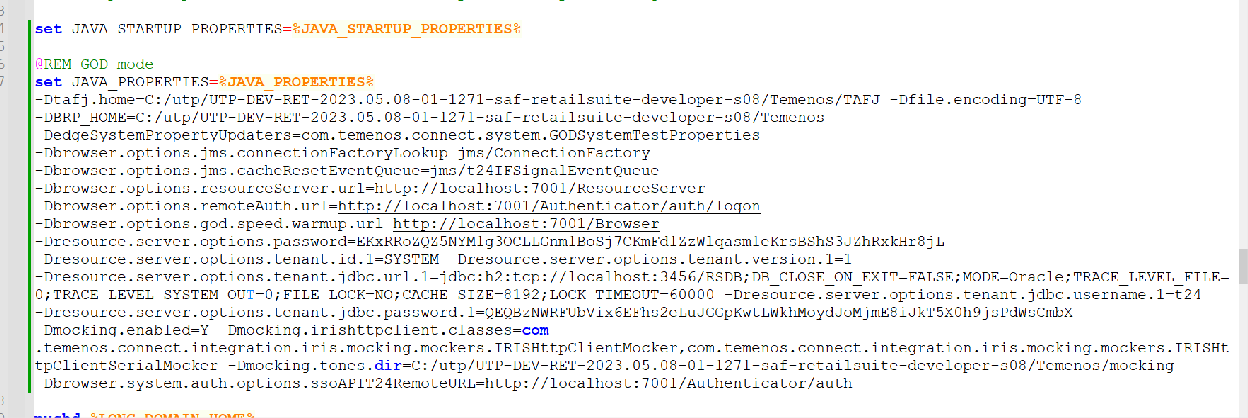
Comment out the below GOD mode properties as it is for UXPB.
-Dtafj.home=C:/utp/UTP-DEV-RET-2023.05.08-01-1271-saf-retailsuite-developer- s08/Temenos/TAFJ -Dfile.encoding=UTF-8 -DBRP_HOME=C:/utp/UTP-DEV-RET-2023.05.08-01- 1271-saf-retailsuite-developer-s08/Temenos - DedgeSystemPropertyUpdaters=com.temenos.connect.system.GODSystemTestProperties - Dbrowser.options.jms.connectionFactoryLookup=jms/ConnectionFactory - Dbrowser.options.jms.cacheResetEventQueue=jms/t24IFSignalEventQueue


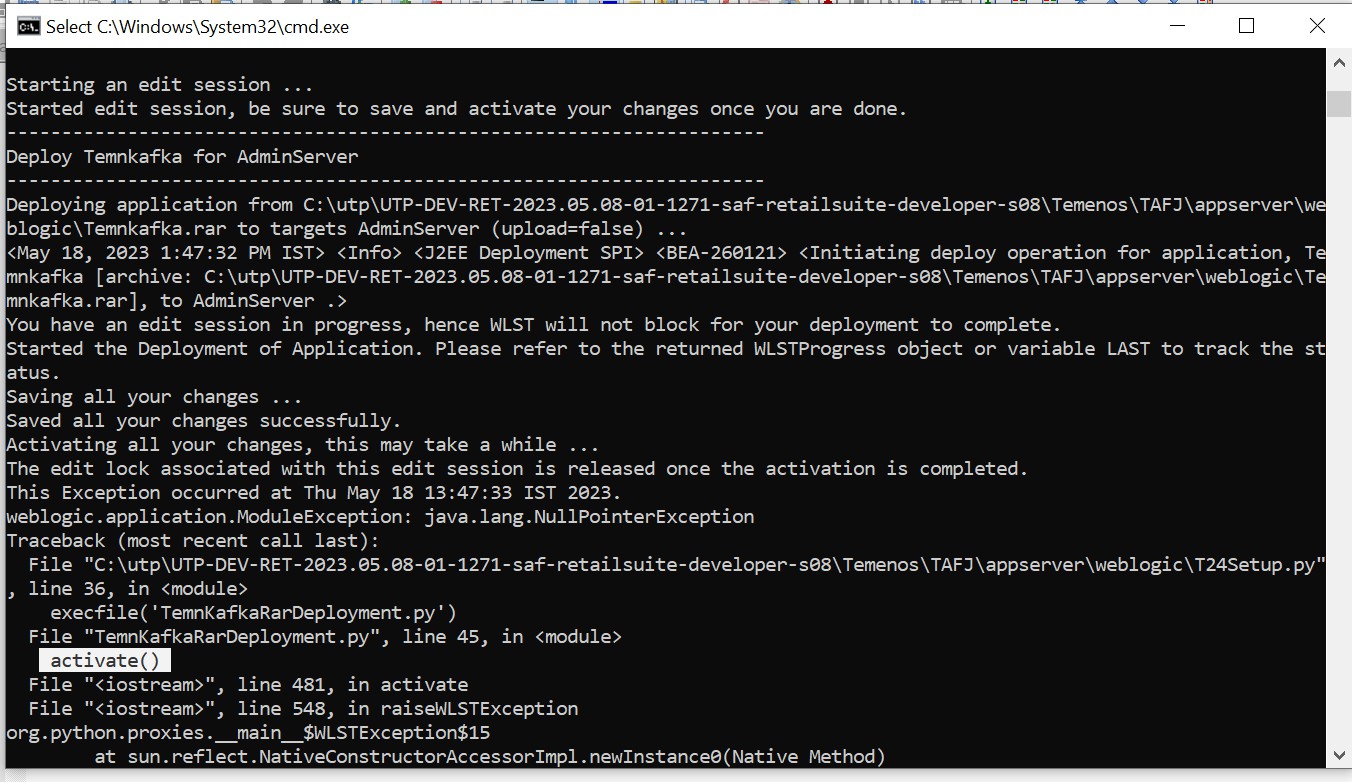
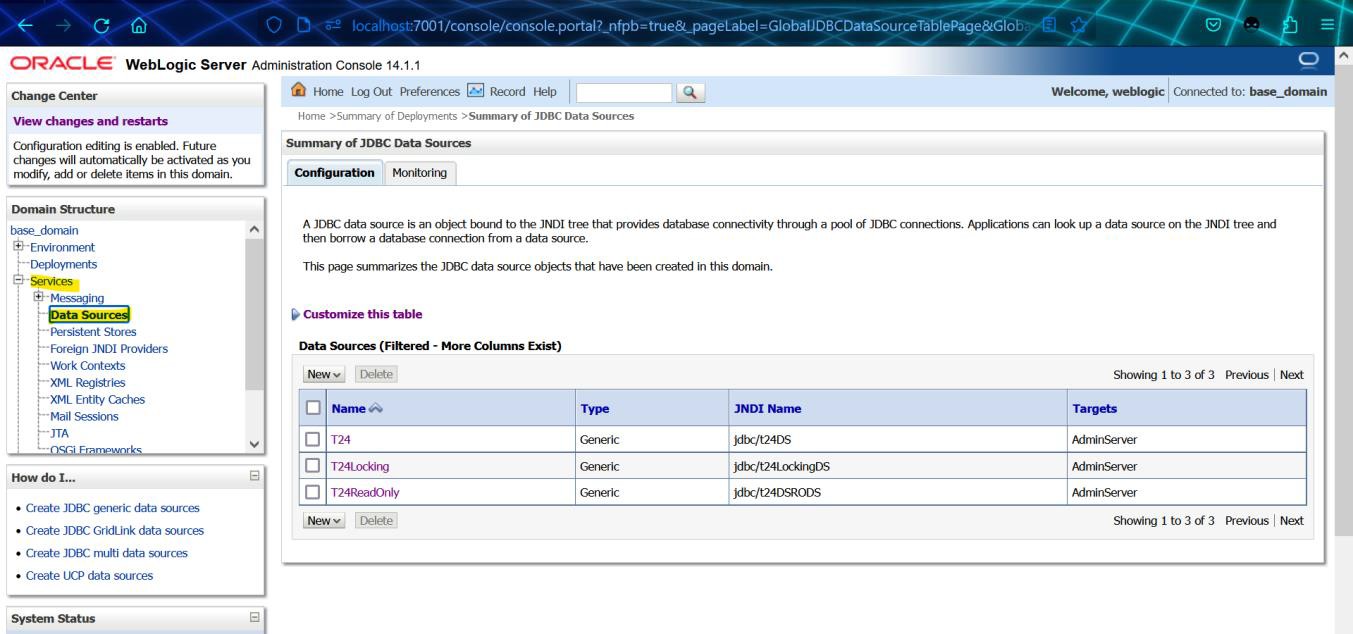
If you encounter any error, check the Weblogic console and ensure that the data sources are available.
If T24Setup.cmd does not run successfully, tafj is not configured in Weblogic. In that case, you can run TAFJ in jboss and TE wars (transact-explorer-wa and tb-server ) in weblogic. transact- explorer-wa and tb-server war should be installed in Weblogic console.
You have now successfully run the web logic server and created the users.
Click the following tabs for more information on installing each of the supporting system file.
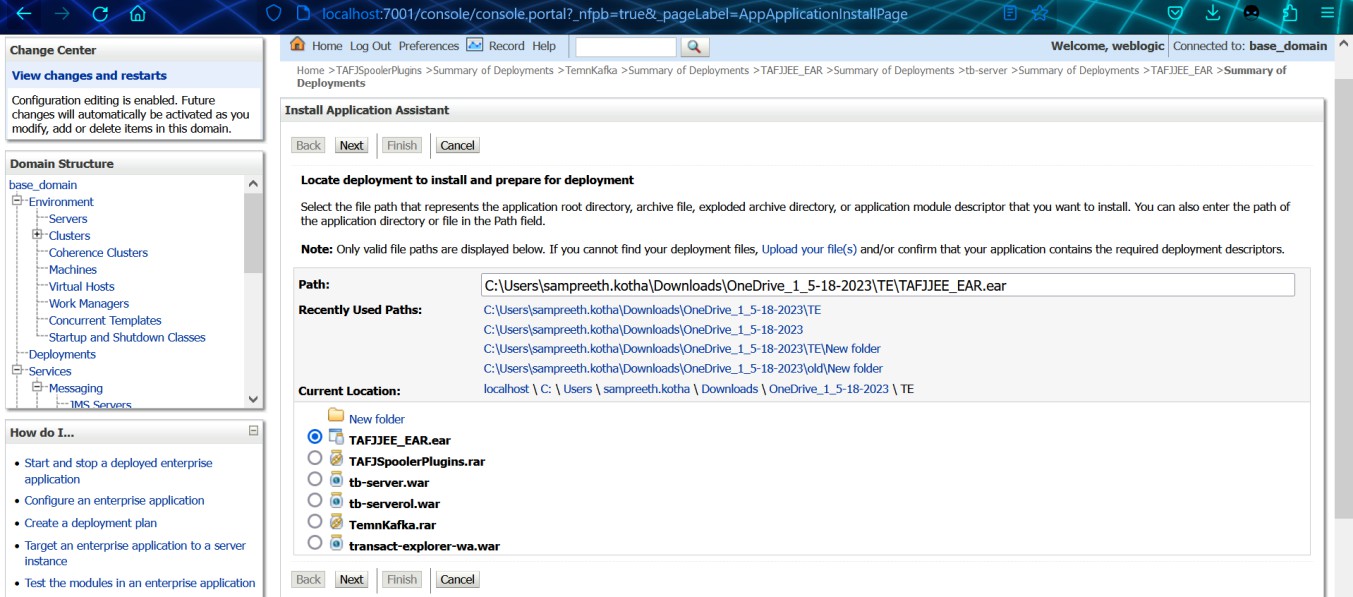
To install the TAFJJEE_EAR file,
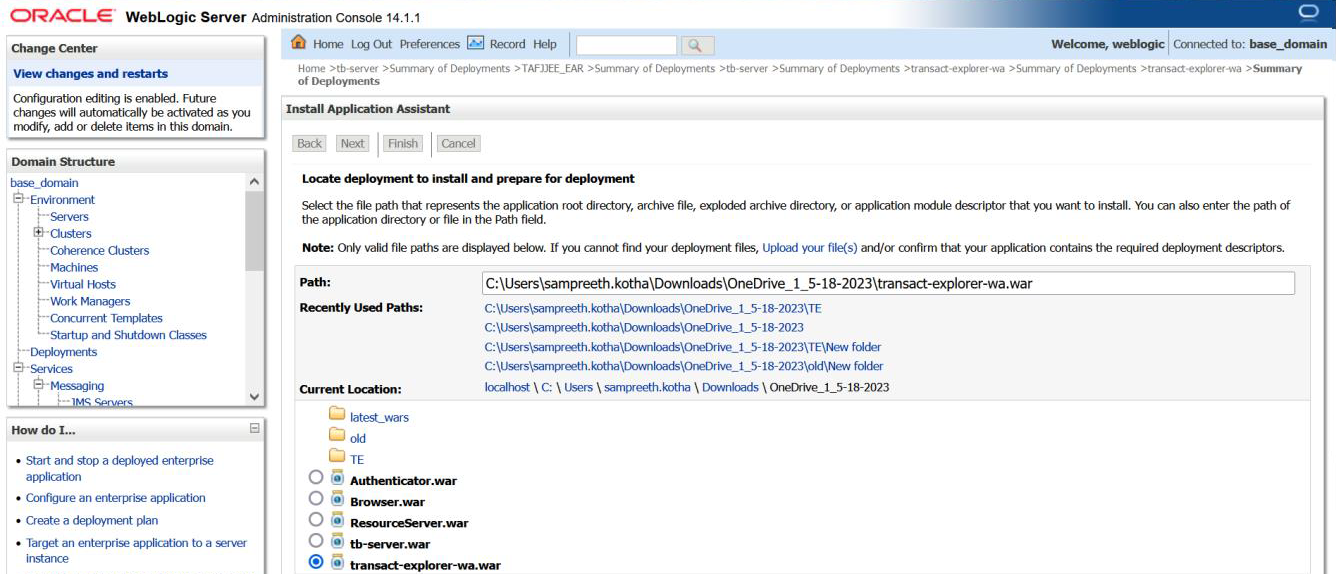
- On the Install Application Assistant screen, validate the path and current location, select the TAFJJEE_EAR.ear file and click Next.
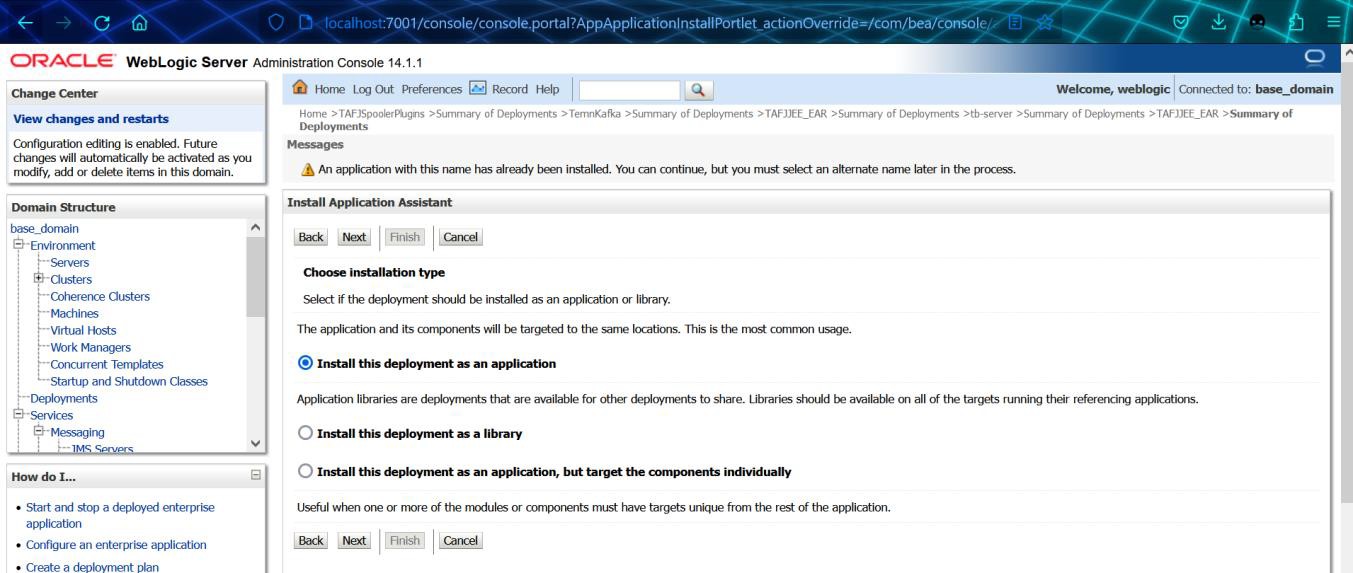
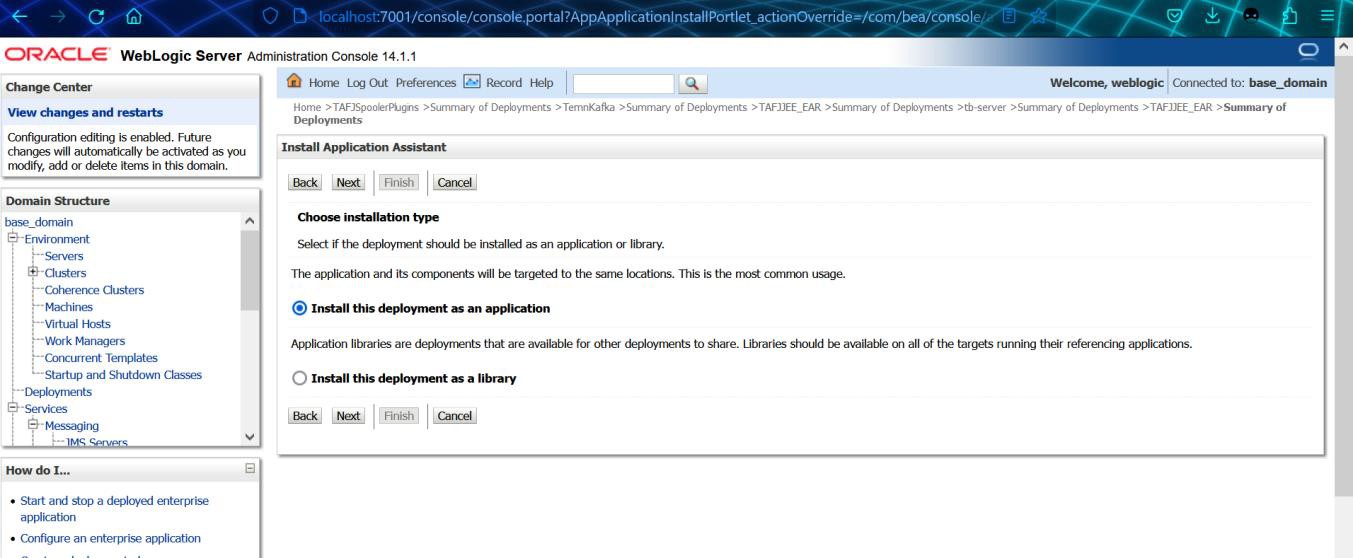
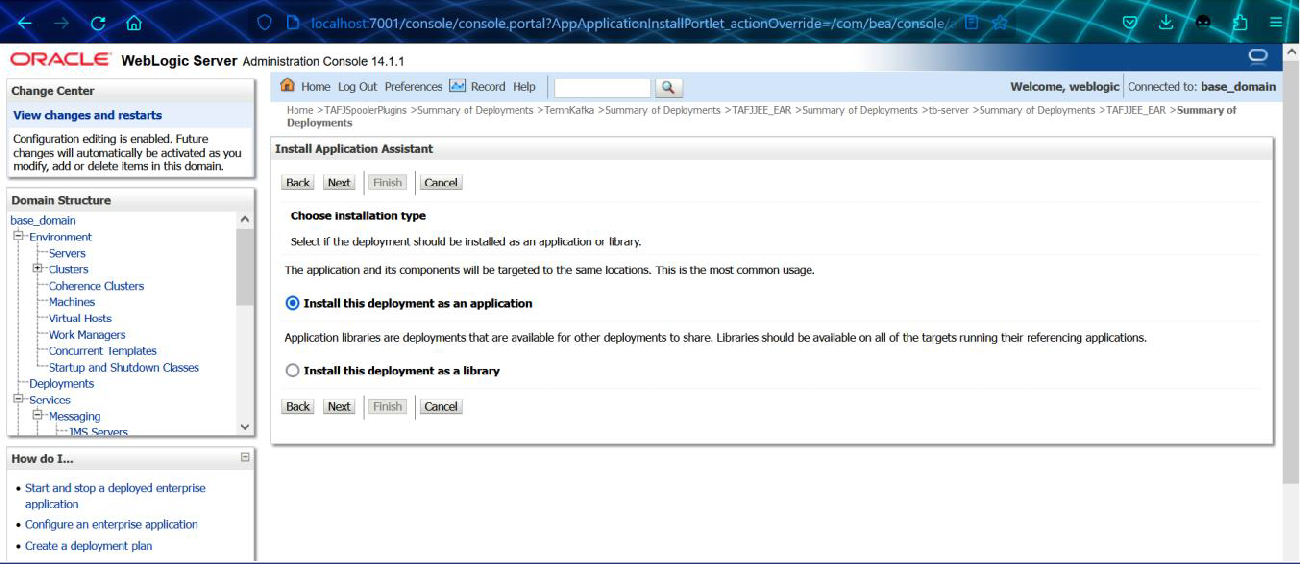
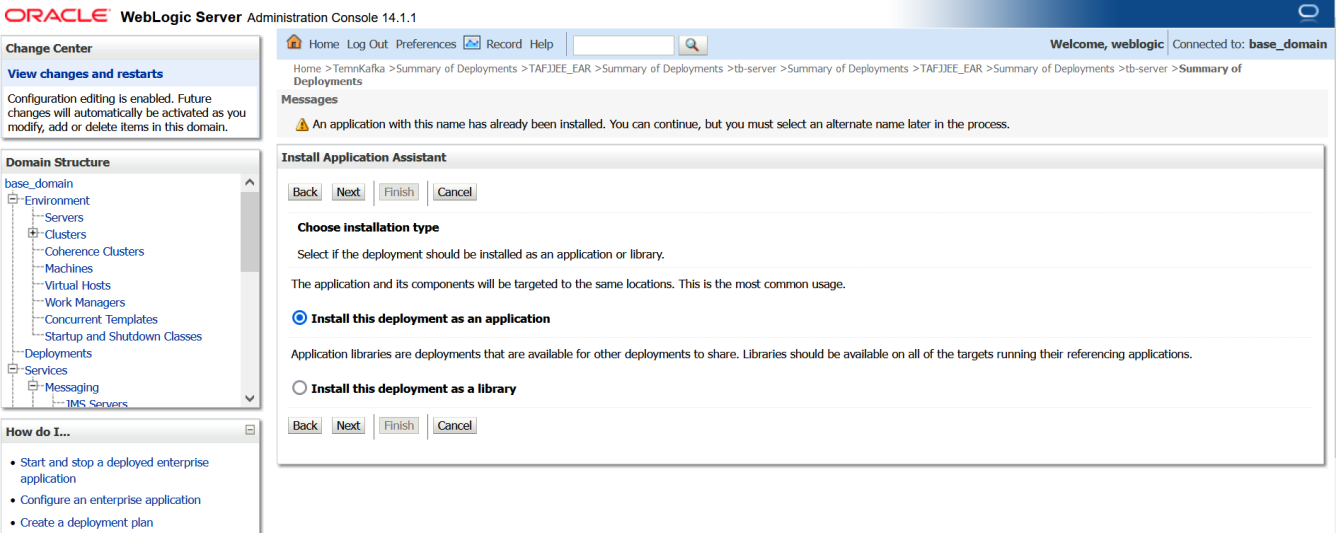
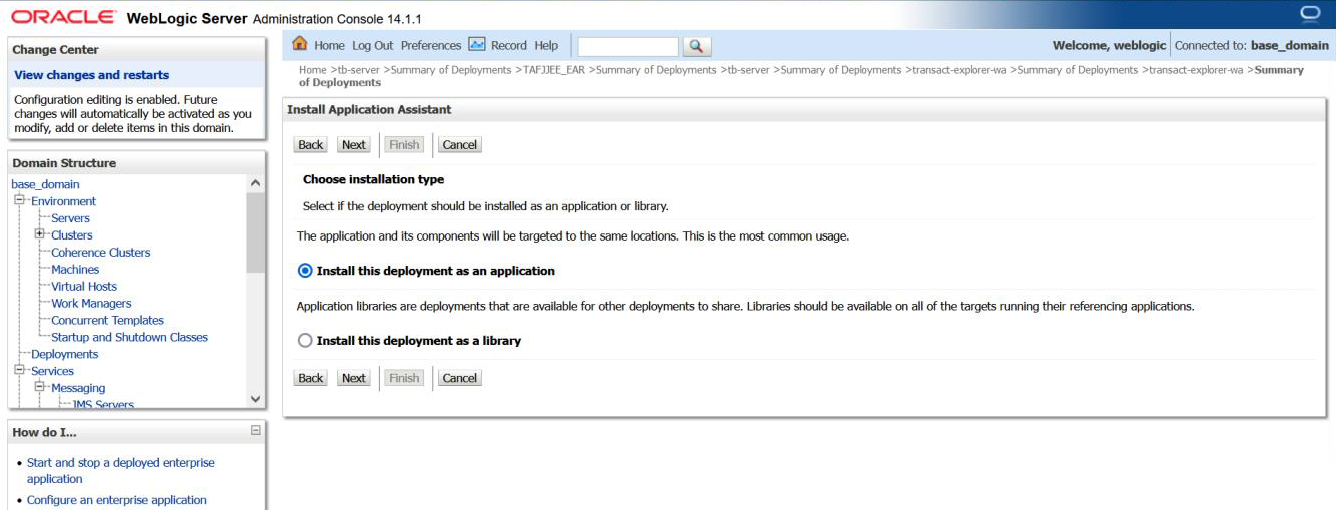
- Select Install this deployment as an application and click Next.
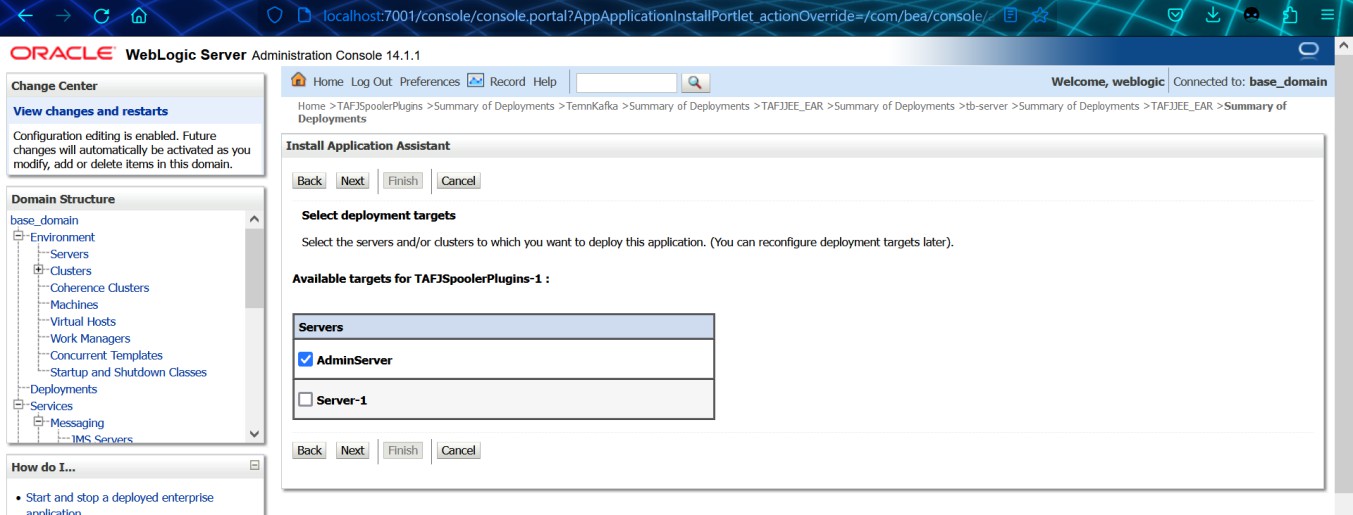
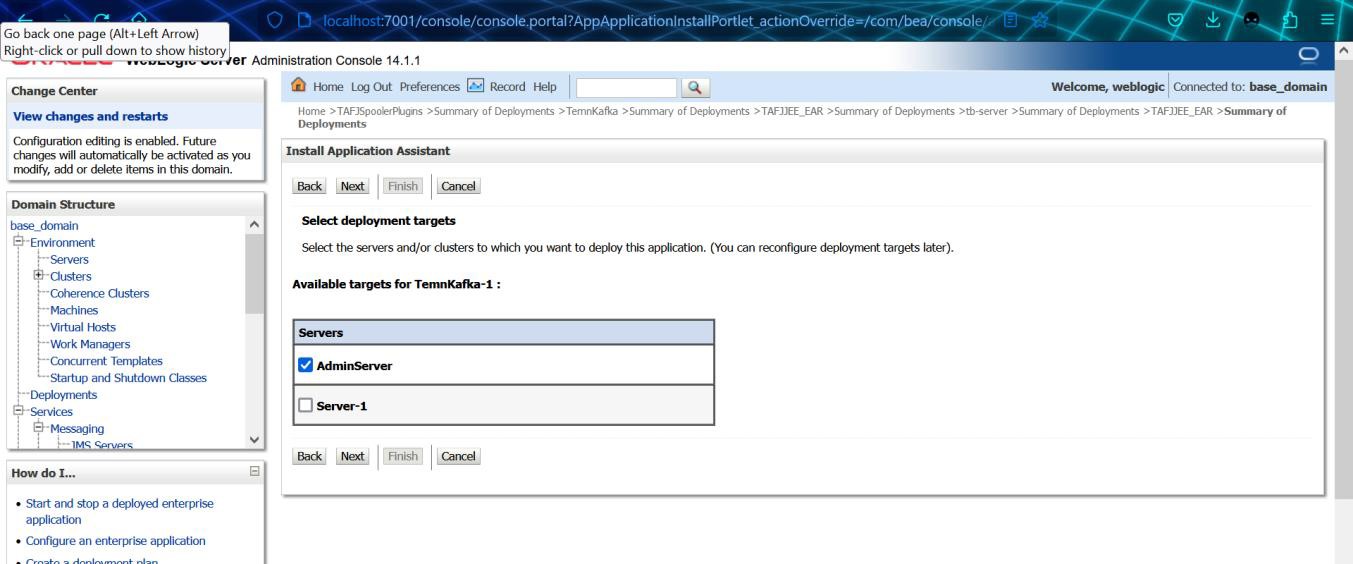
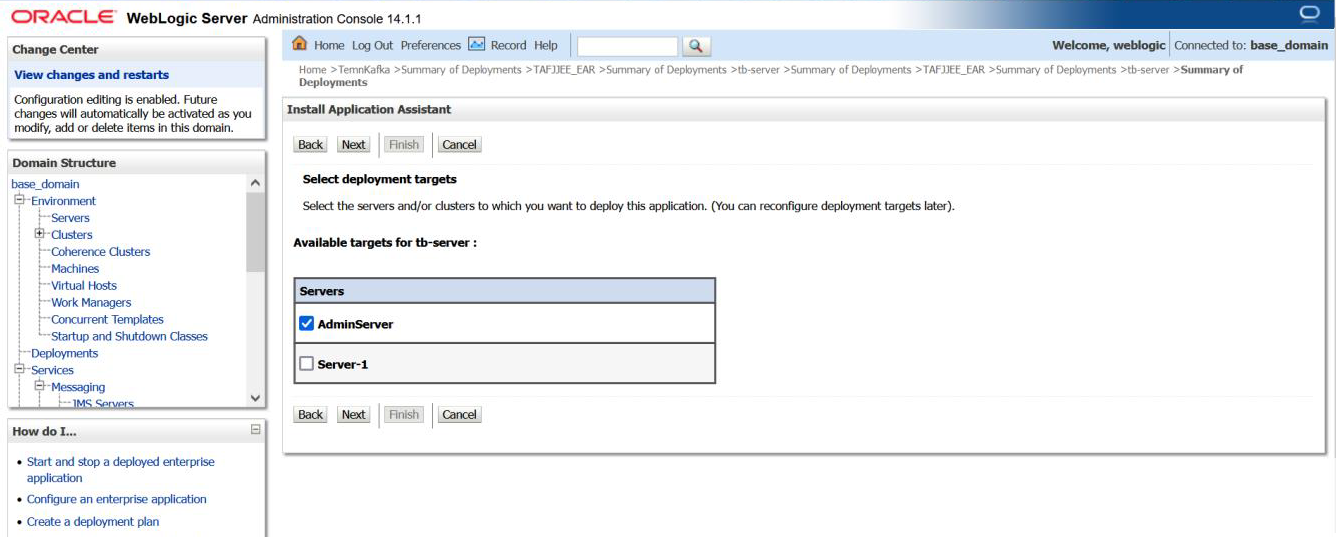
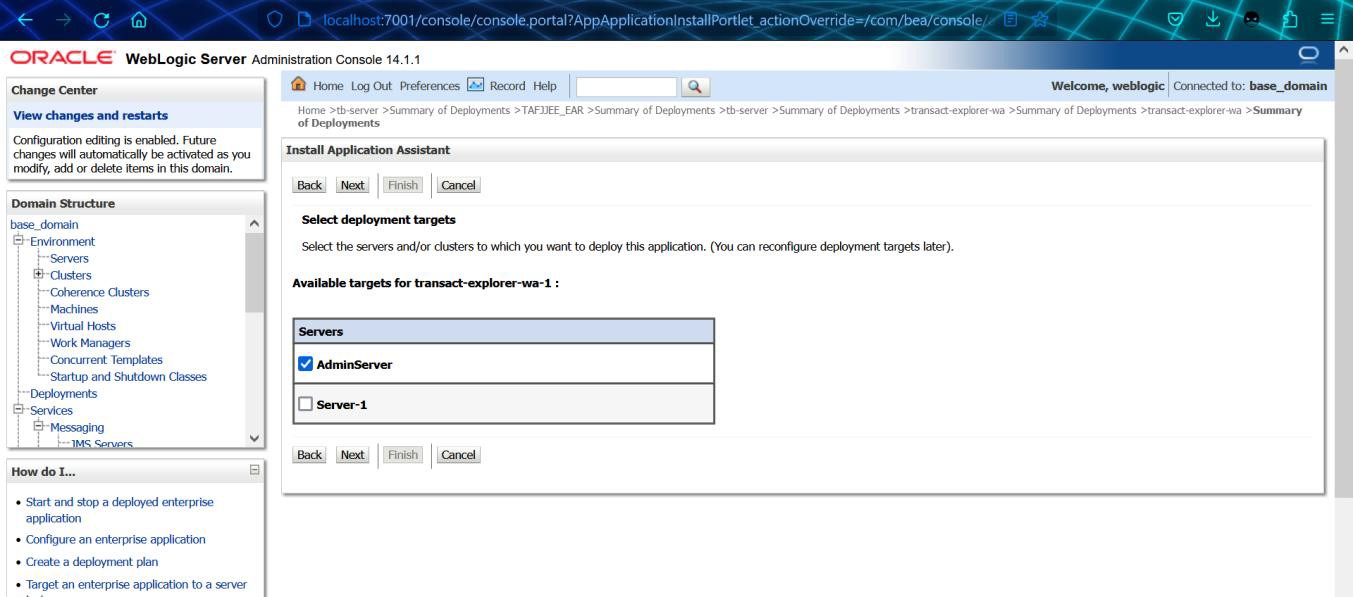
- Select AdminServer in Available targets for TAFJJEE_EAR and click Next.
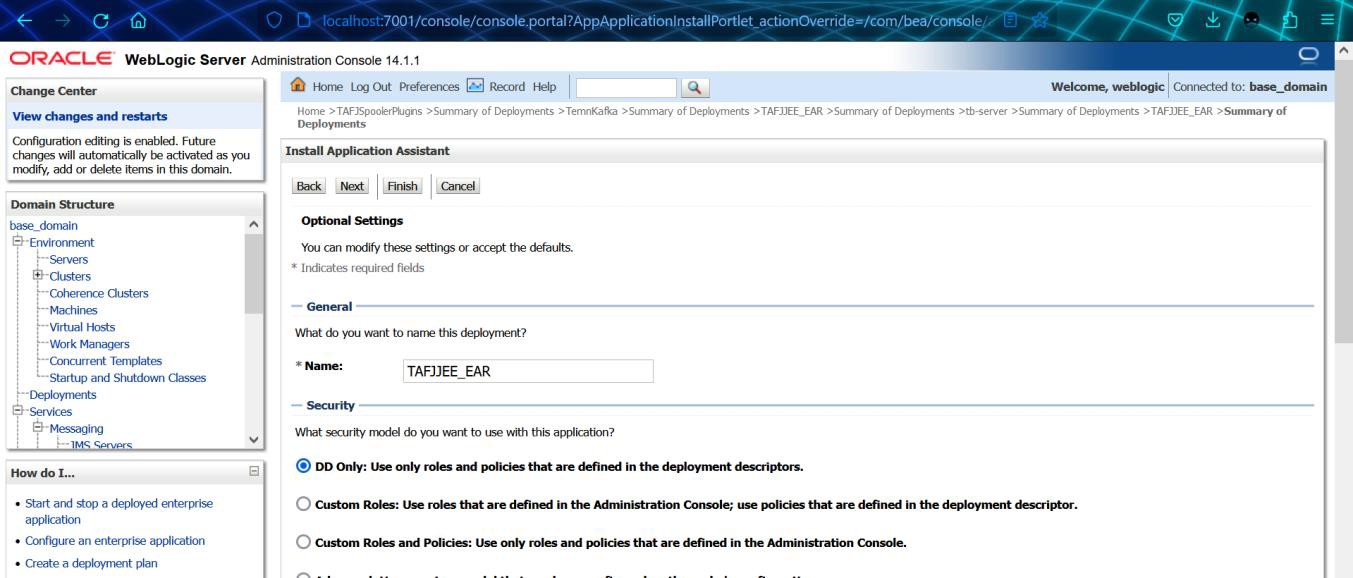
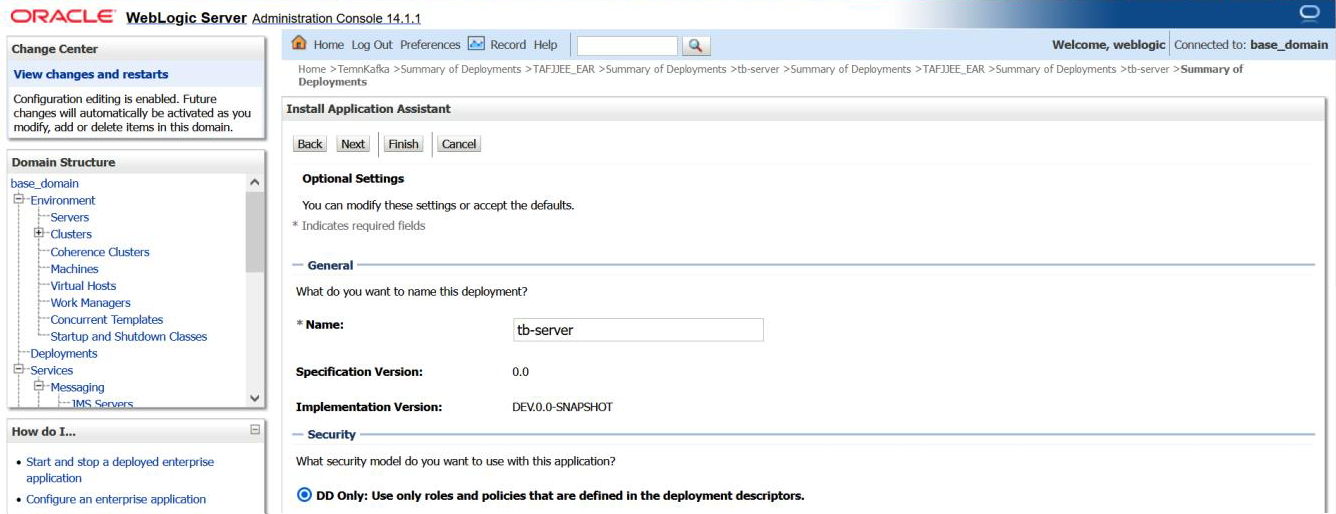
- Select the Security Model and click Finish.

You have now successfully installed TAFJJEE_EAR.
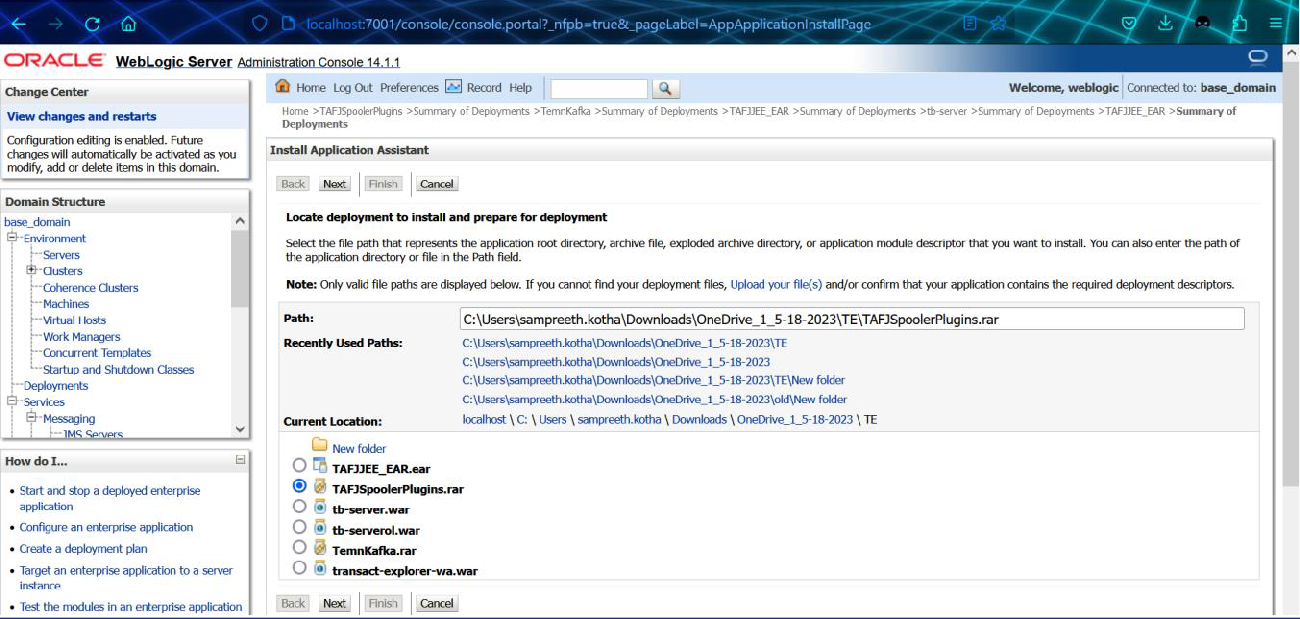
To install the TAFJSpoolerPlugins.rar file
- On the Install Application Assistance, validate the path and current location, select TAFJSpoolerPlugins, and click Next.
- Select Choose Installation Type as Install this deployment as an application.
- Select Deployment targets as AdminServer.
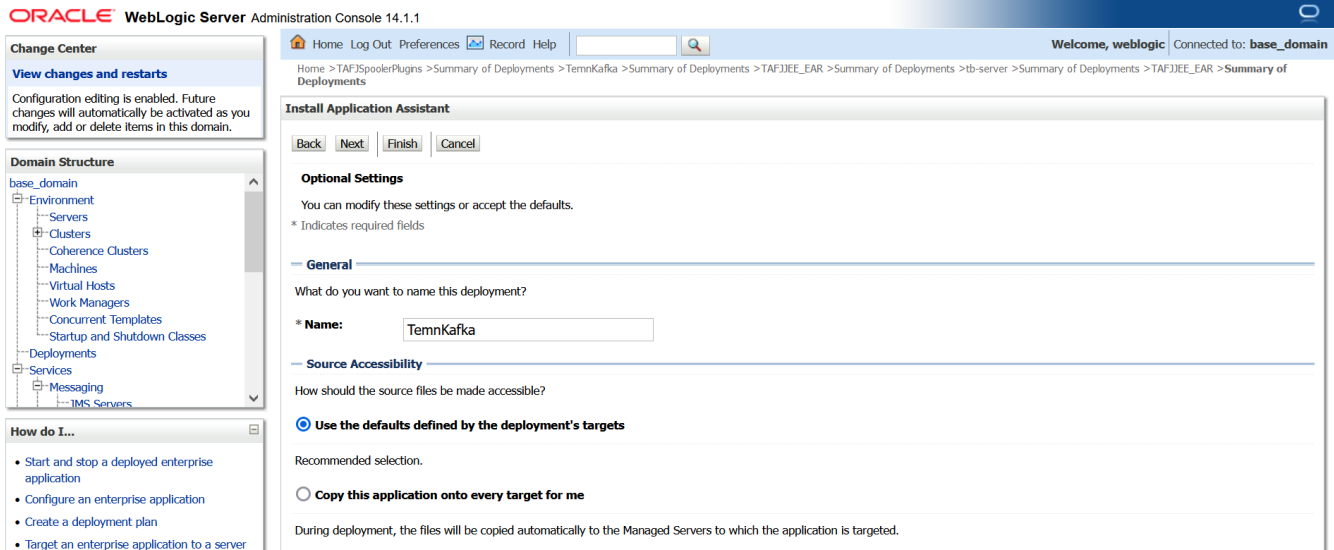
- Enter the deployment name and select the source accessibility.
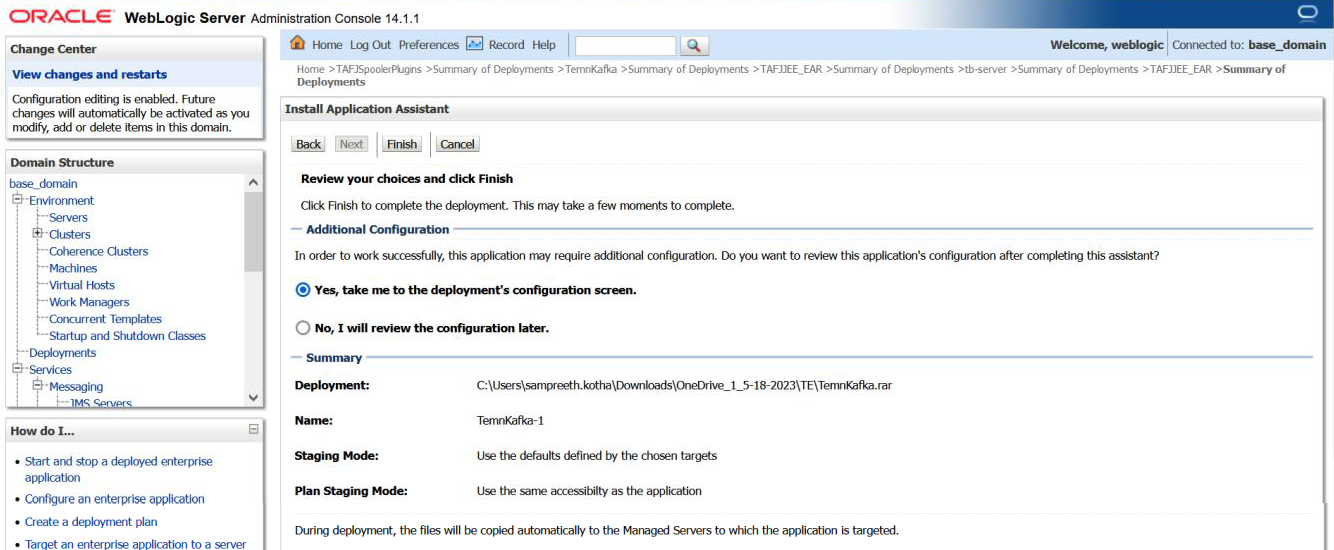
- Select the additional configuration and click Finish.

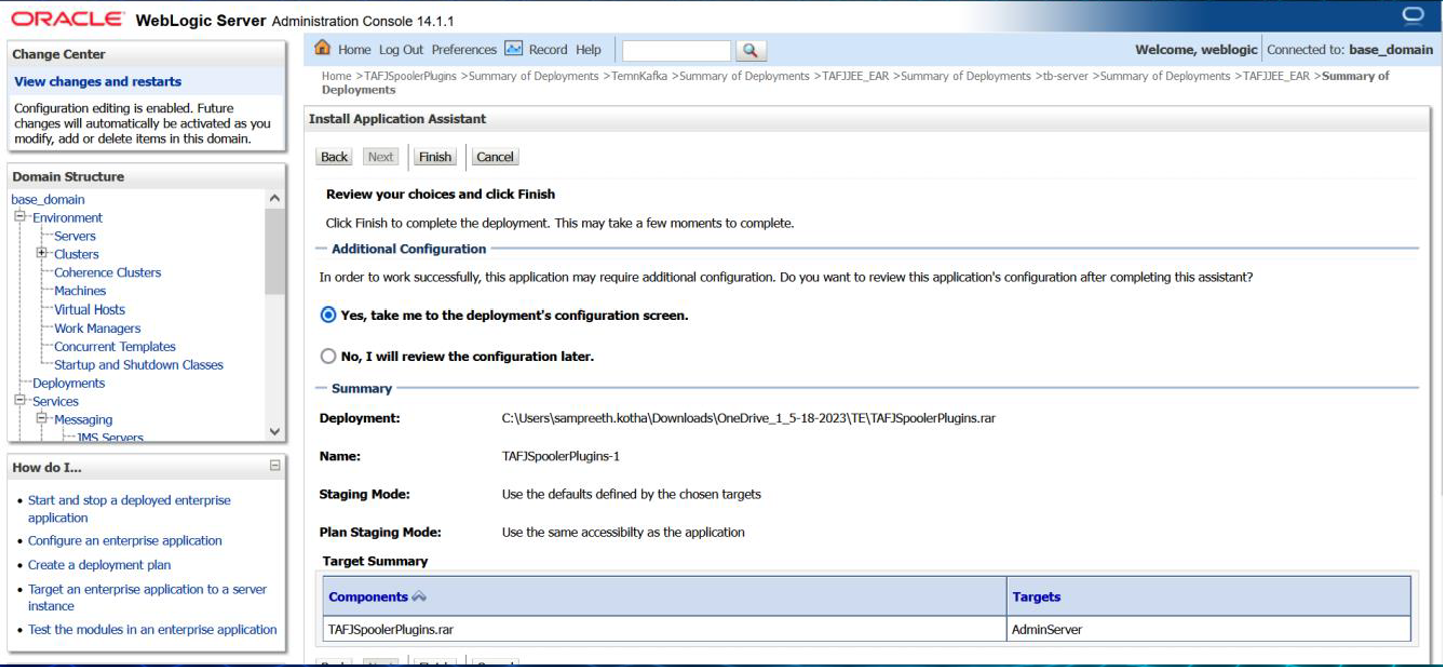
You have successfully installed TAFJSpoolerPlugin.
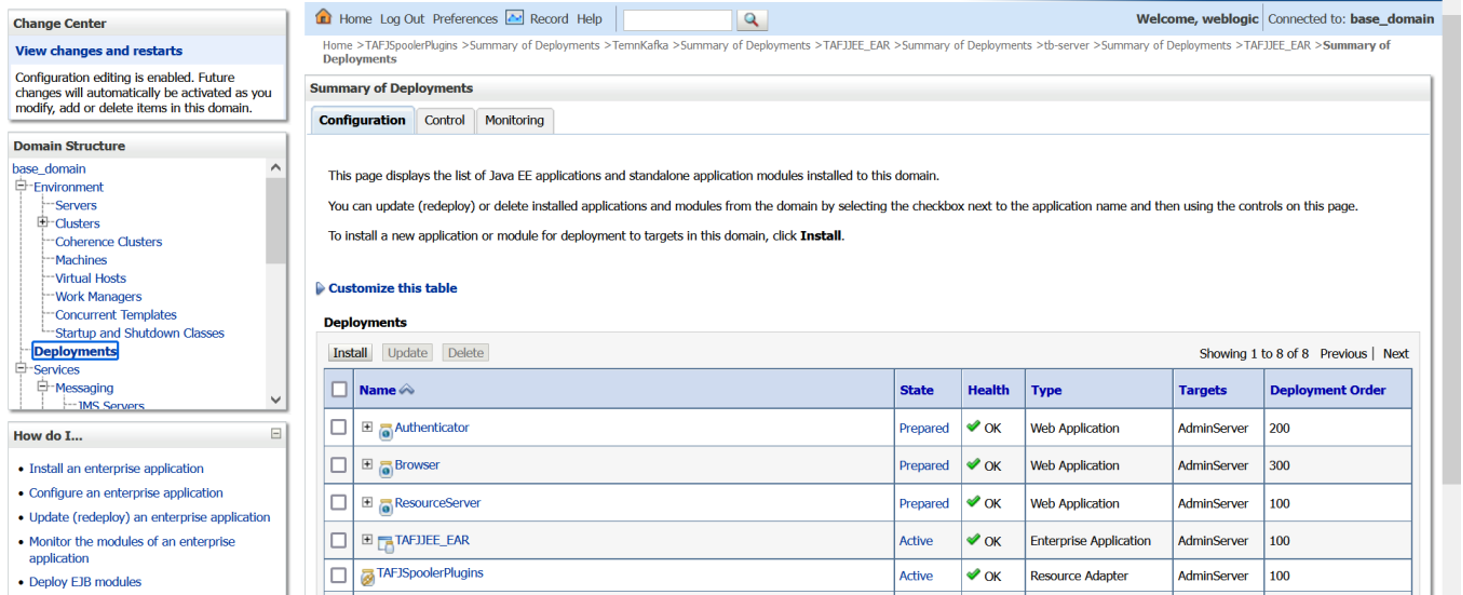
You have now successfully installed TAFJSpoolerPlugins.rar.
To install the TemnKafka.rar file,
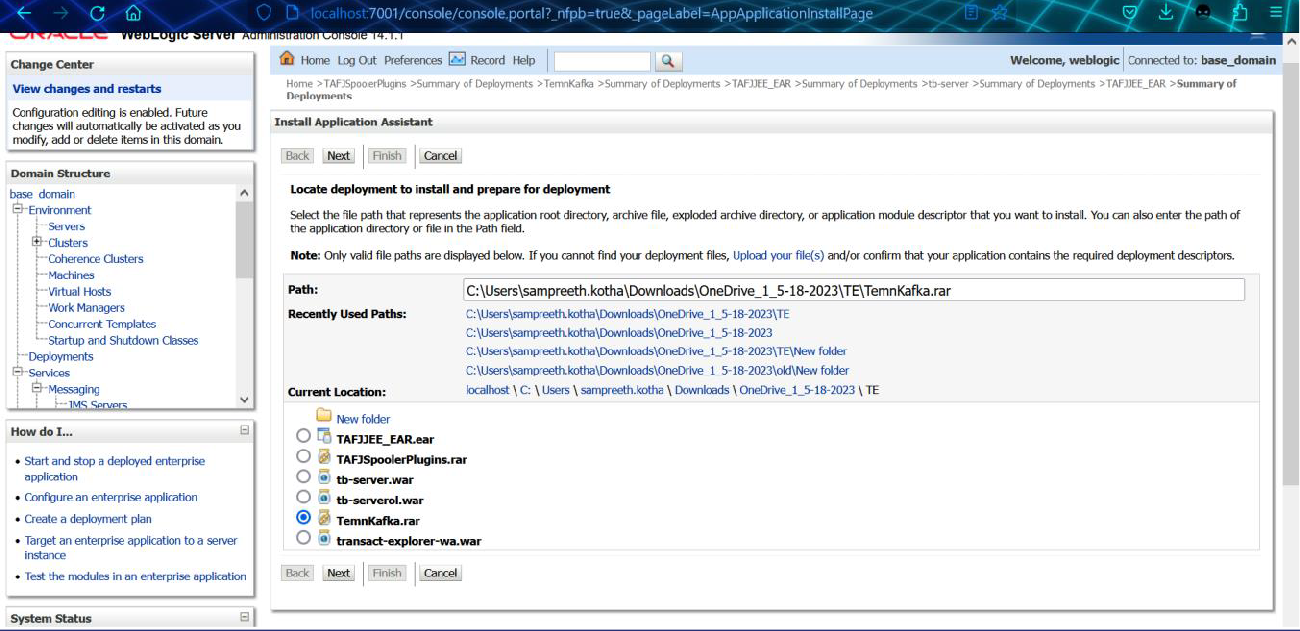
- On the Install Application Assistance section, validate the path and current location, select TemnKafka.rar, and click Next.
- Follow Step 2 to Step 5 of Installing TAFJJEE_EAR.
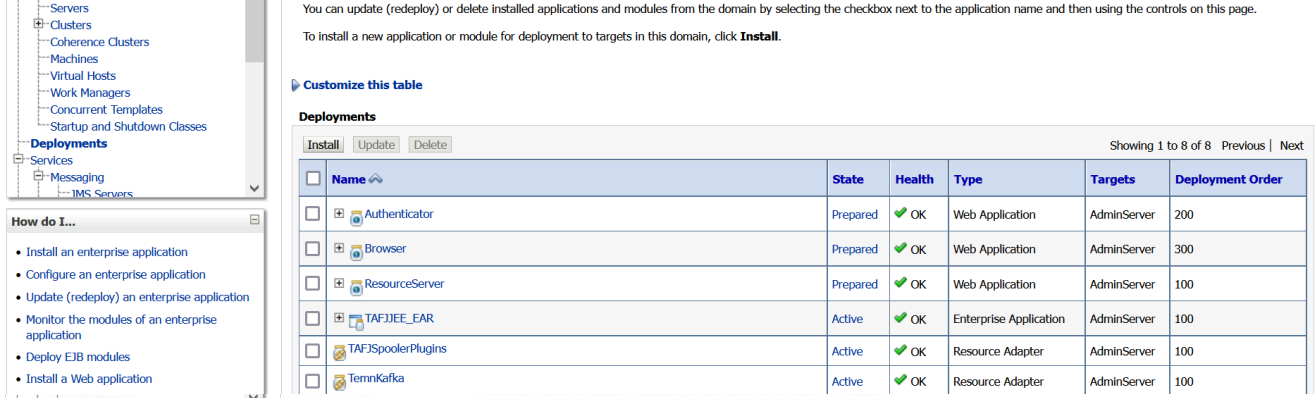
You have successfully installed TemnKafka.war.
To install tb-server.war,
- In the weblogic.xml file, add the below lines.
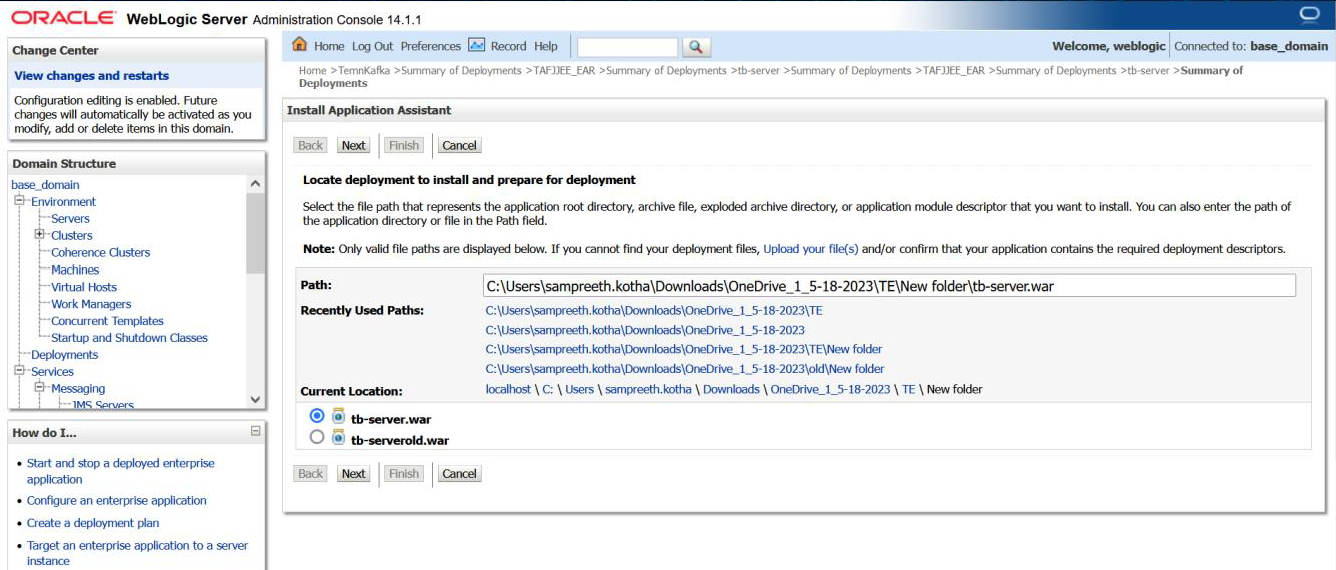
- On the Install Application Assistance section, validate the path and current location, select tb-server.war, and click Next.
- Follow Steps 2 to Step 5 of Installing TAFJJEE_EAR.

You have now successfully installed tb-server.war.
To install transact-explorer-wa.war,
- In the web.xml file, add the below line above the webapp tag.
- On the Install Application Assistance section, validate the path and current location, select tb-server.war, and click Next.
- Follow Steps 2 to Step 5 of Installing TAFJJEE_EAR.


You have now successfully installed transact-explorer-wa.war.
In this topic