Configuring Azure Active Directory (AAD)
To configure AAD,
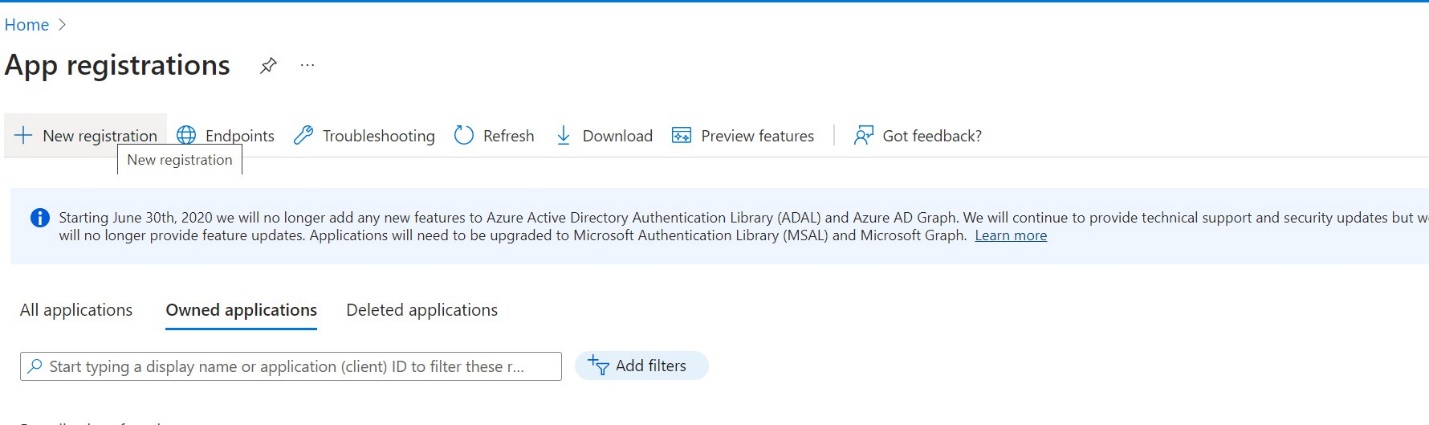
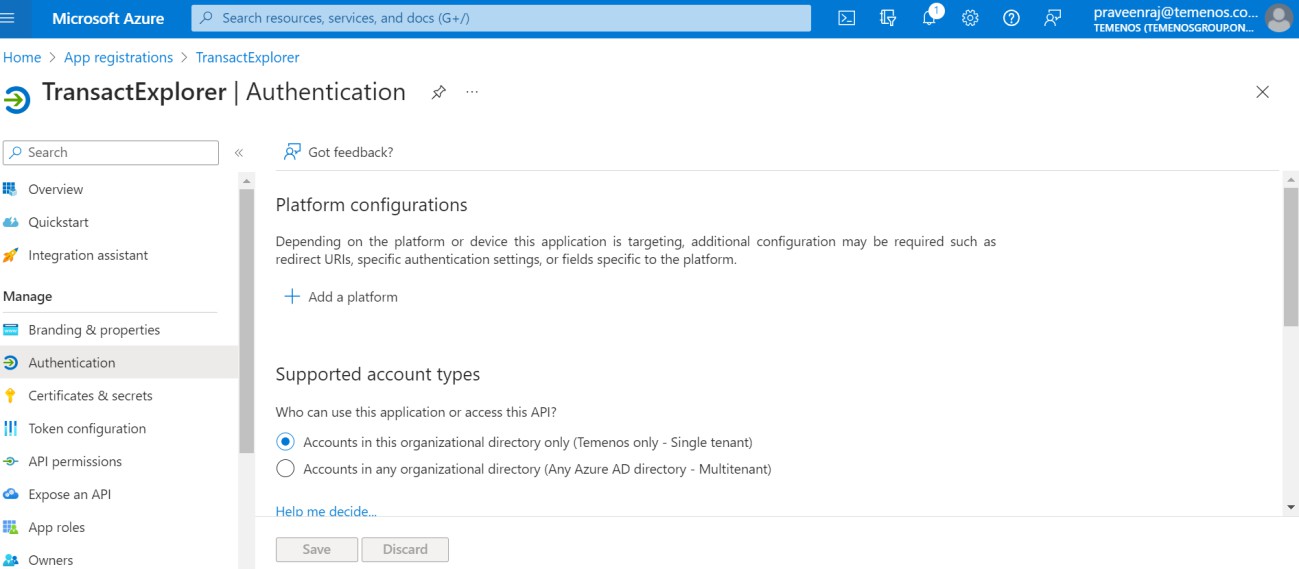
- Login into AAD and search for App registration.
- Click the New registration option inside App Registrations.
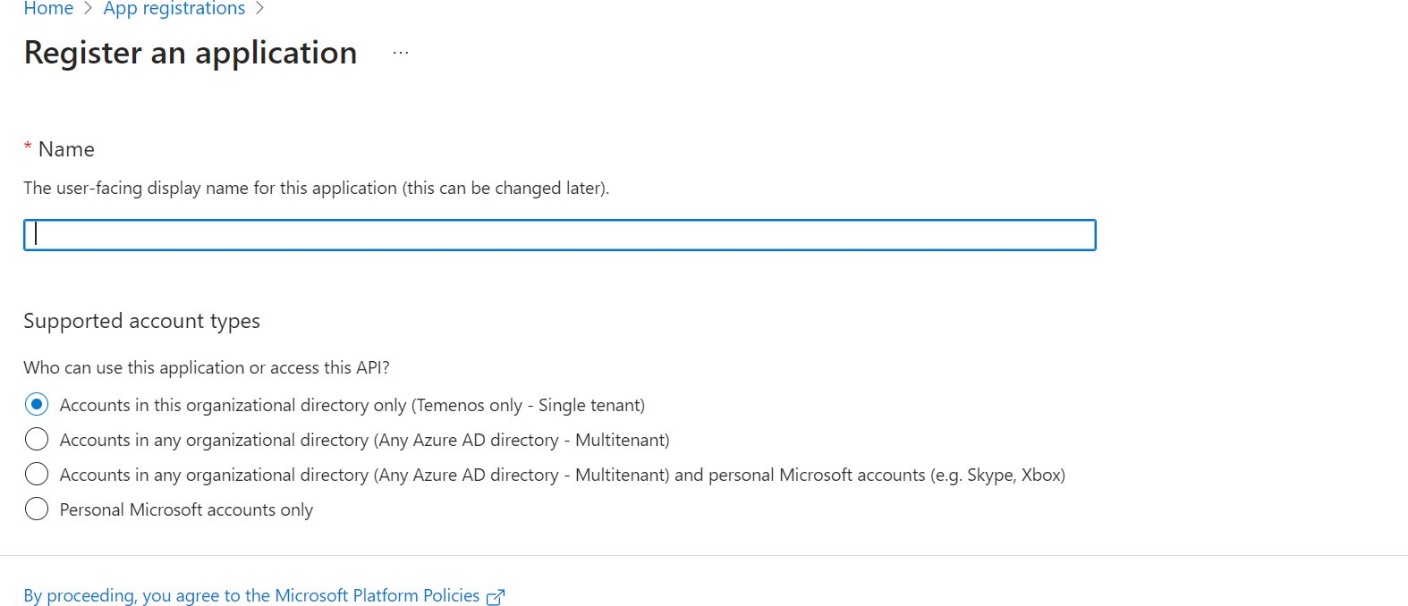
- On the Register an application page, enter the name, select the account type, and click Save. Check with IT or security team if you are not aware of the option.
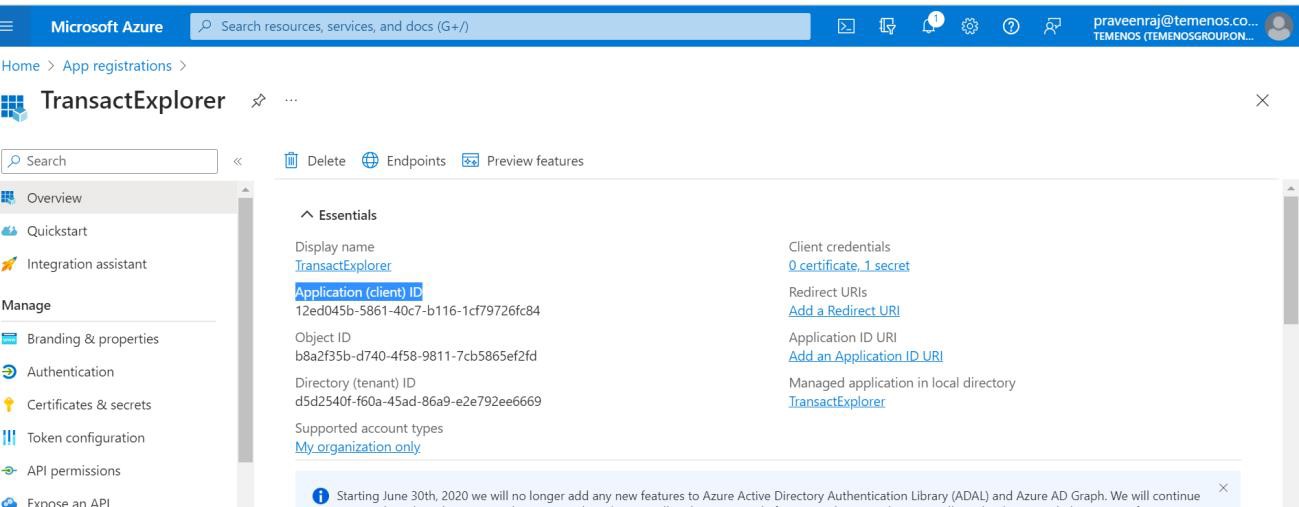
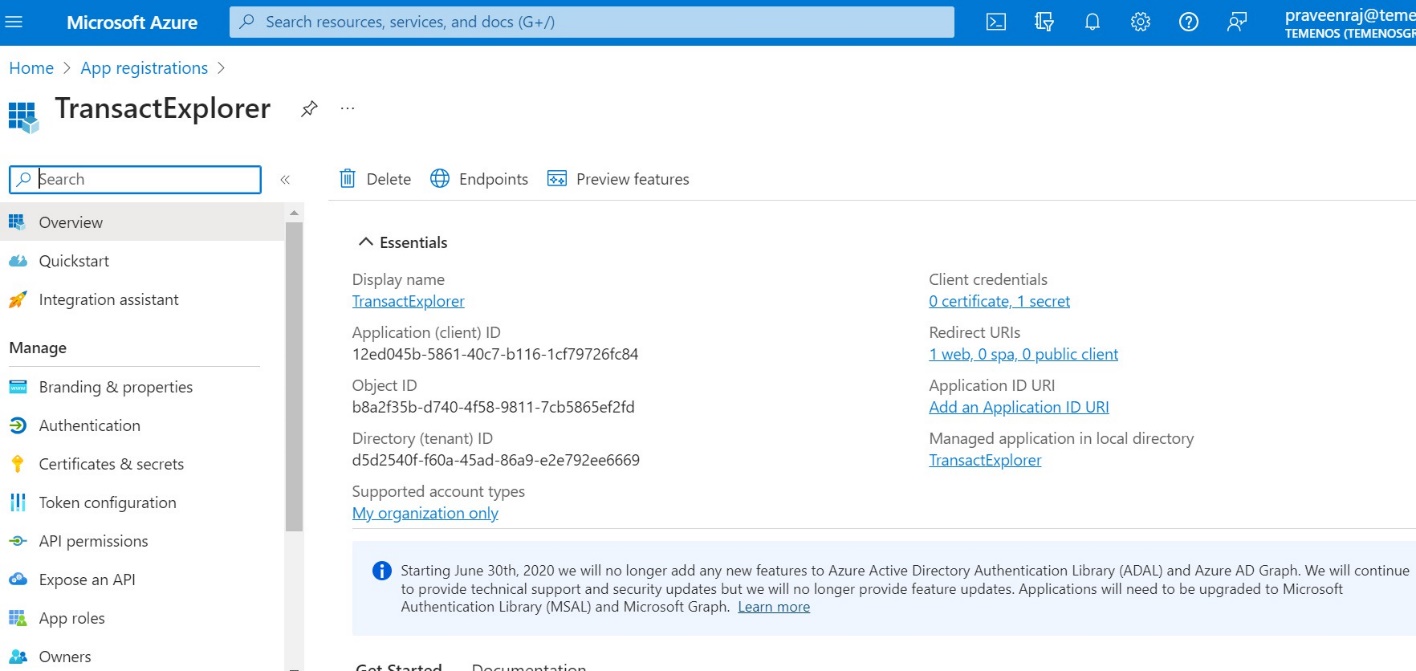
- Note the Application (client) ID, which is used while configuring the transact explorer war file and click Add a Redirect URI to configure redirect URI.
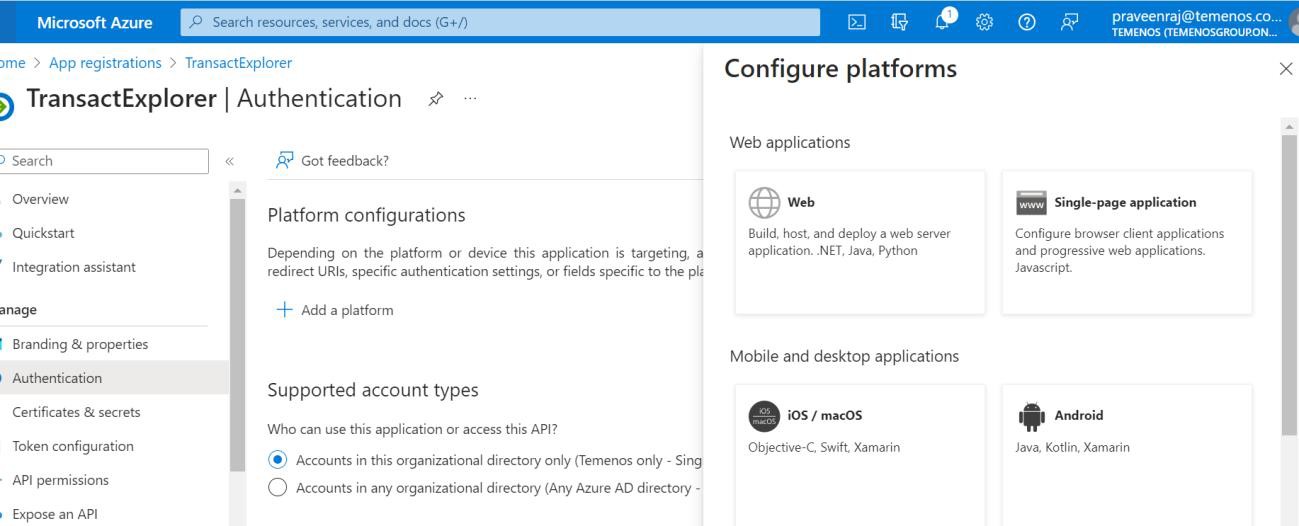
- Click Add a Platform and select Web under Configure platforms.
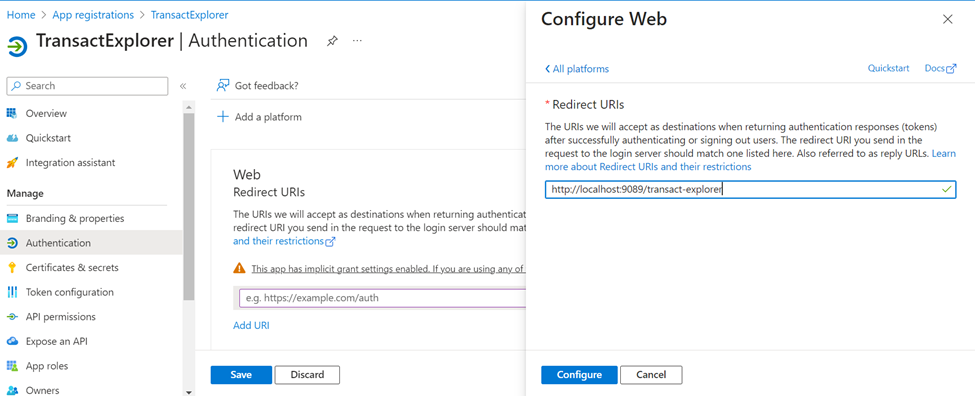
- On the Configure Web pane, enter the redirect URI and click Configure. Here, redirect URI is the transact-explorer-wa URL (http://localhost:9089/transact-explorer-wa).

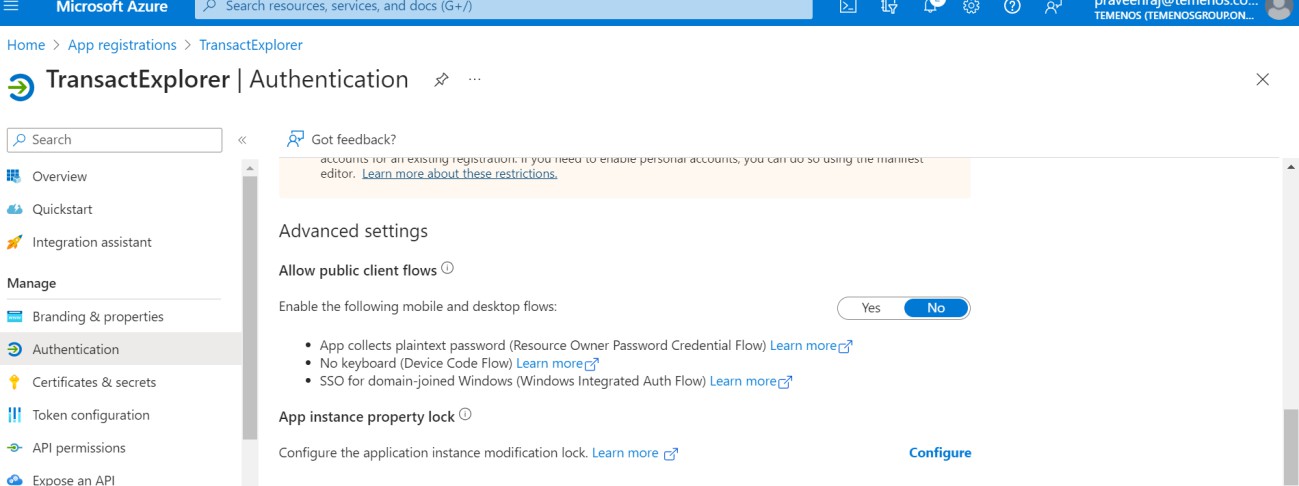
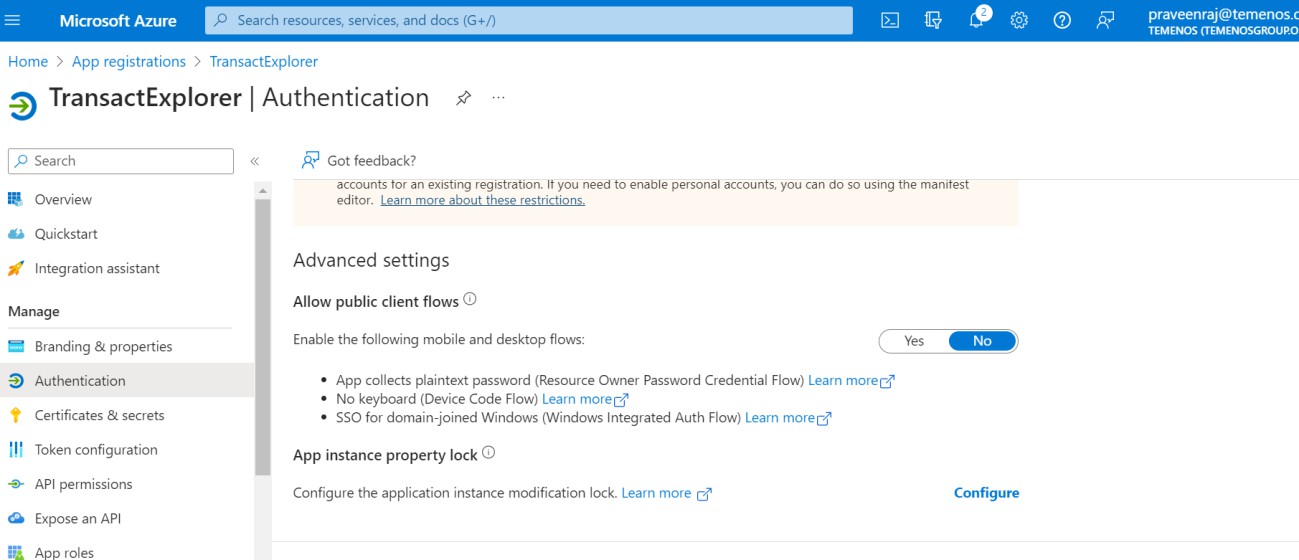
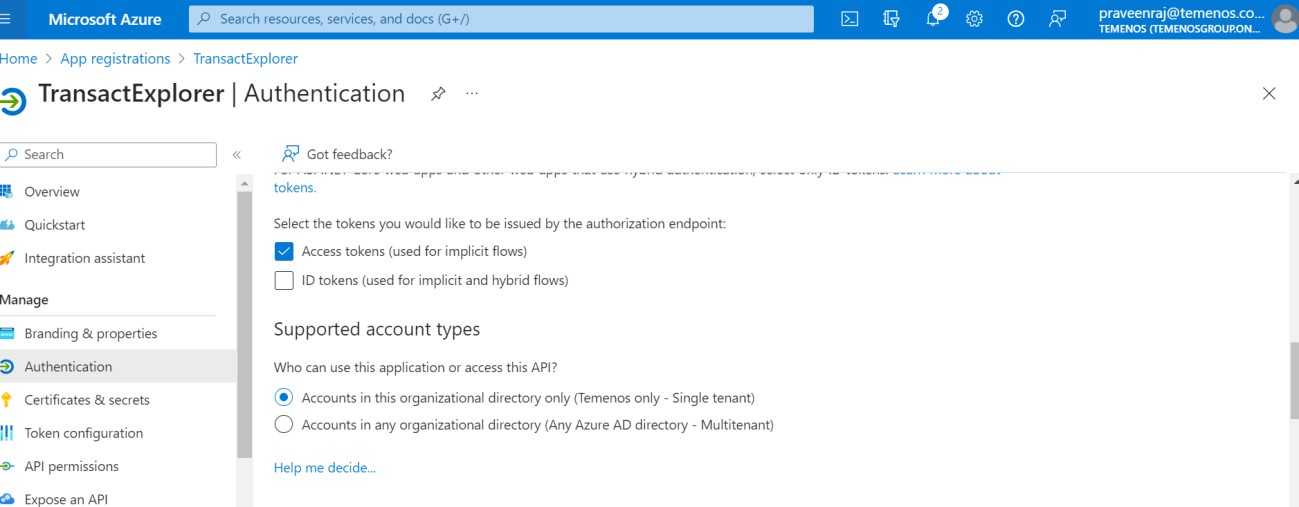
The below options are set by default.
To generate client secret,
- On the left-navigation pane, click Certificates & Secrets.
- Click New client secret.
- On the Add a client secret page, enter a description, select the secret value expiry timeline, and click Save. The default value is 6 months.
- Copy the value in some text file, as you need them to configure in front-end war. Ensure to copy the value immediately as it will become encoded in a few minutes.
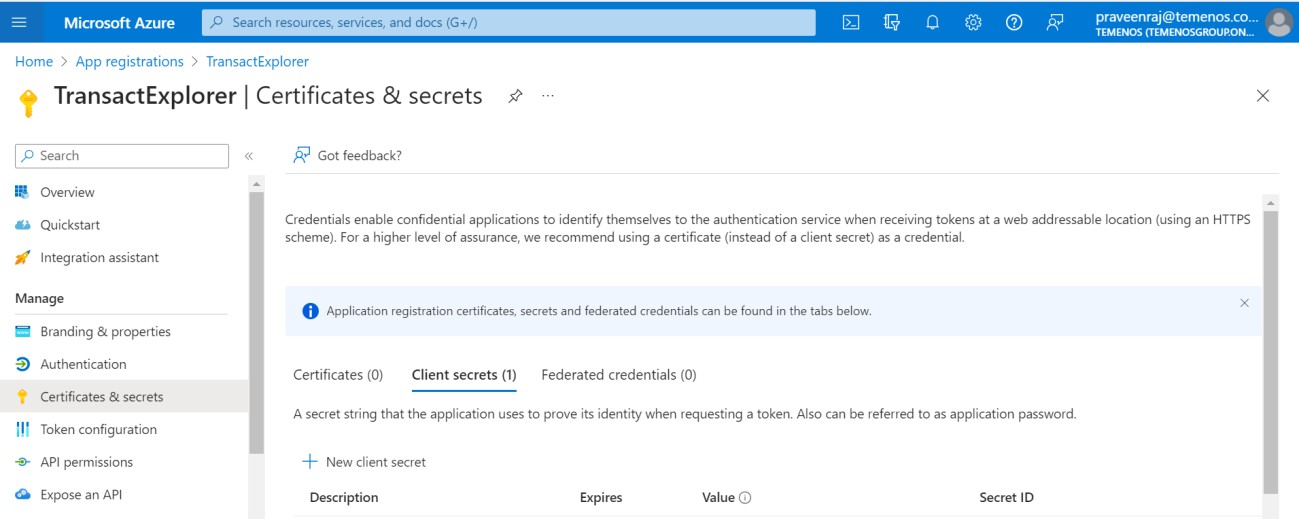
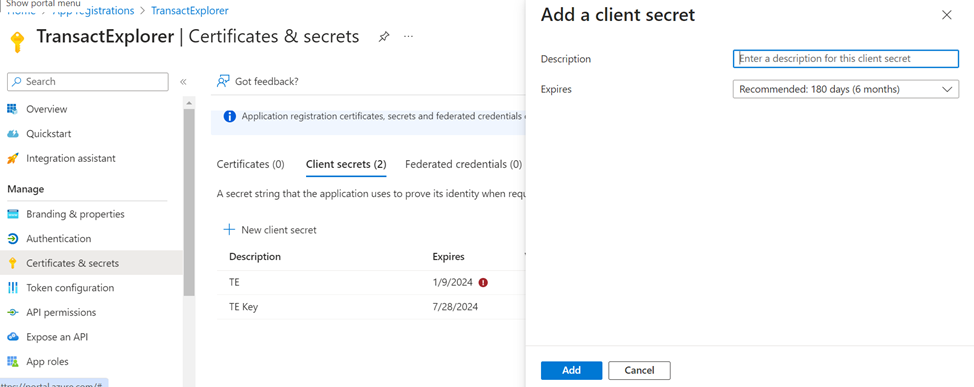
You have now successfully generated the client secret.
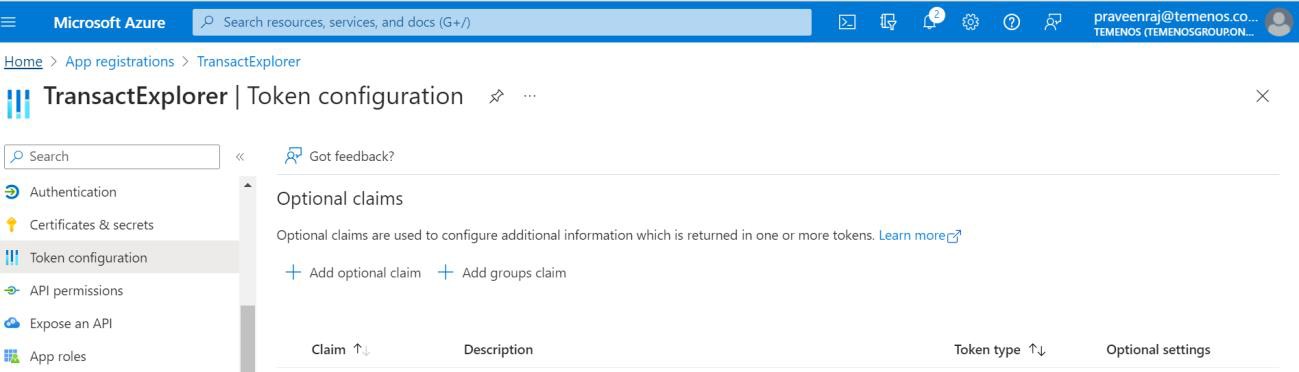
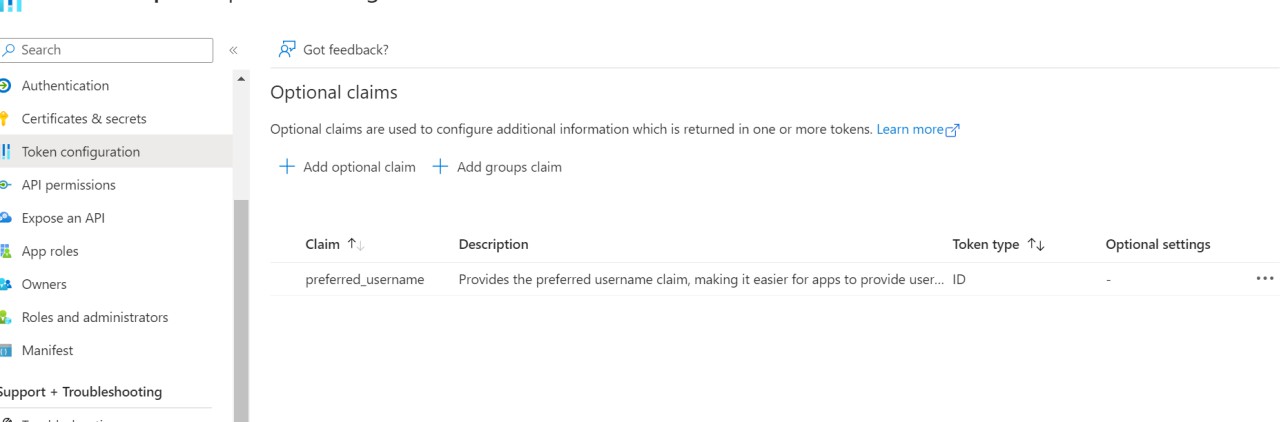
Since Transact Explorer accepts the claim only in Preferred_username format, you need to configure the token for the same.
To configure the token,
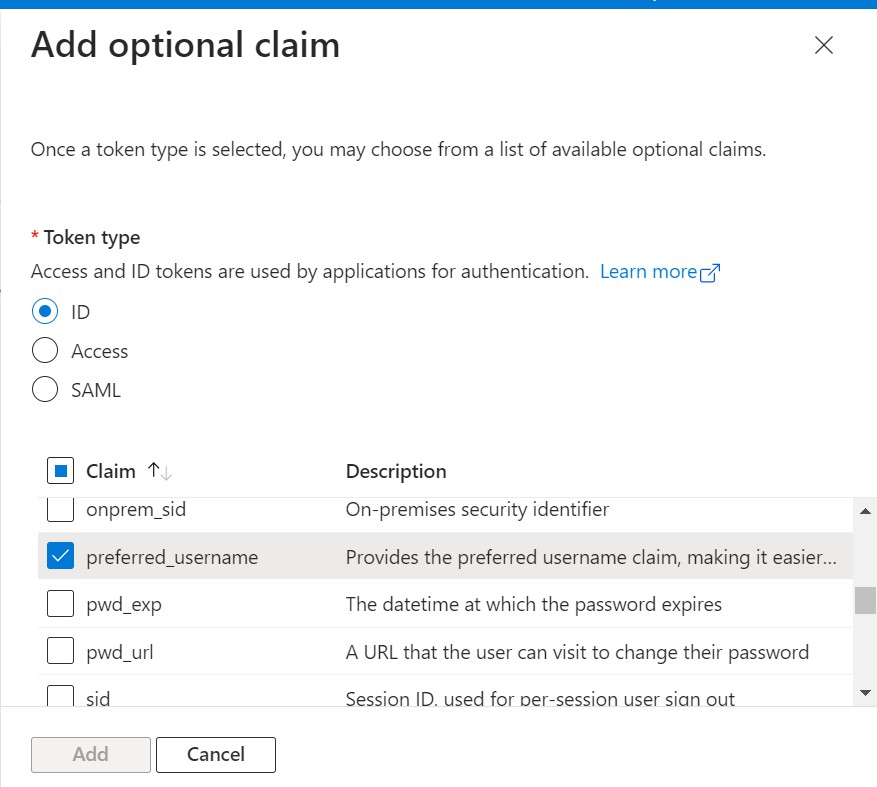
- Select Token configuration and click Add optional claim.
- On the Add optional claim pane, select the ID token type and Preferred_username option, and click Save.
You can view the endpoints from the App Registration home page as shown below.
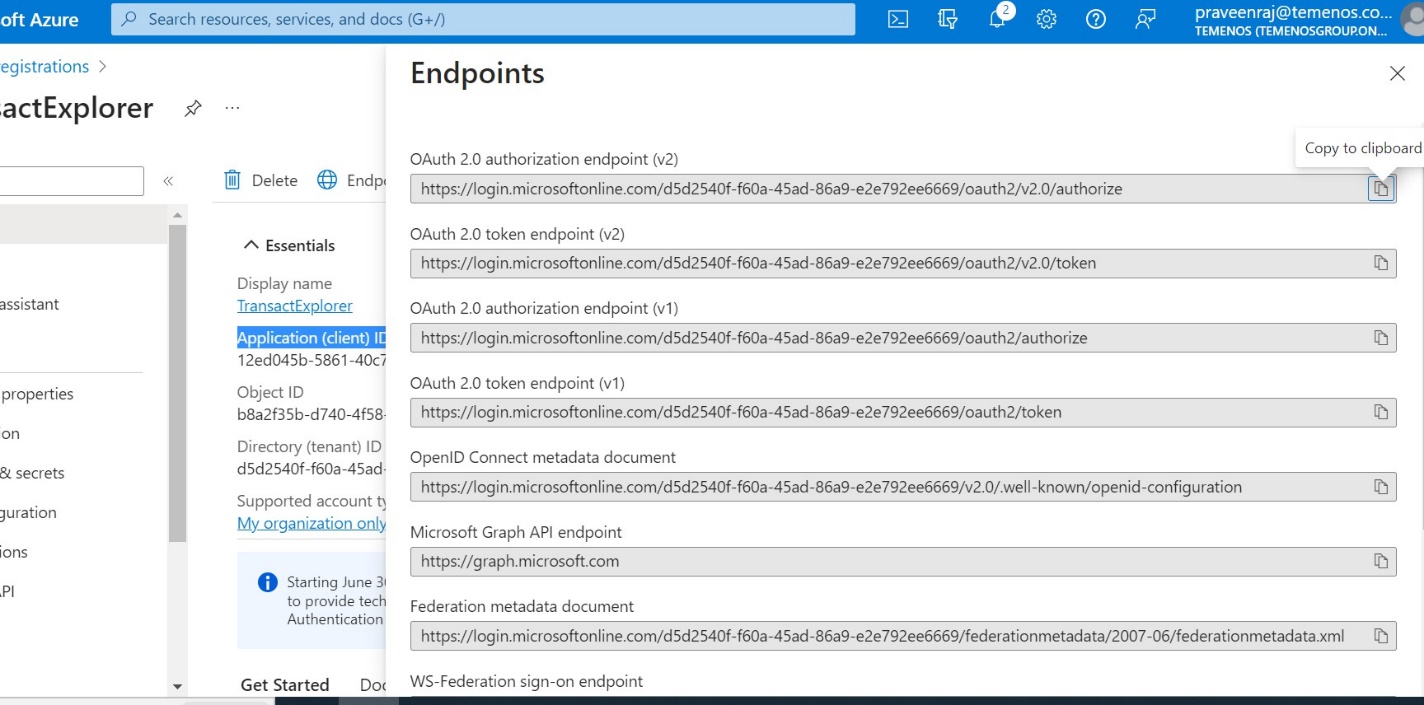
To know the endpoints to configure in front end war’s, open the Openid Connect metadata document and note the value.

You have now successfully configured the token and generated the end points.
Configuring tb-server.war
Perform any one of the below configurations.
- Enable the JWT token filter in the config.properties file.

- Set the Dcom.temenos.te.api.enableJWTtokenFilter=true property in the setenv.bat file.
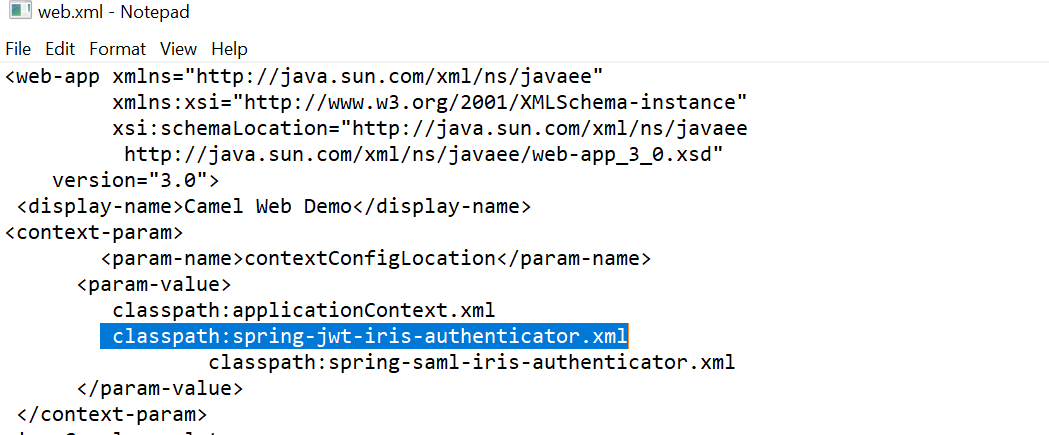
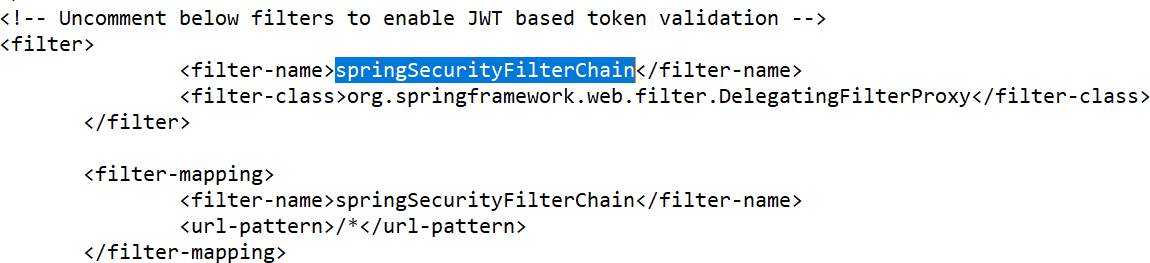
Perform the below configuration in the web.xml file.
- Ensure that the classpath:spring-jwt-iris-authenticator.xml parameter is enabled. It is enabled by default.
- Uncomment springSecurityFilterChain filter and filter mapping.
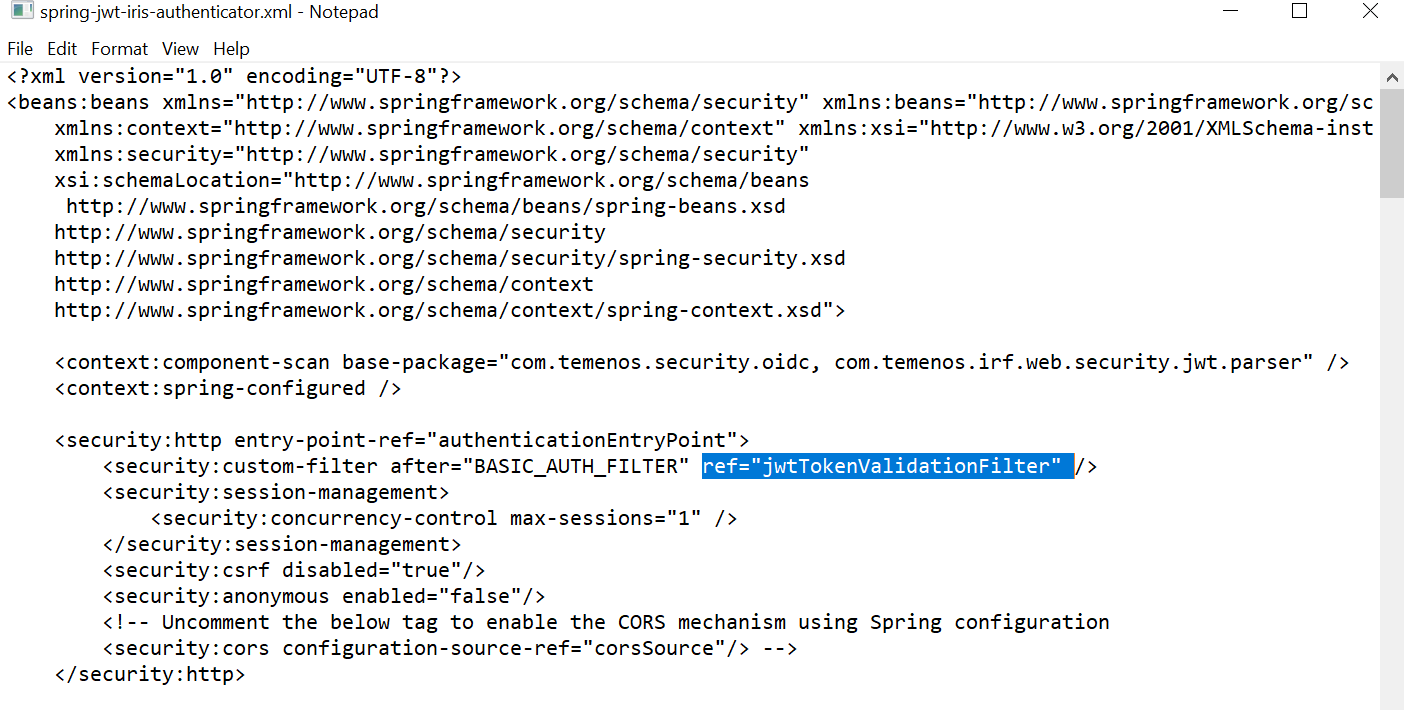
Perform the below configuration in the spring-jwt-iris-authenticator.xml file.
- Ensure that the jwtTokenValidationFilter parameter is enabled. It is enabled by default
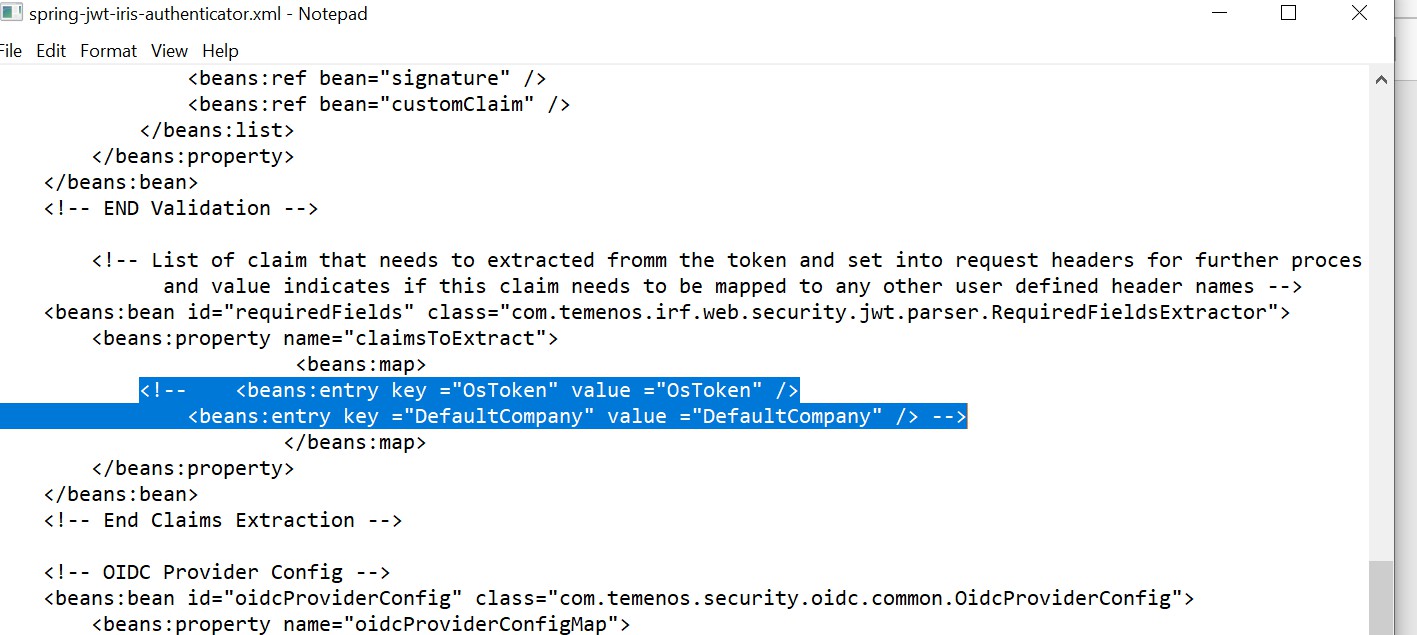
- Comment out the claims as mentioned in the below screenshot.
- Set idTokenSigned property to 'true'.
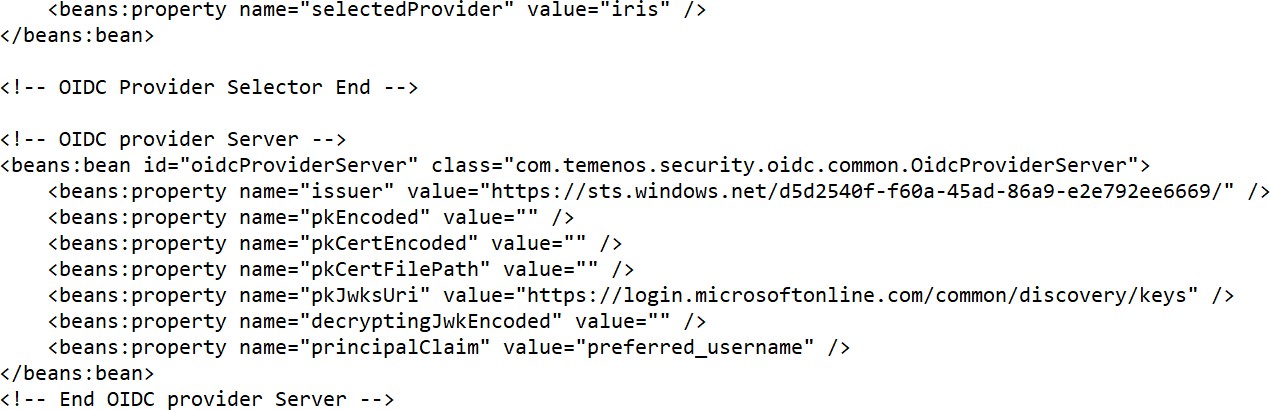
- Configure the below options
- Issuer – Refer to the Azure Active Directory Open ID metadata information for the value.
- pkJwksUri - Refer to the Azure Active Directory Open ID metadata information for the value.
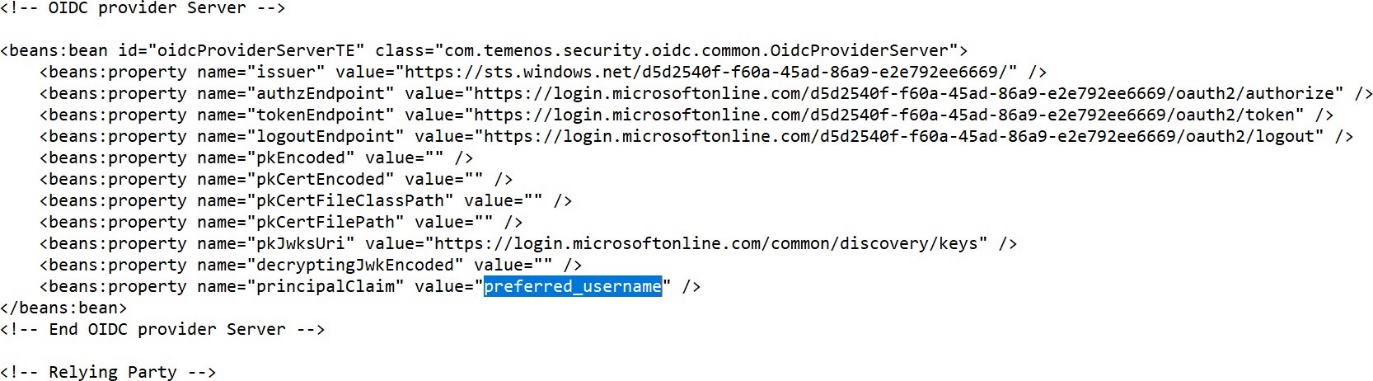
- principalClaim – Value should be preferred_username.
- Make sure idTokenSignedAlg is RS256.


Configuring transact-explorer-wa.war
Perform anyone of the below configuration.
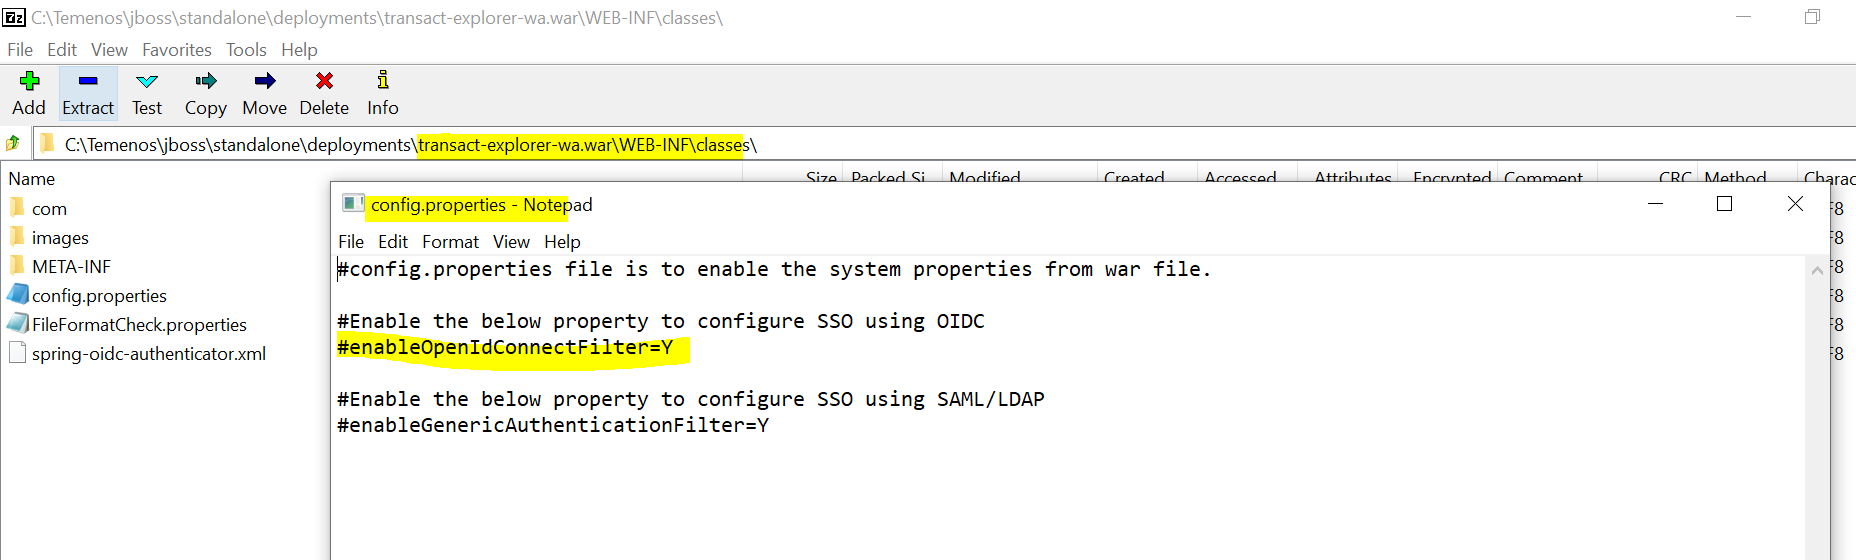
- Enable the openid filter in the config.properties file.
- Add the below property in the setenv.bat file.
-Dcom.temenos.te.ui.enableOpenIdConnectFilter=Y
Perform the below configuration in the spring-oidc-authenticator.xml file.
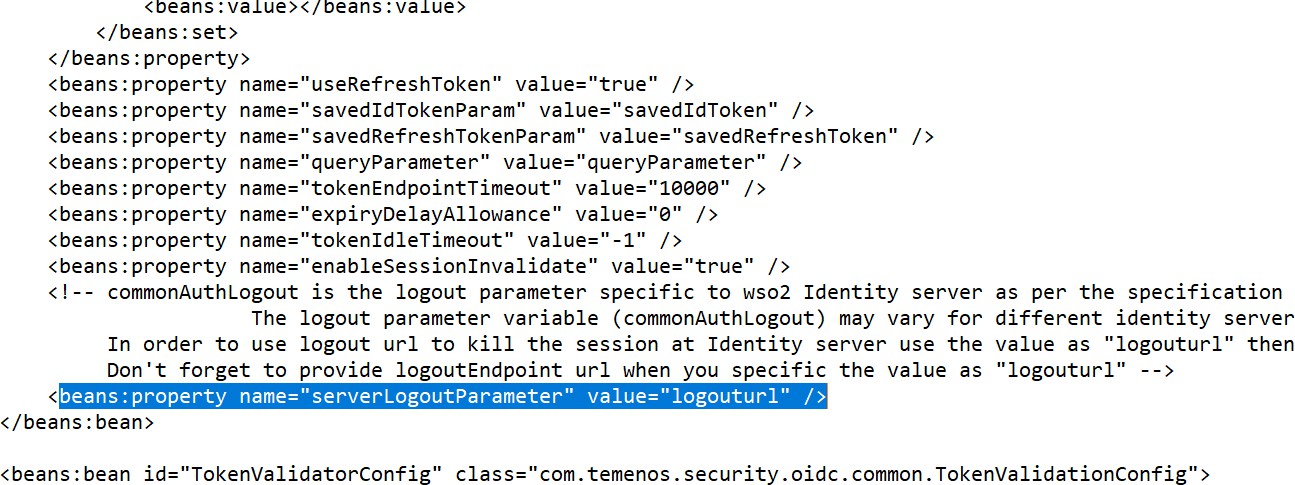
- Change the value of the serverLogoutParameter property as ‘logouturl’.
- Configure the values for below properties from open ID connect metadata configuration from AAD
- Issuer
- authzEndpoint
- tokenEndpoint
- logoutendpoint
- pkJwksUri
- principalClaim – Value should be preferred_username
- clientId – App Registration client ID from AAD
- redirectUri – Transact Explorer login URI
- Paste the Client secret value from AAD to defaultClientSecretProvider.
Refer to the Azure Active Directory Open ID metadata information for these details.


Configuring Transact
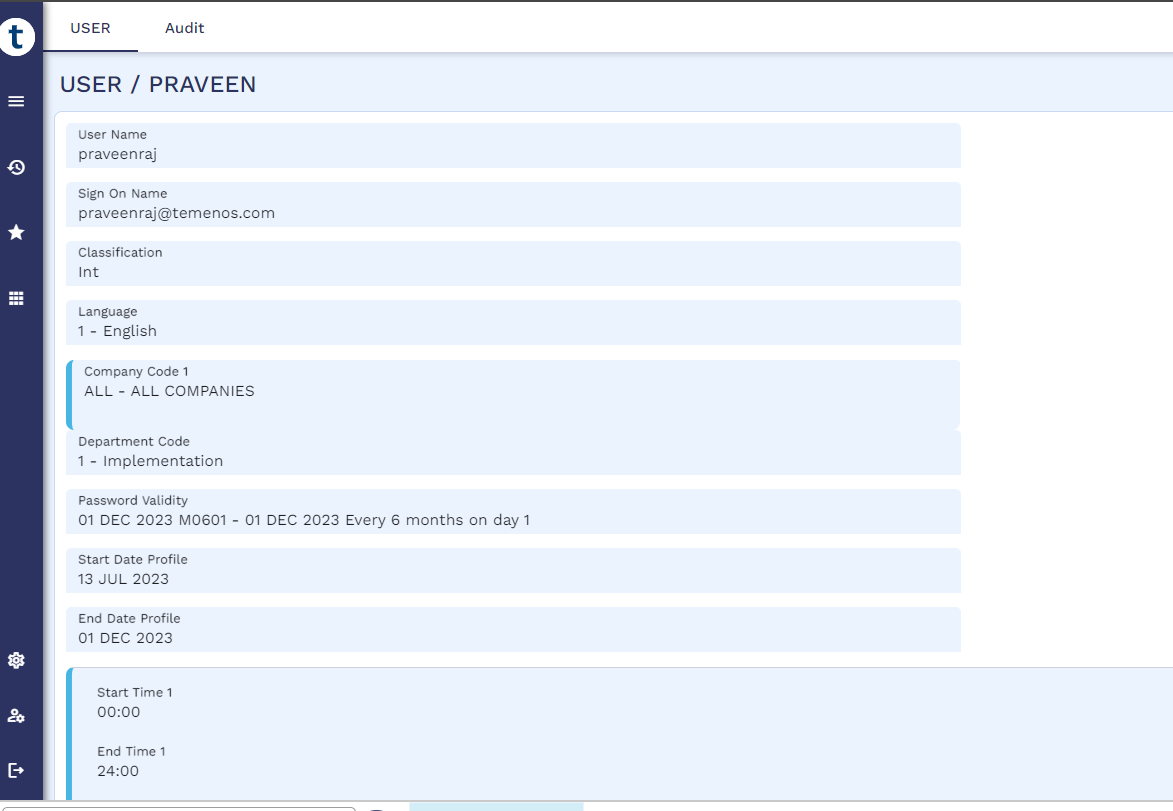
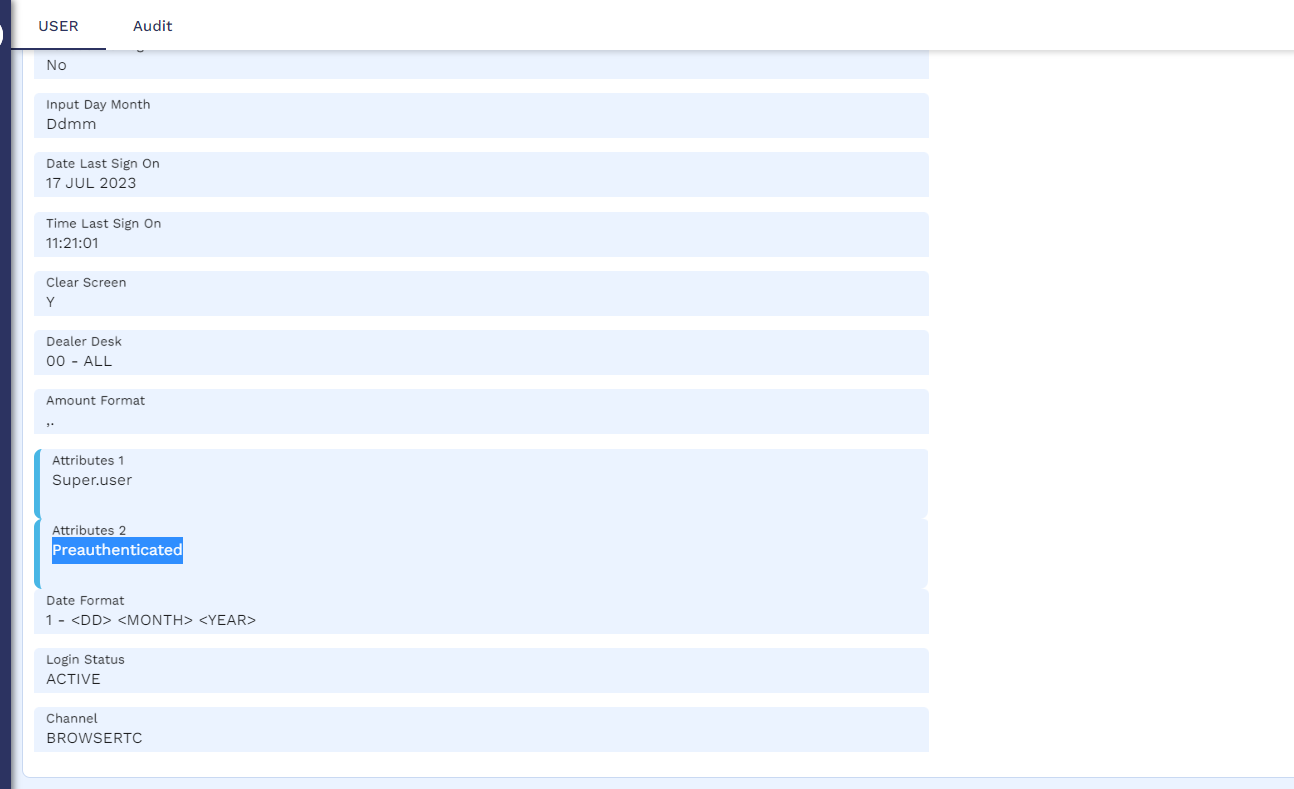
Create a user profile with the same sign-on name as AAD and make sure the Preauthenticated attribute is added.
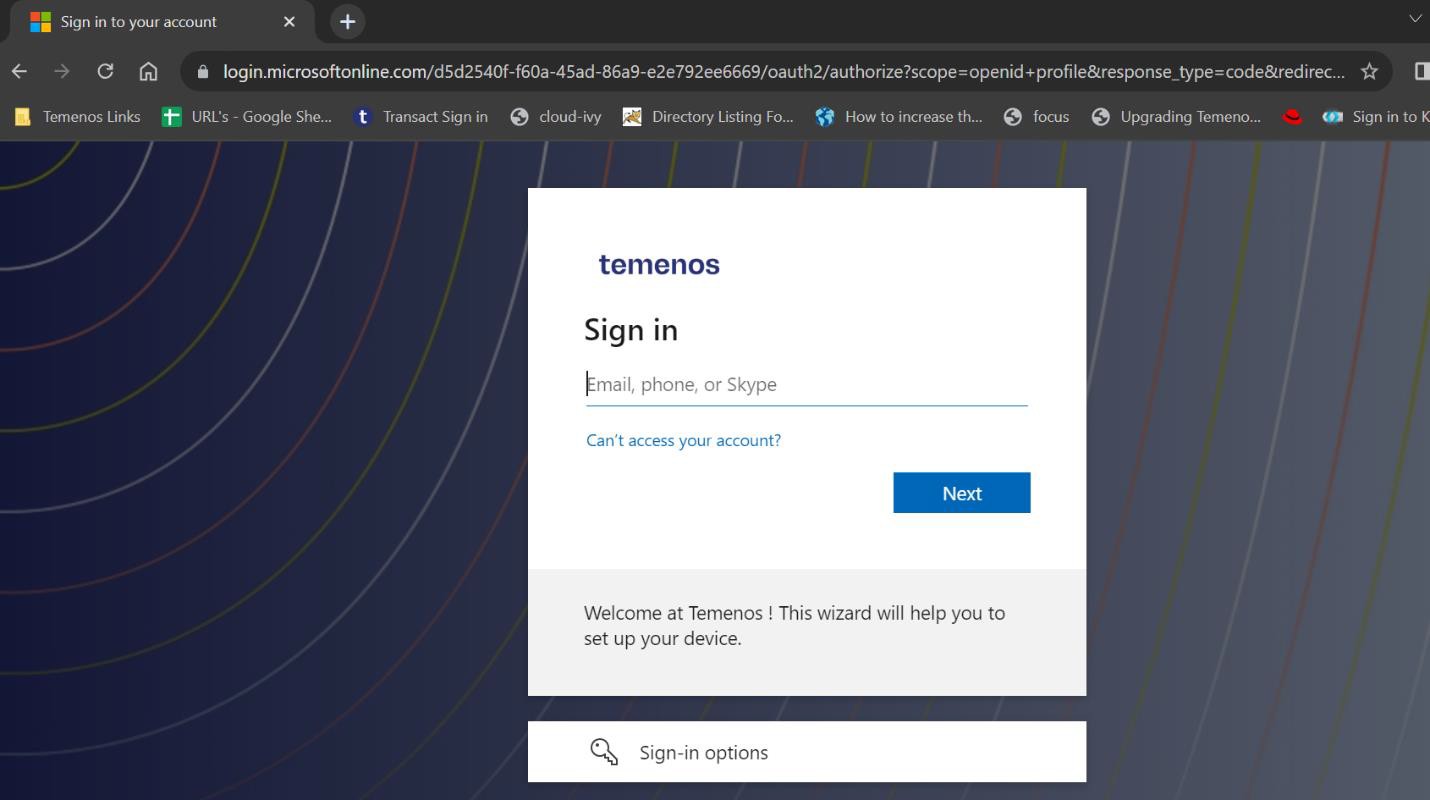
Validating SSO AAD Integration
To validate the AAD integration,
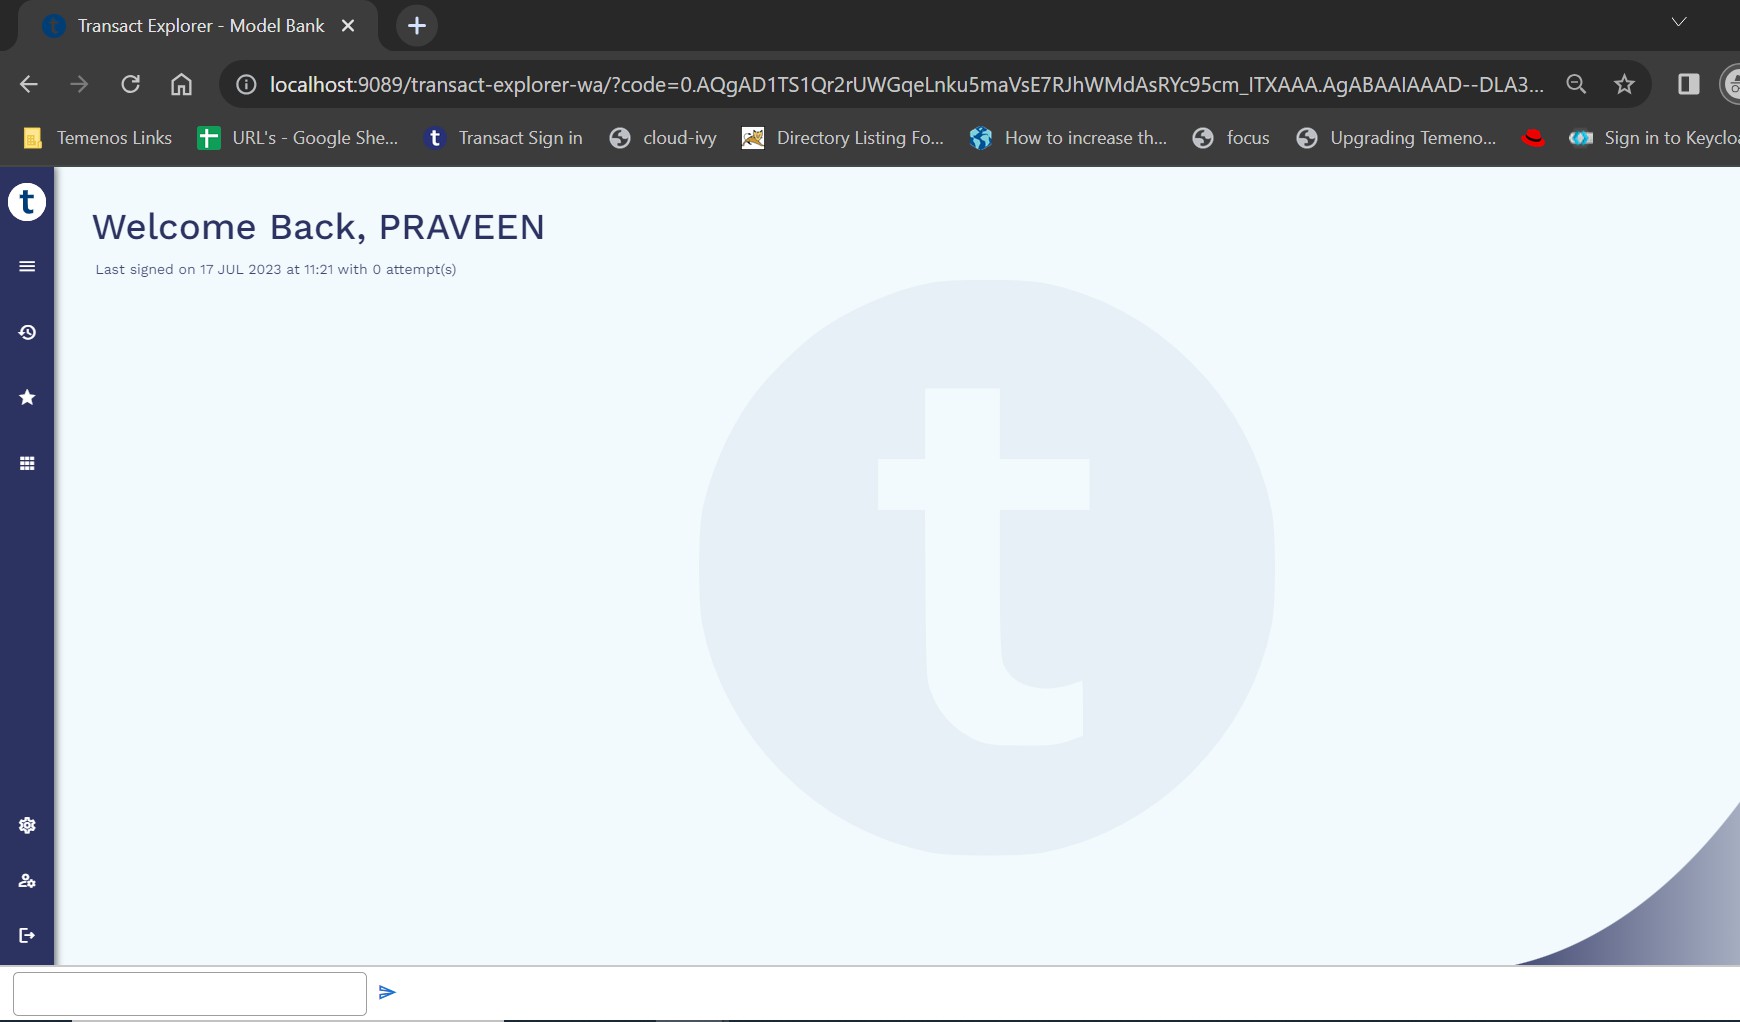
- Launch Transact Explorer.
- Enter the credentials and on successful authentication, the Transact Explorer home page appears.
In this topic