Inflow Designer Introspection
Inflow Designer allows you to create inflow designs and publish them into Temenos Transact. But, if you want to modify the already existing designs, you must recreate the Inflow Designer project and its corresponding design records and then modify the inflow design according to your needs.
This brings a lot of discomfort for certain use cases, where local changes need to be incorporated in existing Transact inflow designs.
The best solution to overcome this problem is to introspect Transact for existing projects, import inflow designs from that project, perform modifications on those inflow designs and publish them back to Transact.
Introspecting Transact to Import Inflow Designs
- To import inflow designs from Transact, click File > Import.
- Under the Import Integration Project category in the Import menu, click Import Existing Inflow Designs From T24.
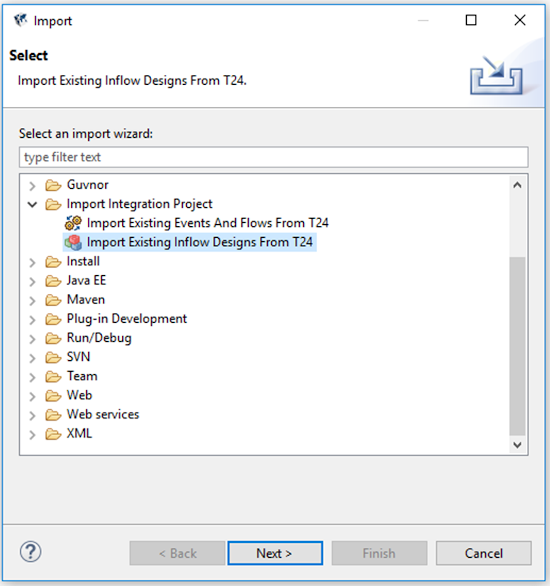
- Click Next. A wizard is opened.
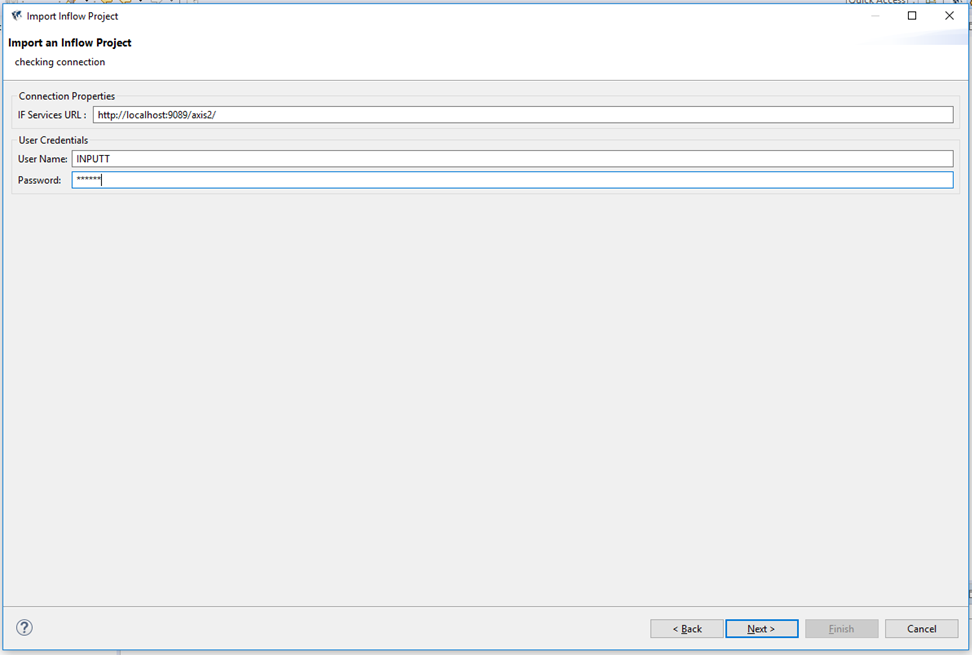
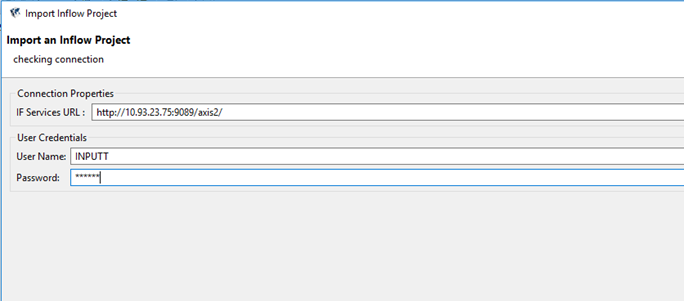
- Provide the connection URL of the environment from which you need to import the designs, the user credentials for accessing that particular environment and click Next.
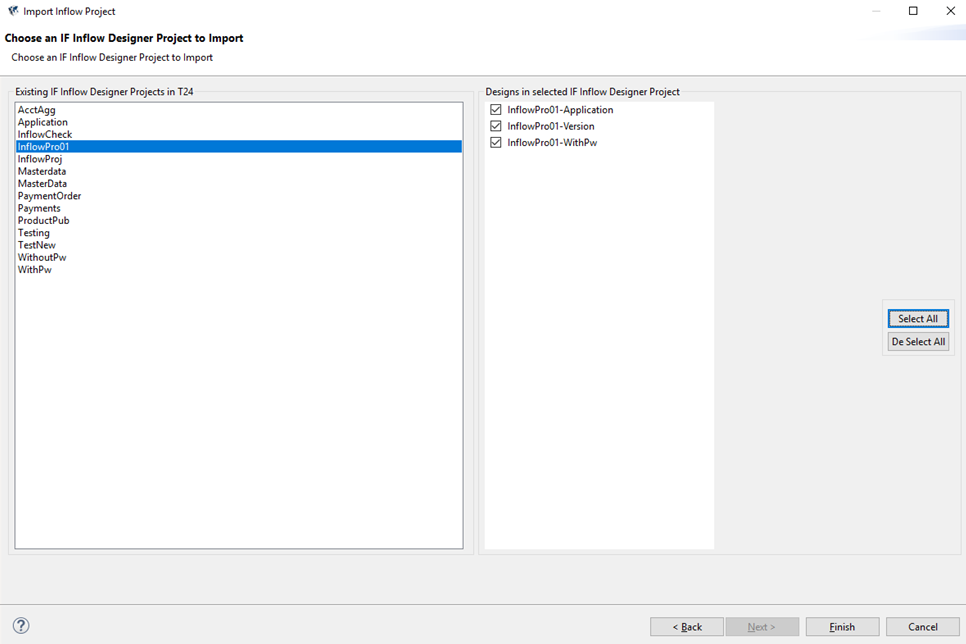
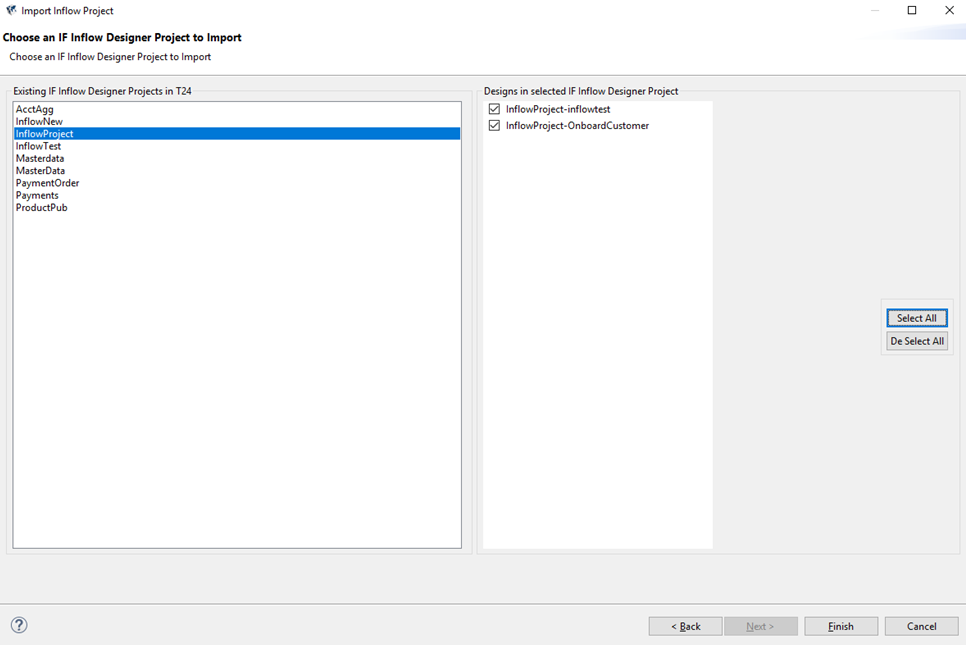
- Select the required project and designs from the list and click Finish.
- You can use the Select All button to select all the designs or you can select individual designs by selecting the check box.
- Use the Deselect All button to deselect all the selected designs at once.
The Inflow Designer project is created with all the selected designs.
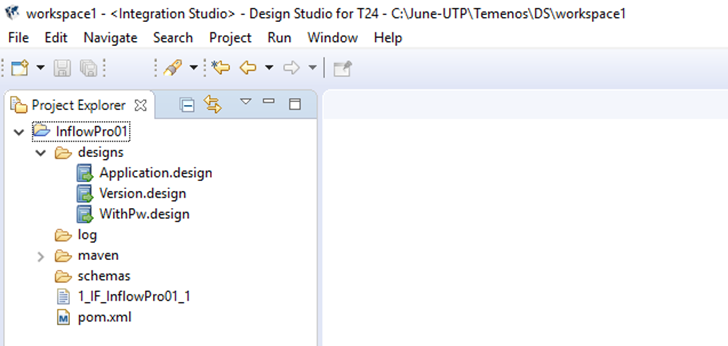
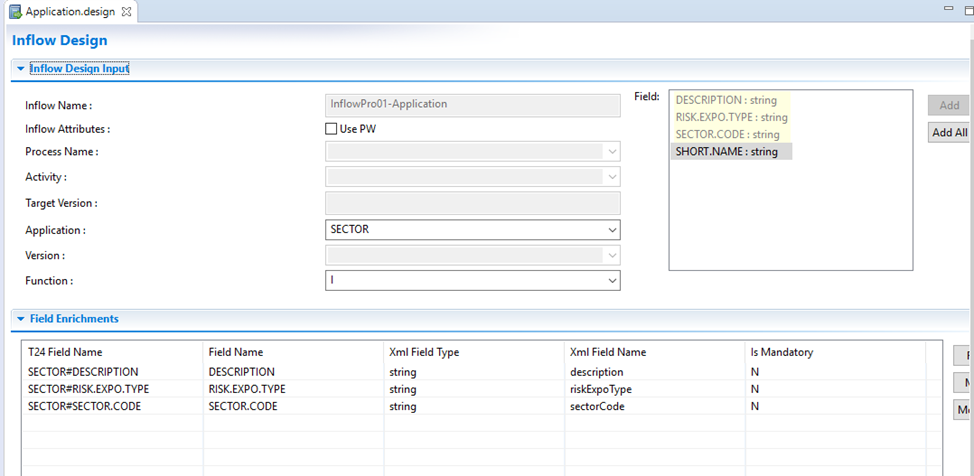
Imported application design:
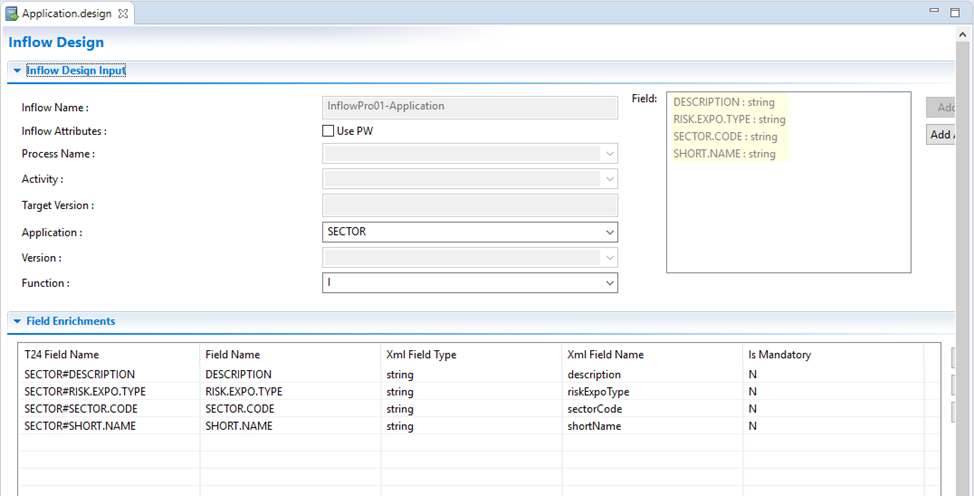
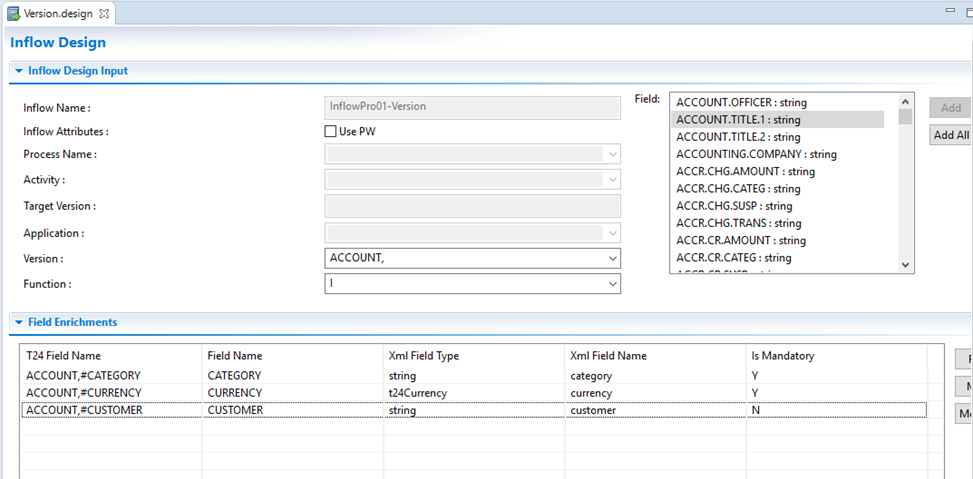
Imported version design:
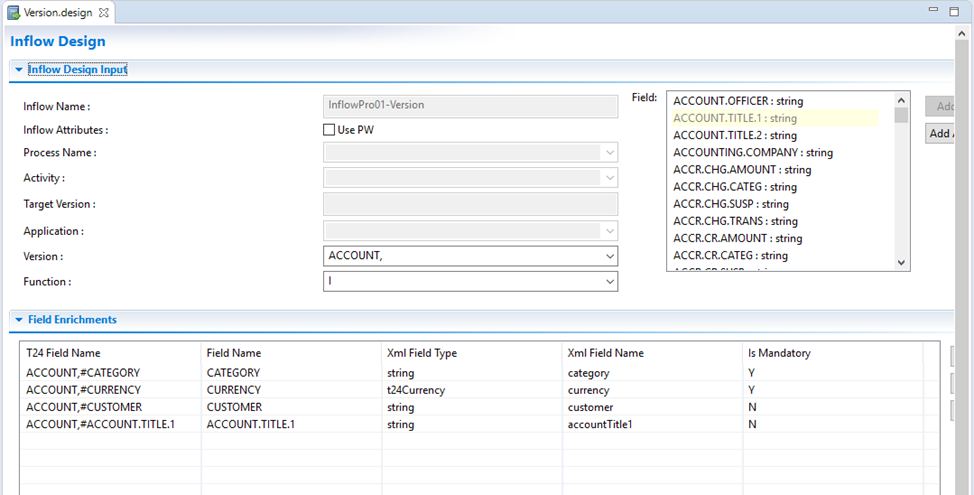
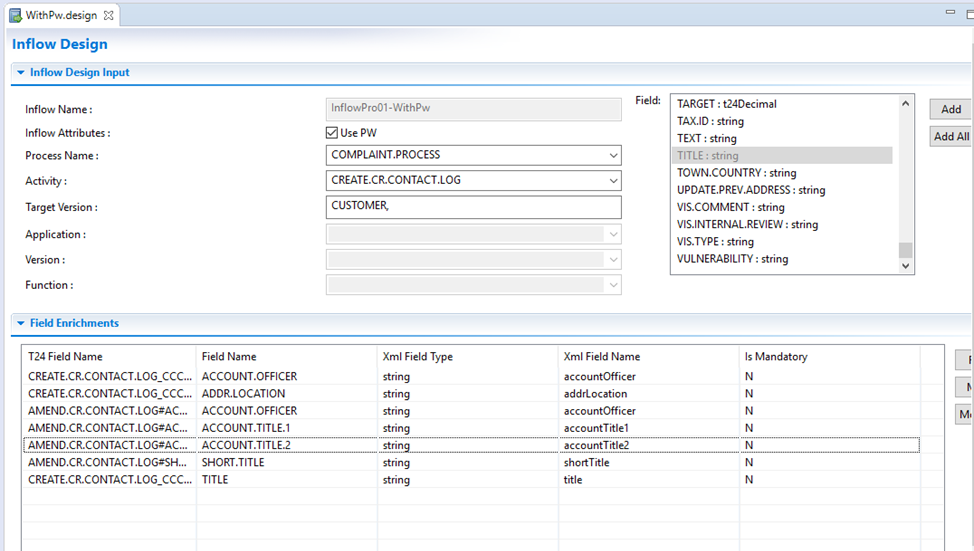
Imported design with PW:
- Do some modifications: add or remove the required fields in each design.
- Remove a field in application design.
- Remove a field in version design.
- Remove and add fields in a design with PW.
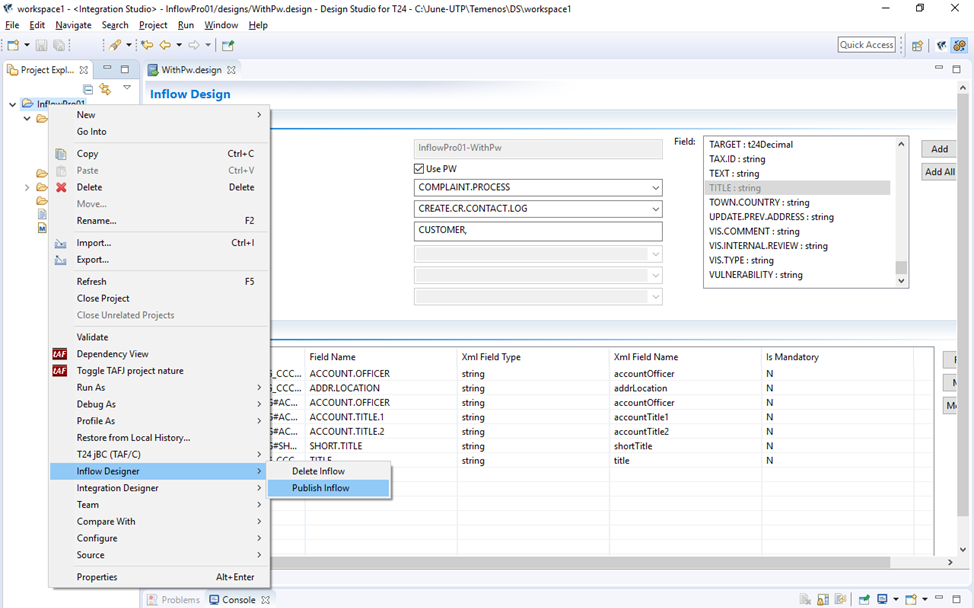
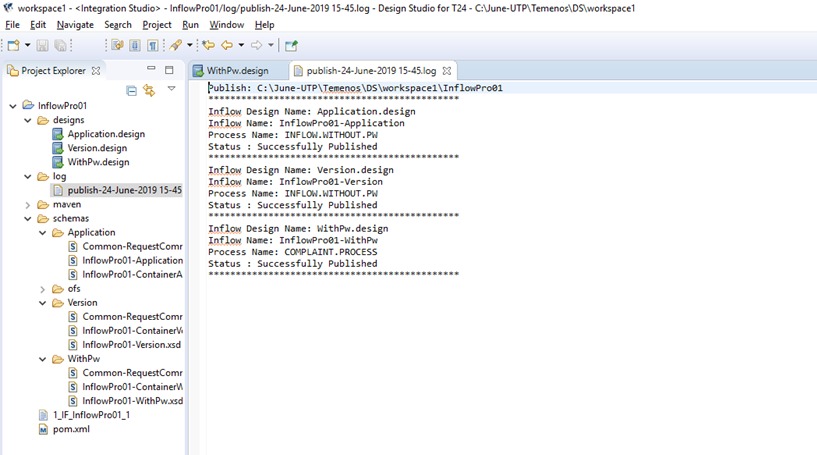
- Once you completed the modifications, publish them back to Transact. Right-click the project folder and then click Inflow Designer > Publish Inflow.
After the modifications have been published, the schemas are regenerated and the inflow design records are updated. For more information on regenerated schemas, see the Appendix.
When you try to import a project which is of the same name in the workspace, a confirmation box is displayed with a question whether you want to override the project in the workspace or not. Click OK to override the existing project in the workspace or click Cancel to cancel the process.
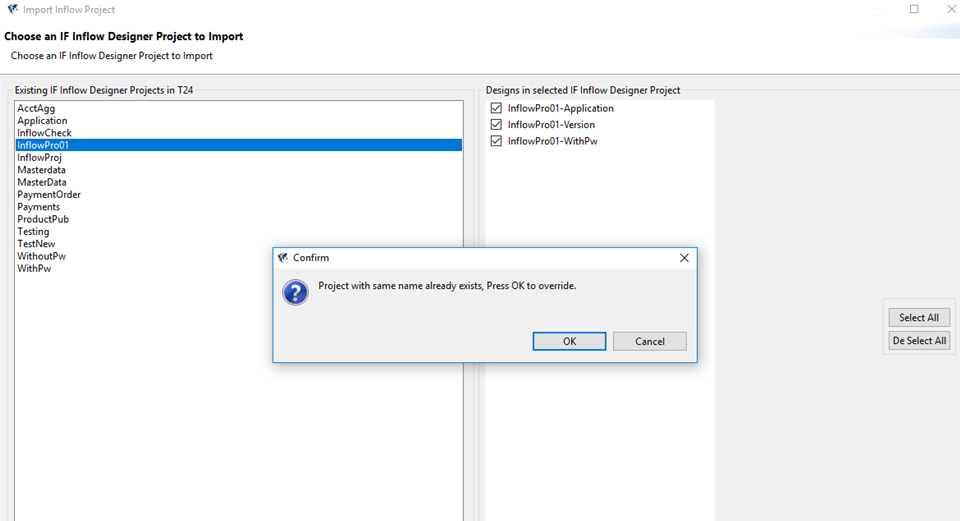
The previous content of the project is overwritten.

- You can also connect to a different environment by providing the appropriate connection URL and user credentials.
- Select the required project and design, do the required modifications and publish them back to Transact.
The following screen capture displays the project and its corresponding designs which are available in that particular environment.
In this topic