Defining an Event for Delivery Message
The first step to support MX ISO20022 messages is to define a delivery exit point using Event Designer. This section provides steps for defining an Event for Delivery, an option that is added to support triggering events for MX messages.
An increasing number of financial communities across the globe are adopting MX ISO20022 messages. This effort is driven by the need to be more transparent due to regulations (for example SEPA) and at the same time to have more flexibility, clarity and consistency.
Temenos has recognised this requirement to support a wide range of ISO20022 messages in its core banking product and our software solution will help to reduce the banks’ cost per message. In this phase, ISO20022 messages pertaining to Securities Settlement and Corporate Actions are supported.
This user guide is intended for internal Temenos users and clients.
Before you begin
The following are the requirements to define the Event for Delivery.
- Design Studio R19 or later
- Transact R19 or later
- TAFJ R19 or later
About this task
You can create the event definition for Delivery using Event Designer. The Events can be linked to delivery messages to emit messages from Transact.
Follow the steps below to define an event for delivery message.
- Create a new project using the Transact Integration project: In the top navigation menu, click File > New > Project. The initial page of the wizard is displayed.
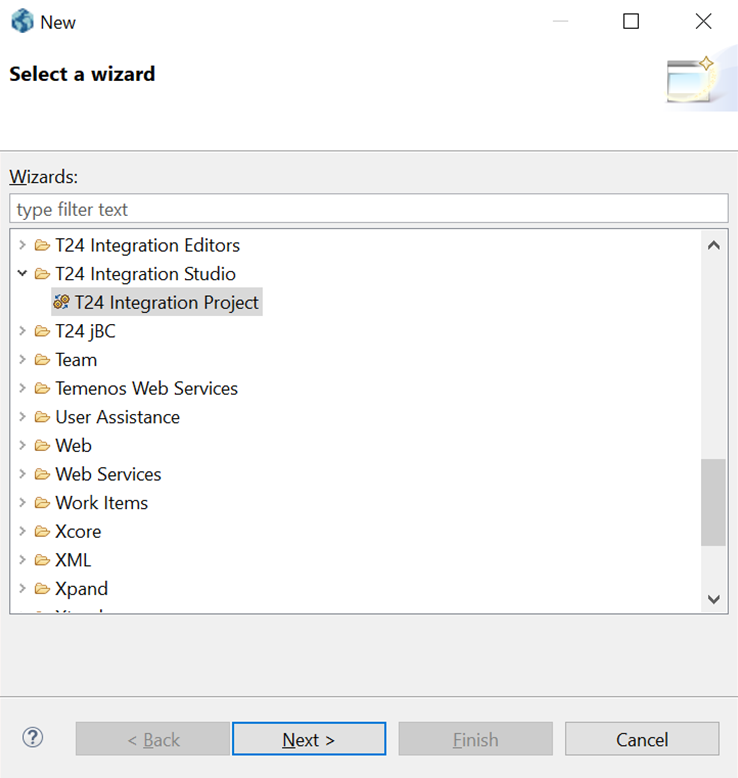
- Click Next.
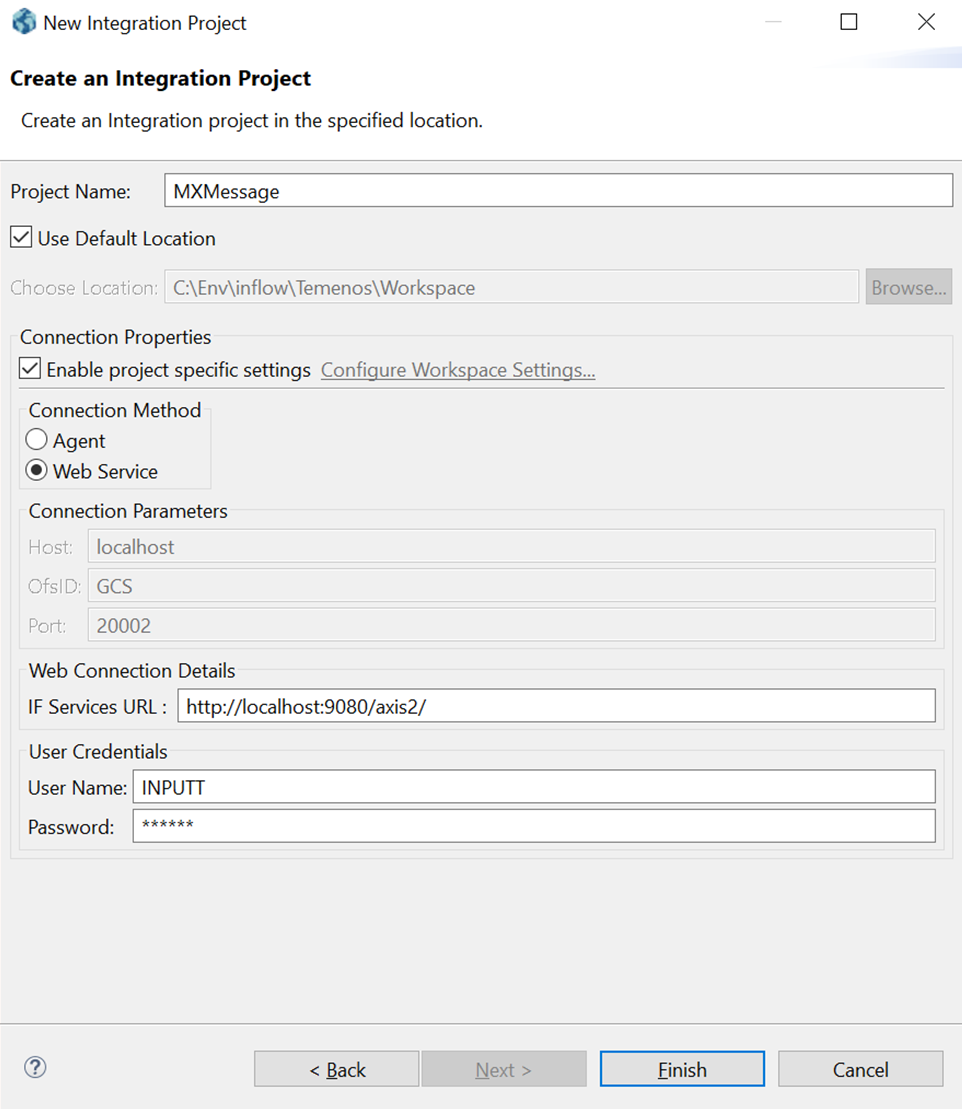
- Specify the project name, connection properties, and choose a location to save the project. You can accept the default location.
You can configure the connection to Transact using one of the two methods that are available in the Connection Properties section.
- If you select Agent, Connection Parameters are enabled. You need to enter the Host, OfsID and Port.
- If you select Web Service, Web Connection Details are enabled. You need to enter the IF Services URL that contains all the required components and the user credentials to connect to Transact.
- Click Finish to complete the creation of the project.
- Right click the events folder under the created project. The New Event Wizard is displayed and an event gets created under the events folder.
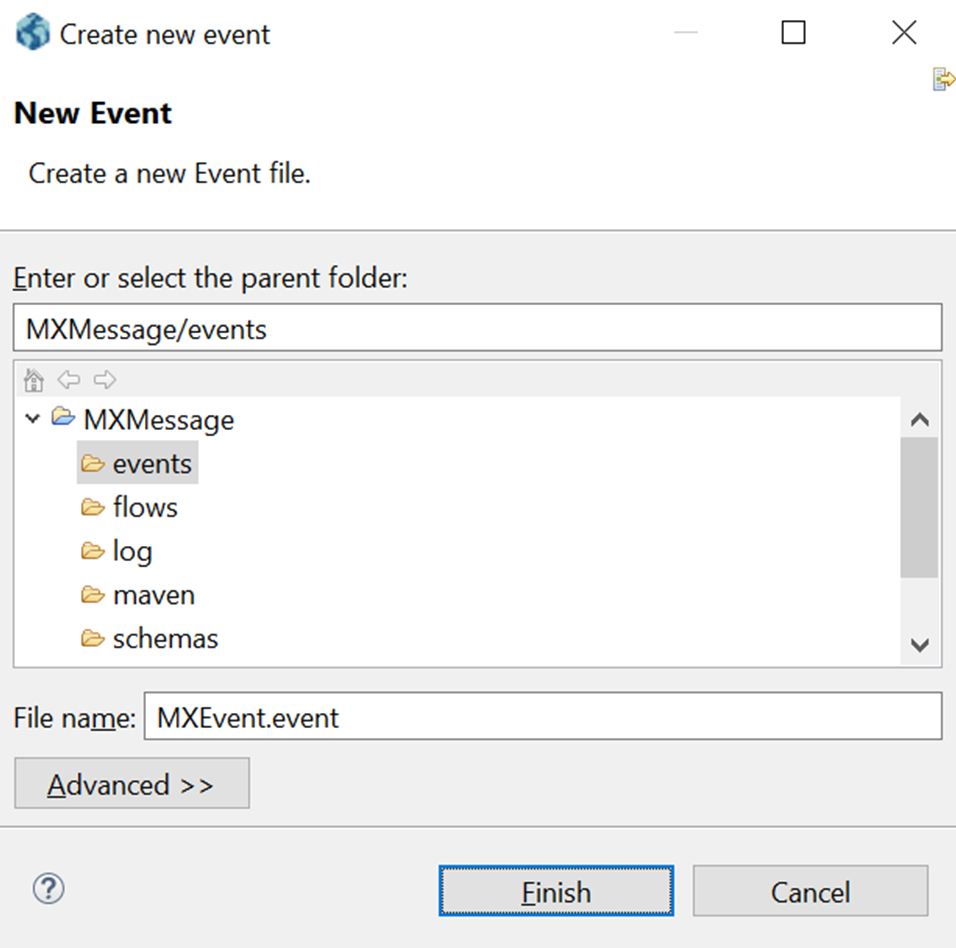
- Specify a name for the event and click Finish. An Exit Point screen of the created event is displayed.
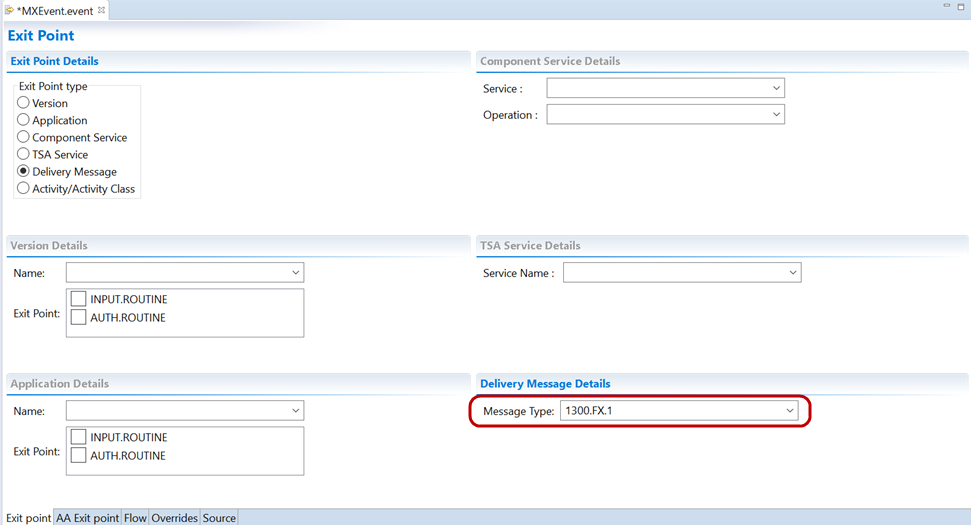
- In the Exit Point Details section, select Delivery Message. The Delivery Message Details get enabled.
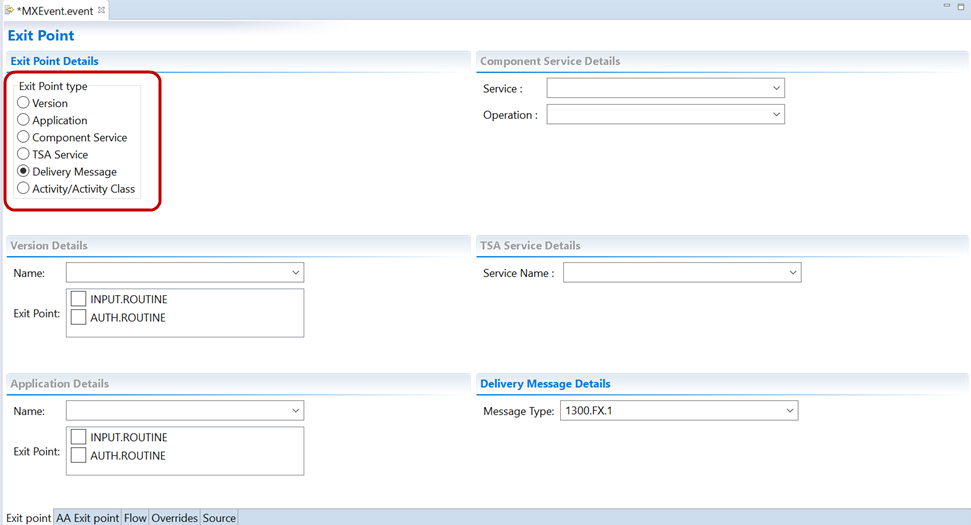
- Select the Message Type for which the event is to be triggered.
- Click the Flow tab to define the flow. Specify a name for the flow and click Edit.
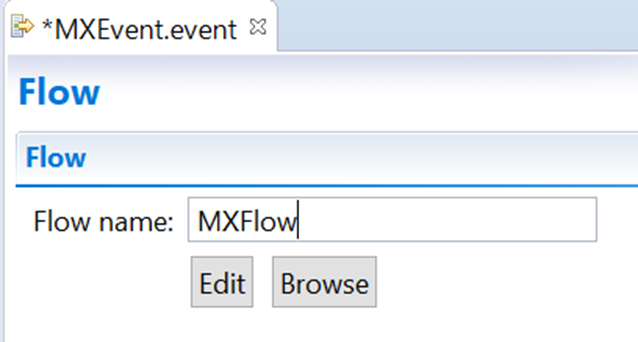
The Flow definition screen is displayed.
- Select the required fields and click Add to add the selected fields to the flow.
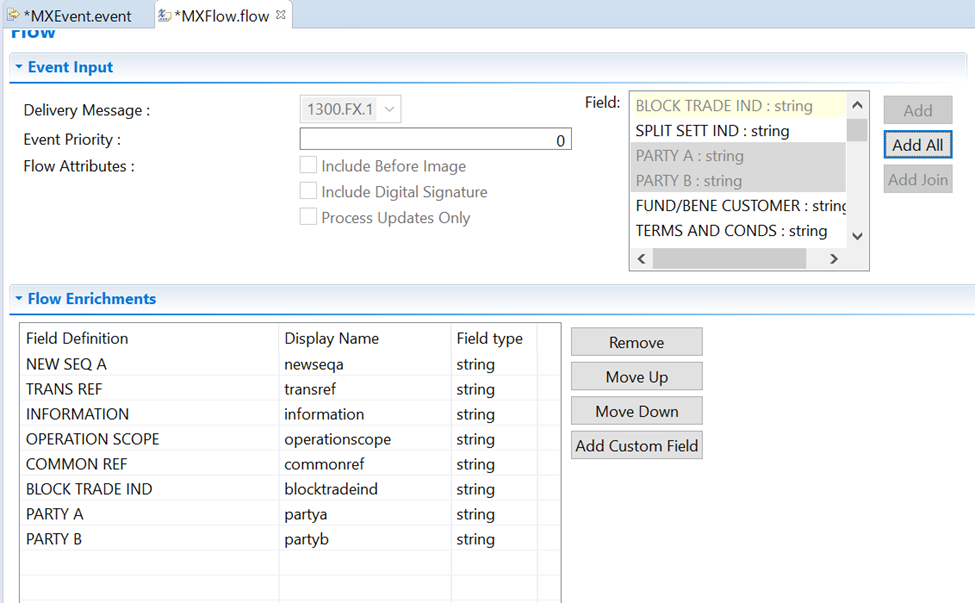
- You can select only the chosen fields by holding the Ctrl key and clicking the required fields.
- You can also select a continuous list of fields by holding the Shift key and clicking the last field.
- The option Add all adds all the fields to the flow.
- To remove any added field, click Remove.
- To modify the order of the added fields, use the Move Up and Move Down buttons.
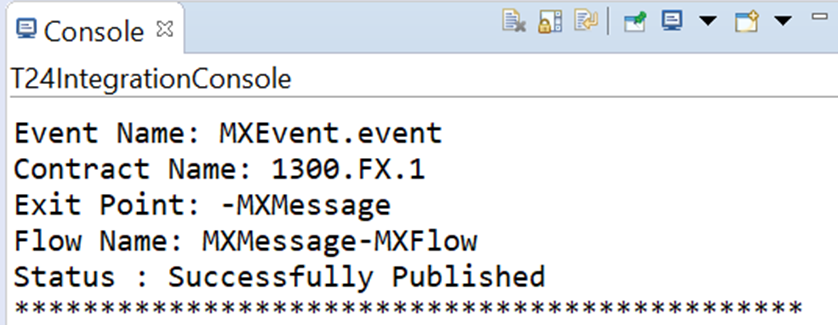
- After defining the event and flow, publish the event to Transact as shown on the following screen capture. Ensure that the event and the flow are saved before publishing.
The published status of the event is displayed in the event console.
- Refresh the project explorer window so that the event project gets updated with the published schema and the log.
Read Generation of MX Messages section for more information on setting up Transact to trigger integration events for delivery messages.
In this topic