UX Resource Extension
This section explains how to search, create or edit a new extension between a UXP Browser operation and python script validation.
Creating and Editing UX Resource Extension
This section details about creating and editing UX Resource Extension.
Creating UX Resource Extension
To create an UX Resource Extension,
- Navigate to Extensions > UX Screen Extension, on the dashboard’s left pane.
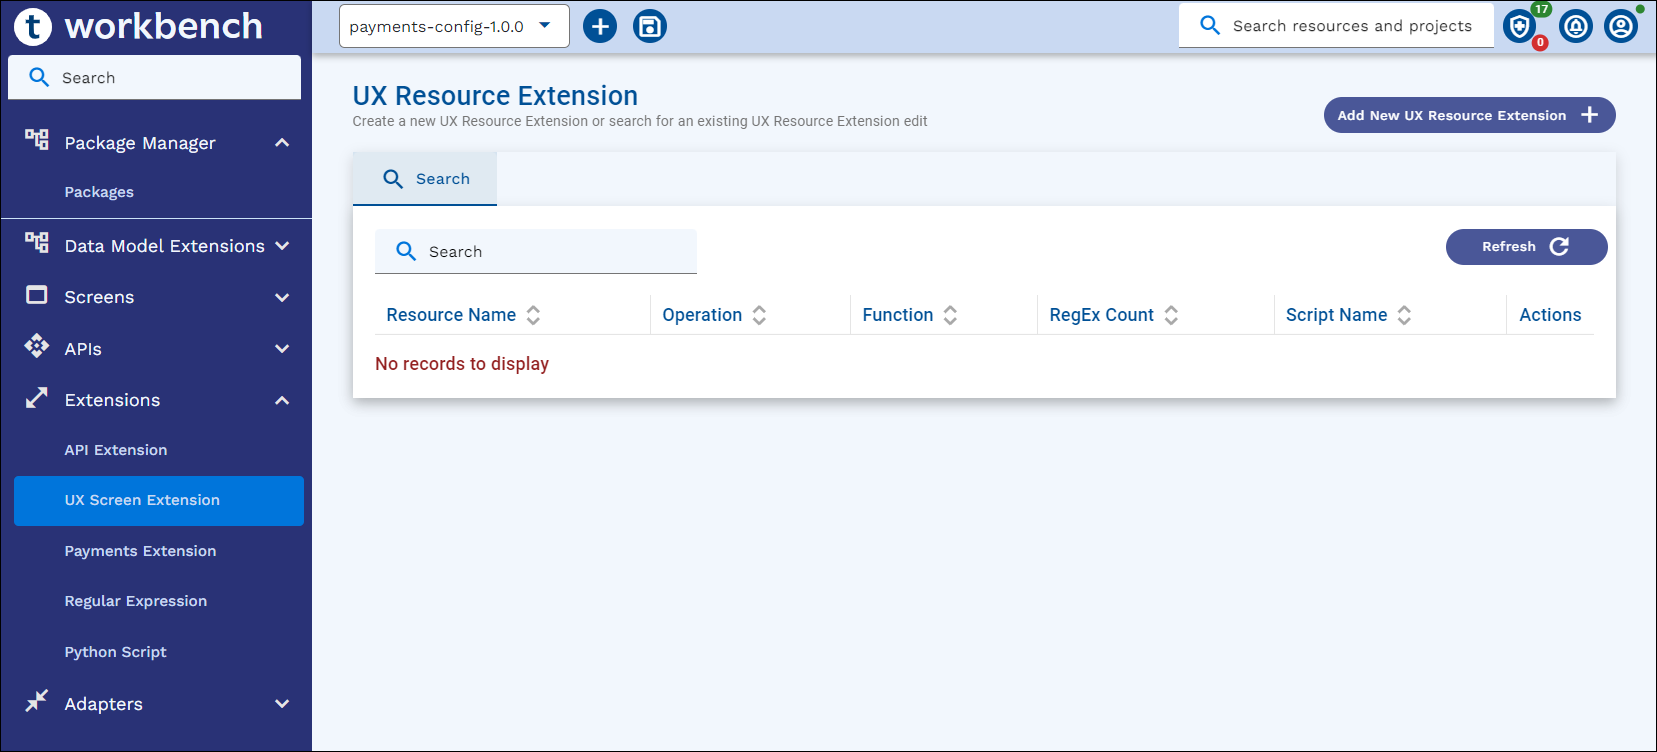
- Click Add New UX Resource Extension button on the Search page.
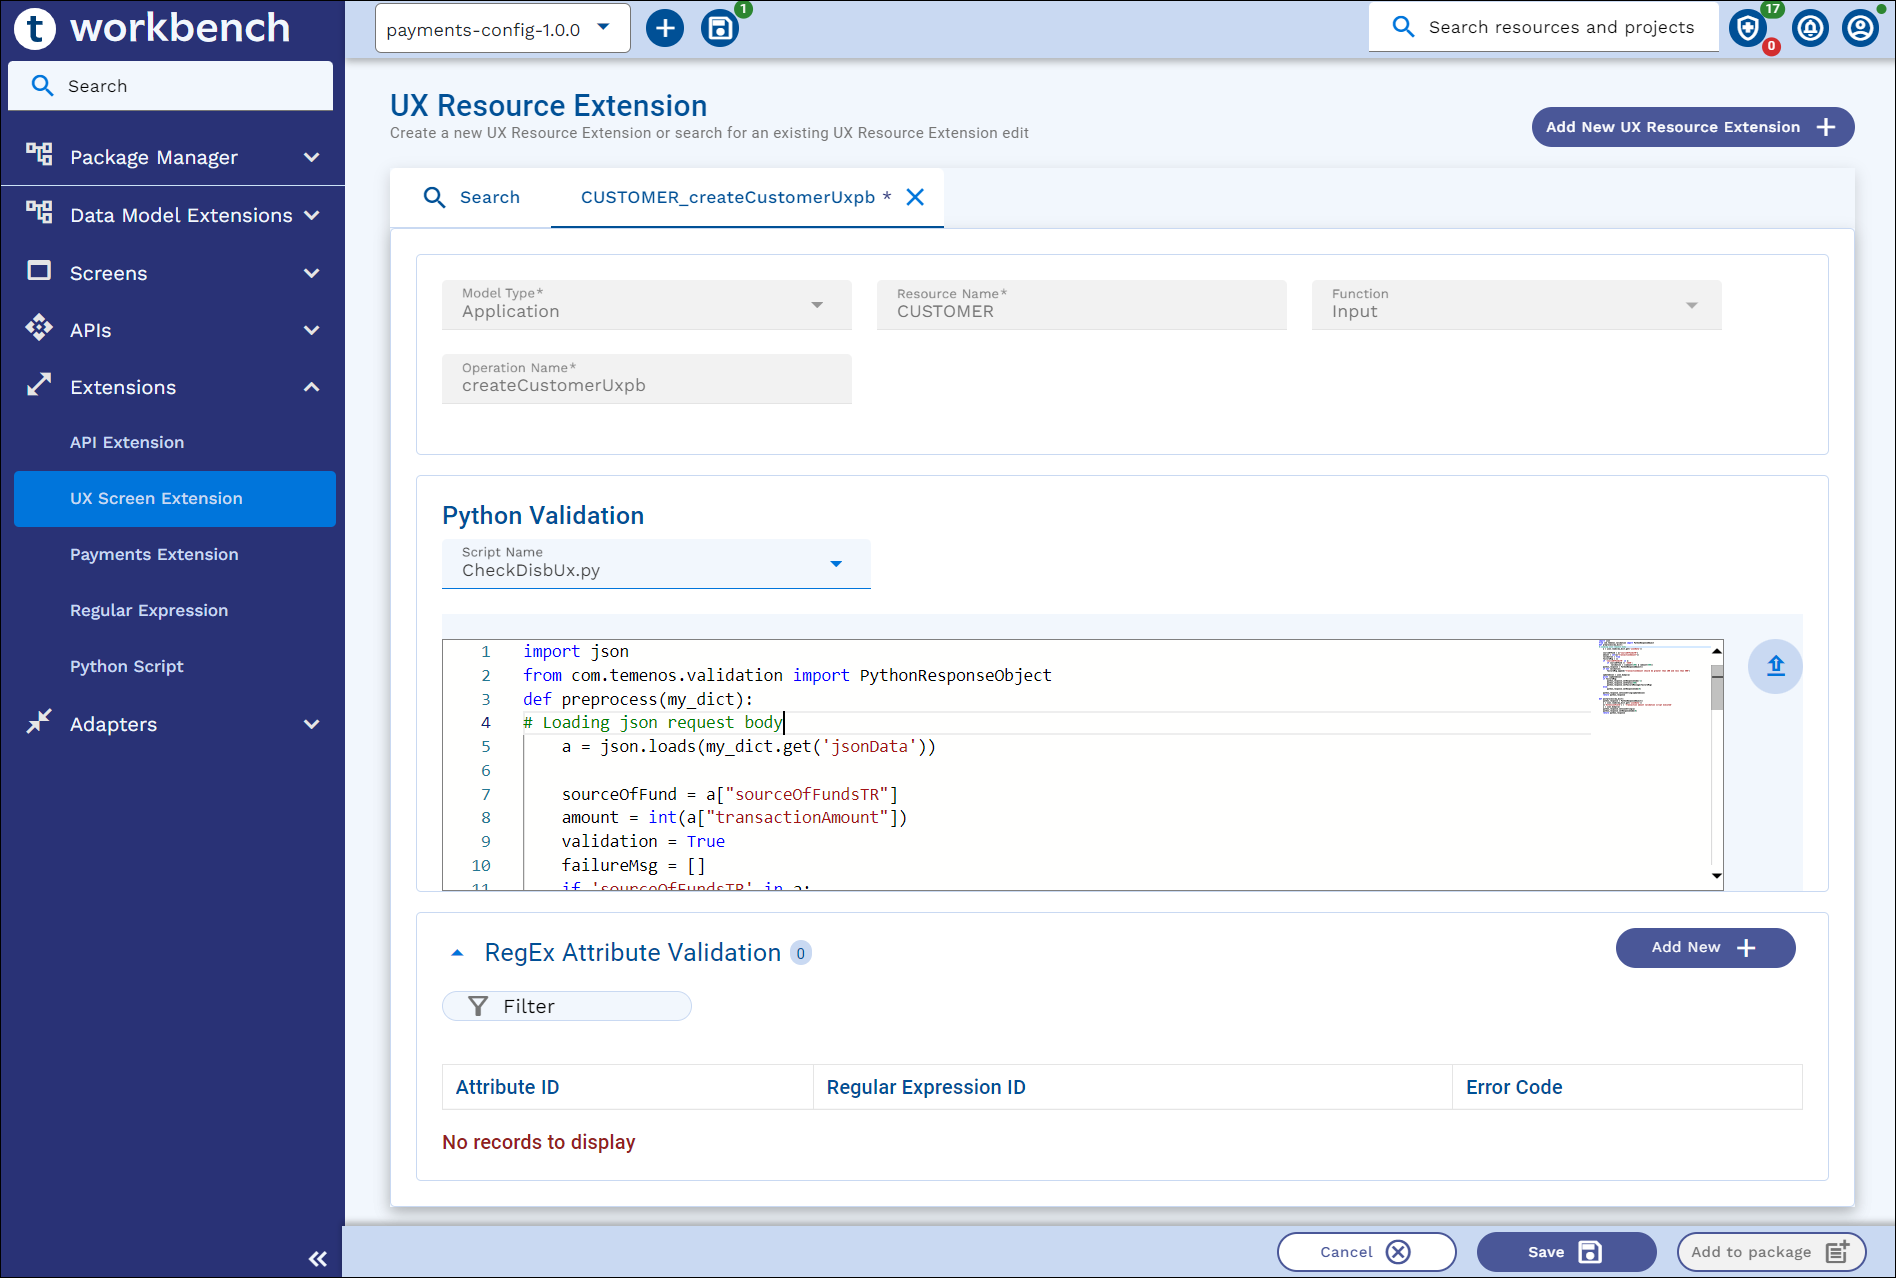
- Enter the following details in the New UX Resource Extension screen.
Field
Action
Mandatory – YES/NO
Default Value
Model Type
Select Application, Version or Enquiry from the dropdown. Allowed values are – Application, Version, Enquiry
YES
Application
Resource Name
Based on Model Type selected, we must provide the Resource Name.
YES
Function
Select required function from the dropdown. List of values are Input, Authorize, Delete, Reverse, Verify, Validate. This is NA for ‘Enquiry’ Model type
NO
Input
Operation Name
Enter name in convention with IRIS vocabulary for APIs. Operation name must end with Uxpb. If not added, system automatically appends ‘Uxpb’ when tabbed out from Operation Name field after entering the value
YES
Script Name
Select Python Validation script name.
Note: Only ‘UX Resource Extension’ type Python Script will be listedYES (if RegEx Attribute validation is not given)
Attribute ID
API Field name against which Regular expression will be validated
YES ( if RegEx Attribute validation is not given)
Regular Expression ID
Select a Regular Expression ID from content assist
YES ( if Python validation is not given)
Error Code
Customised error code
YES ( if Python validation is not given)
- Enter the mandatory fields.

- Click Create.

Editing UX Resource Extension
To edit an existing UX Resource Extension,
- Navigate to Extensions > UX Screen Extension, on the dashboard’s left pane.
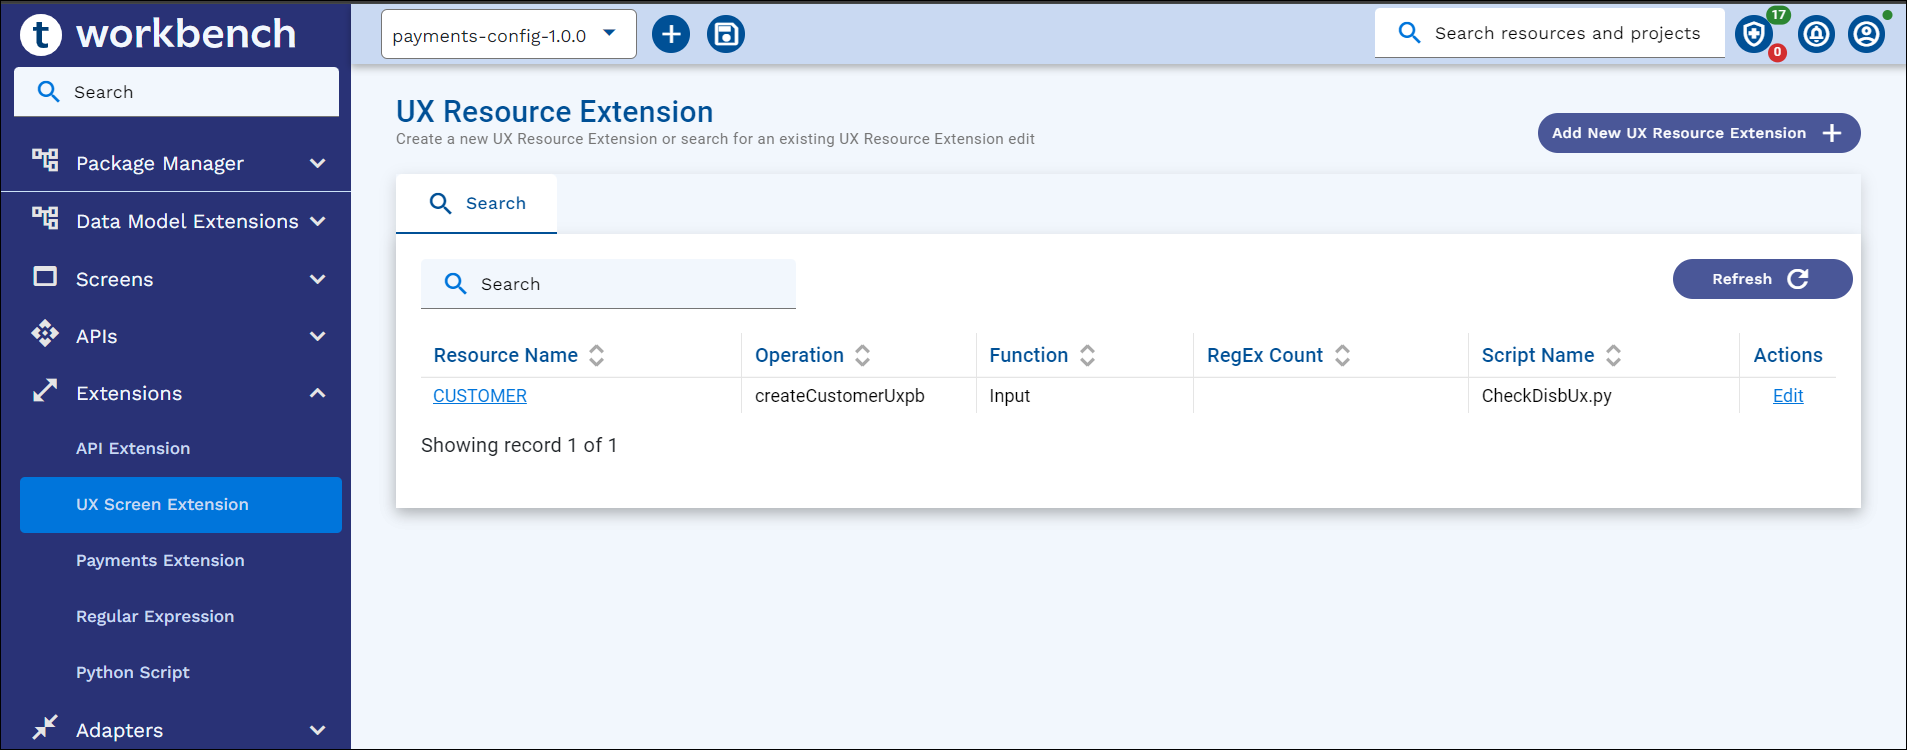
- Search for the UX Screen extension record and click Edit.
- Update and click Save.
Packaging UX Resource Extension
As a prerequisite, Extension configuration for UX Resource Extension must be defined as System properties. Read the Configuration Parameter Reference section for more information.
- If Workbench is configured with non-Git mode, Add to Package button is available in all the screens.
- If Workbench is configured with Git mode, Add to Project button is available in all the screens.
To Package an existing UX Resource extension,
- Navigate to Extensions > UX Screen Extension, on the dashboard’s left pane.
- Search for an UX Resource Extension record and click Edit.
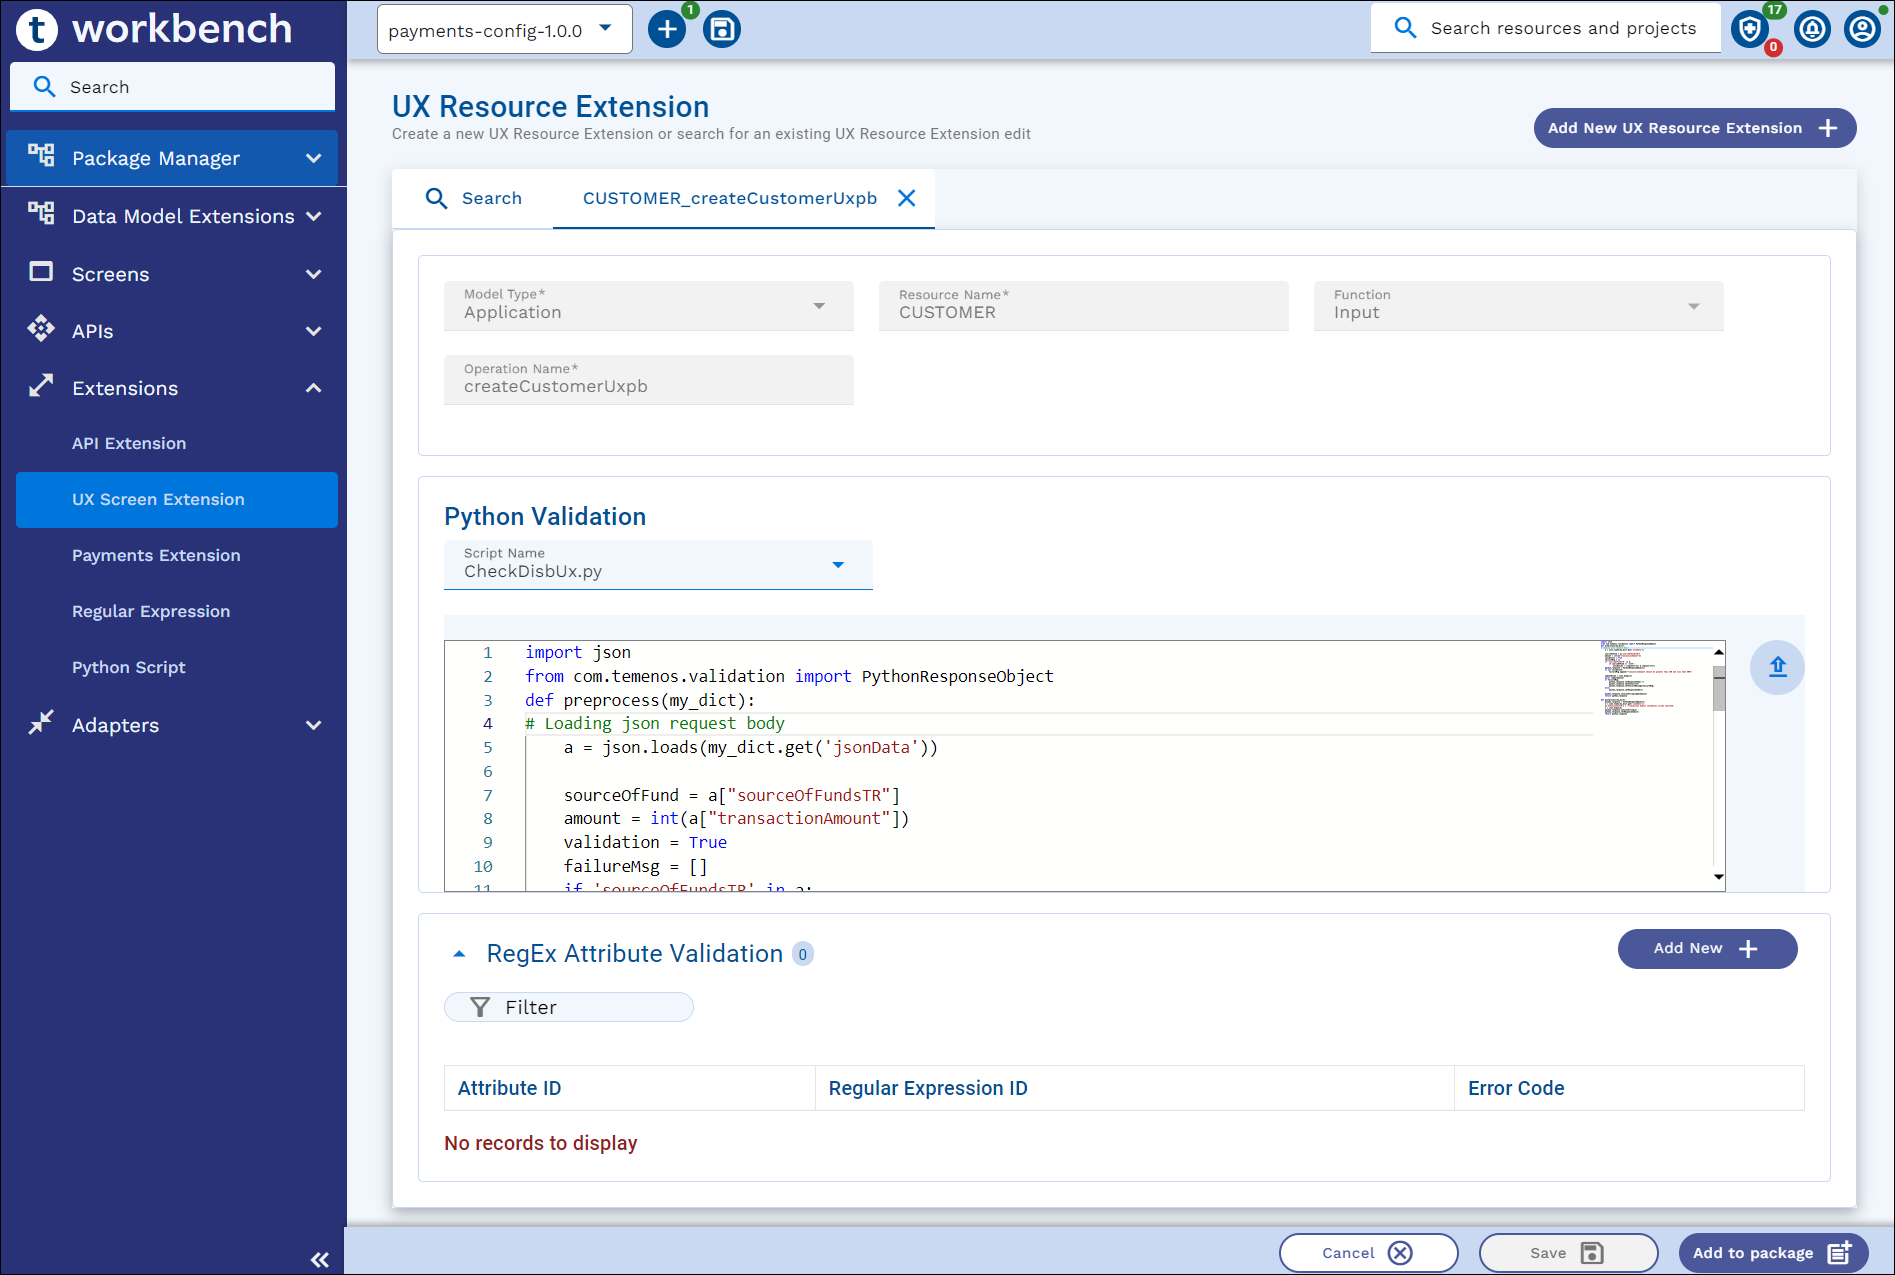
- Select a package or project from the top app bar and,
- Click Add to Package or Add to Project.
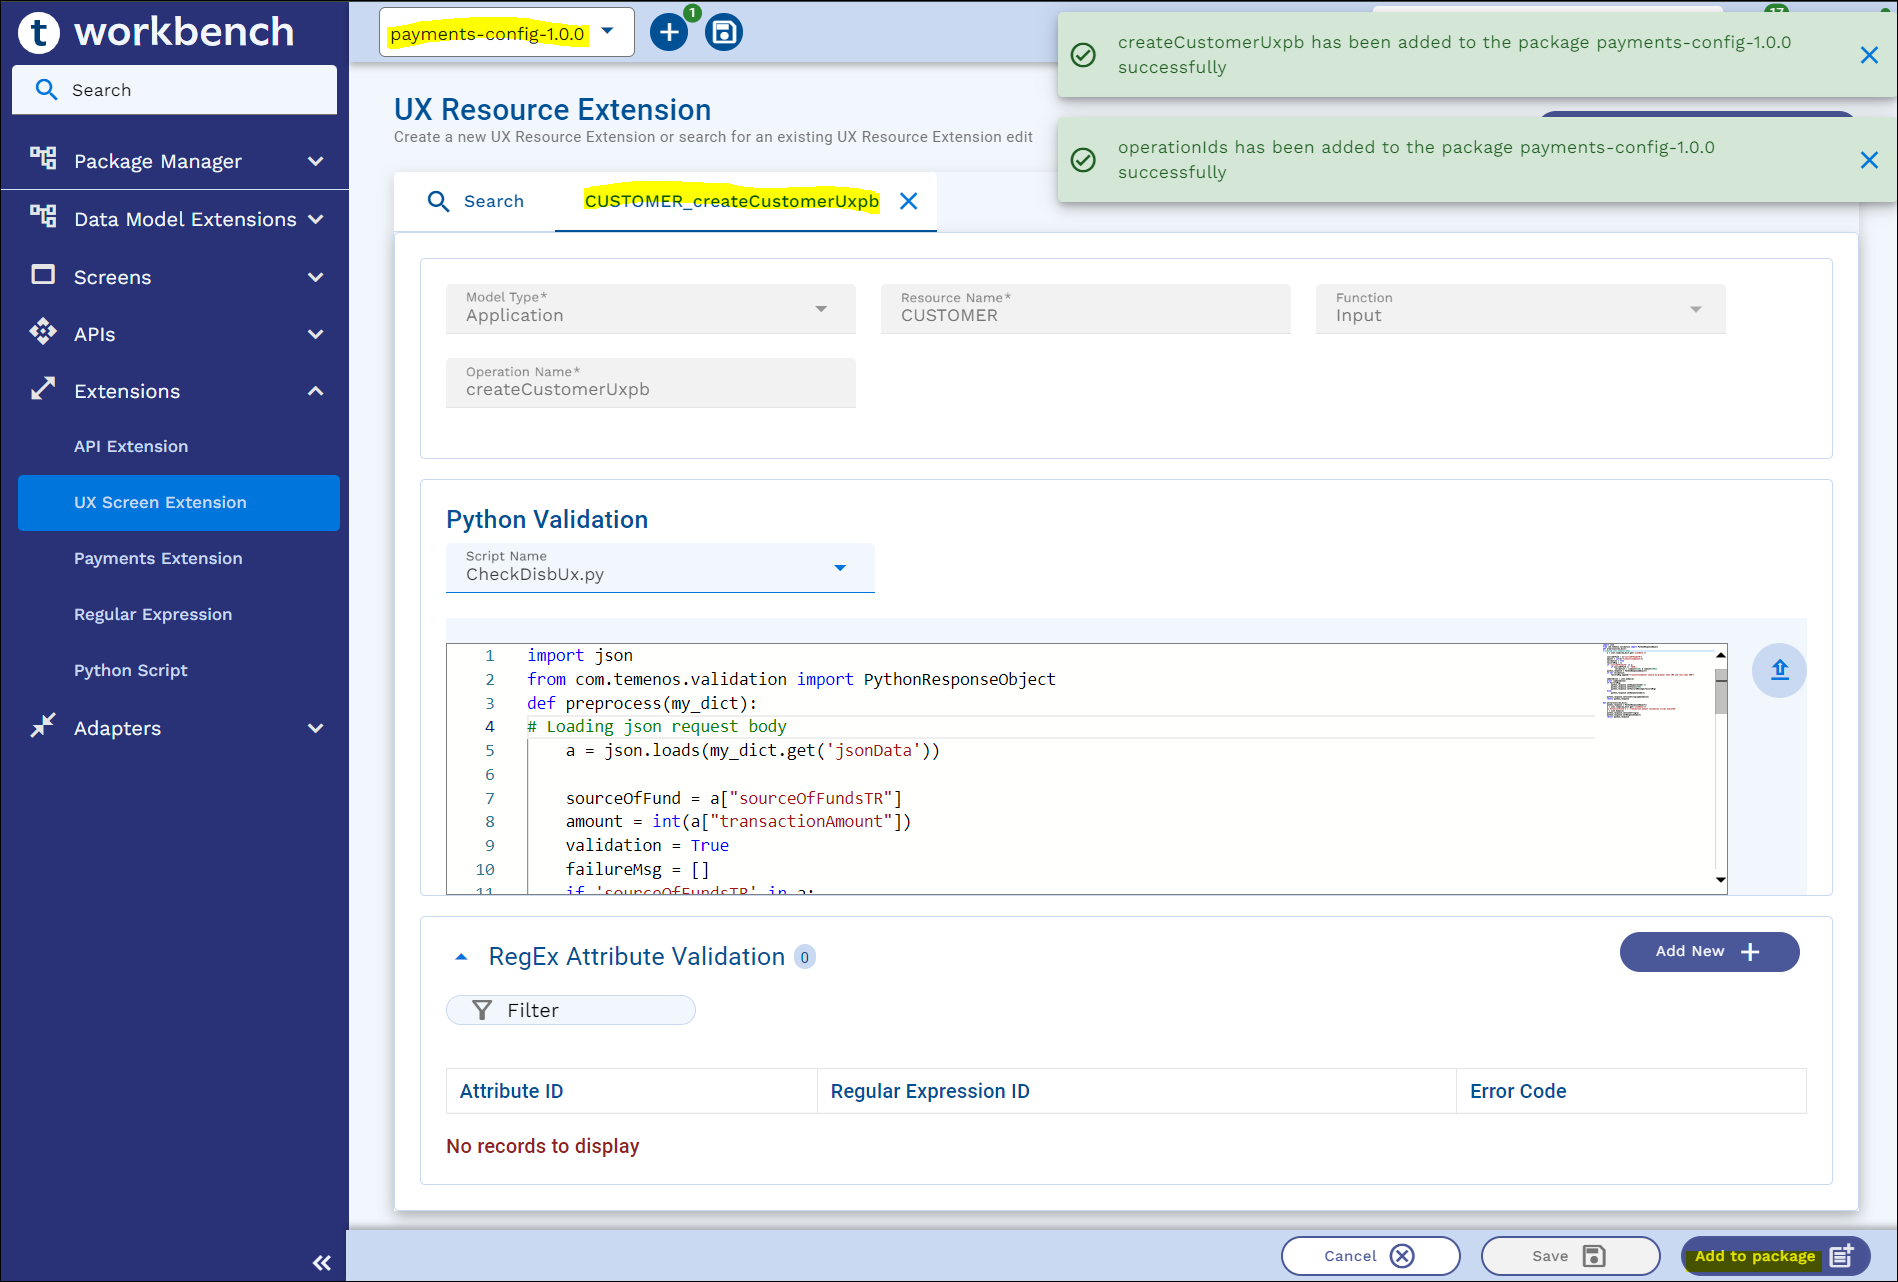
- On the appbar, click the ‘+’ icon and click either Add to Package/Add to Project, or Add All to add UX Resource Extensions to the package or project.
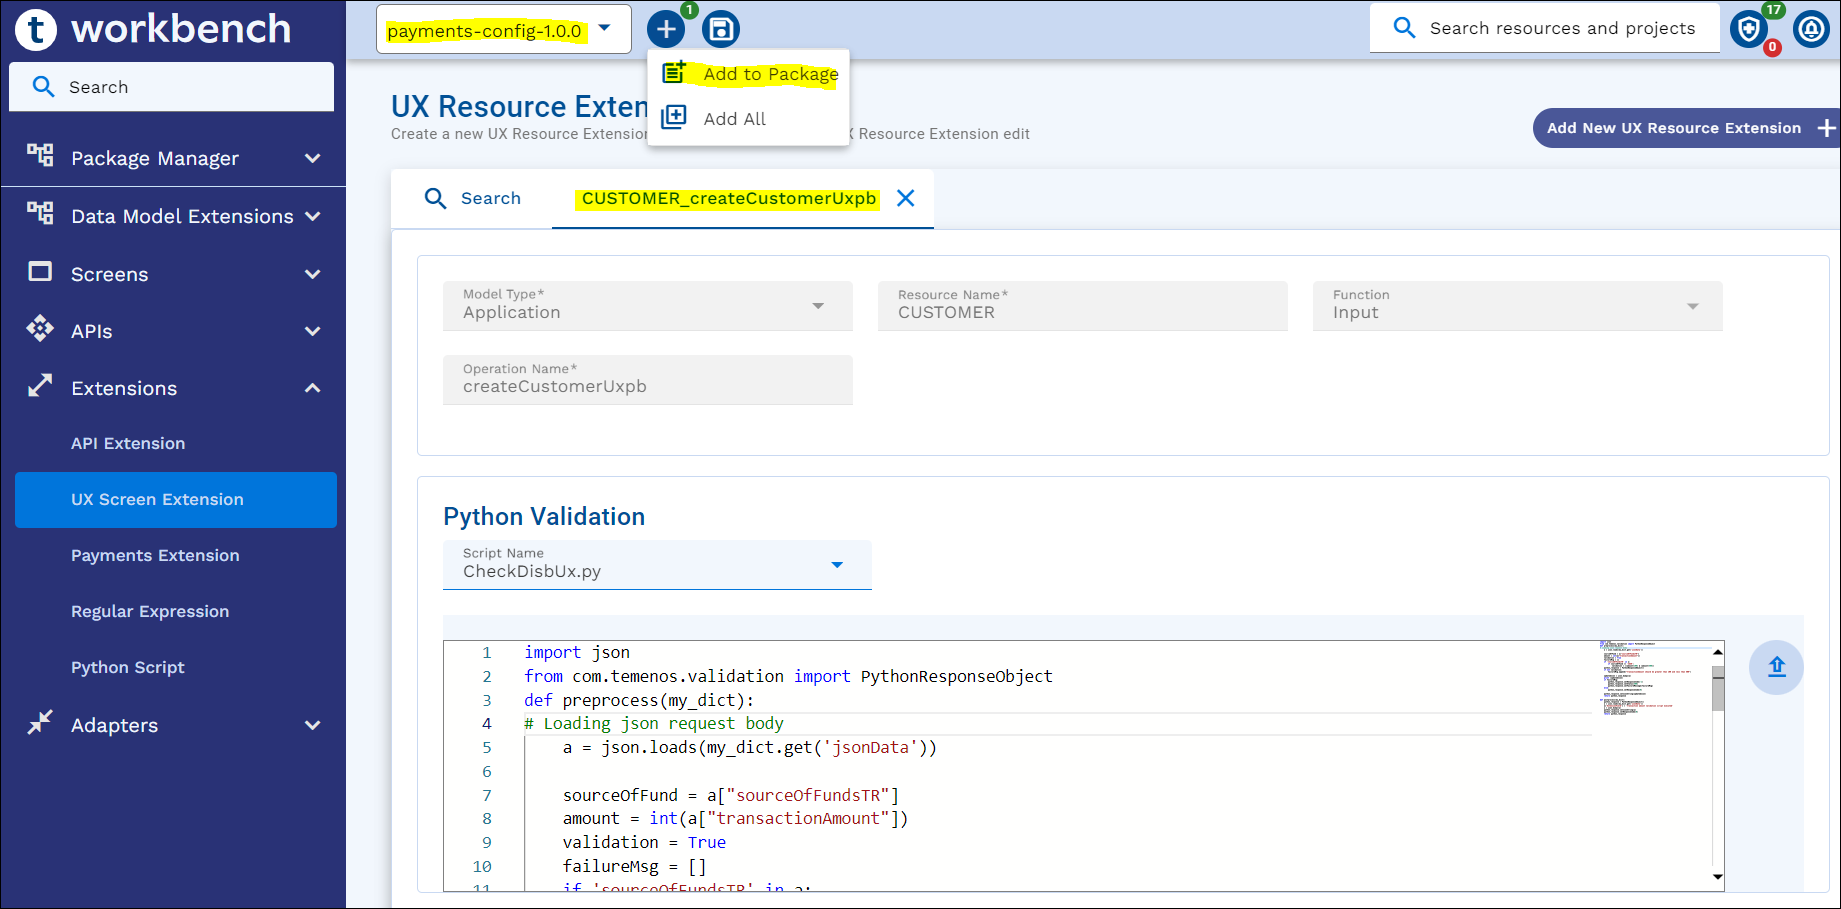
- Click Add to Package or Add to Project.
In this topic