SEDA Creditor Registry Installation Guide
In this document are explained the installation procedures required to install this package successfully in Temenos Transact. This document covers the release mechanism of the package.
System Requirements
The following are the pre-requisites for installing the package:
- Jdk 11.
- Temenos Transact area.
Contents of the Package
The pack contains the following ITSDCR_CreditorRegistryIncoming components.
- XSL folder:
- ClearingDirectoryFormOfs.
- FormOfsMessage.
- FormOfsUpdateParameterTable.
- UserCredentials.
Steps for Installing the Package
The following steps are required to install the package.
- Configure the ITSDCR.OFS record in the OFS.SOURCE application as per below.

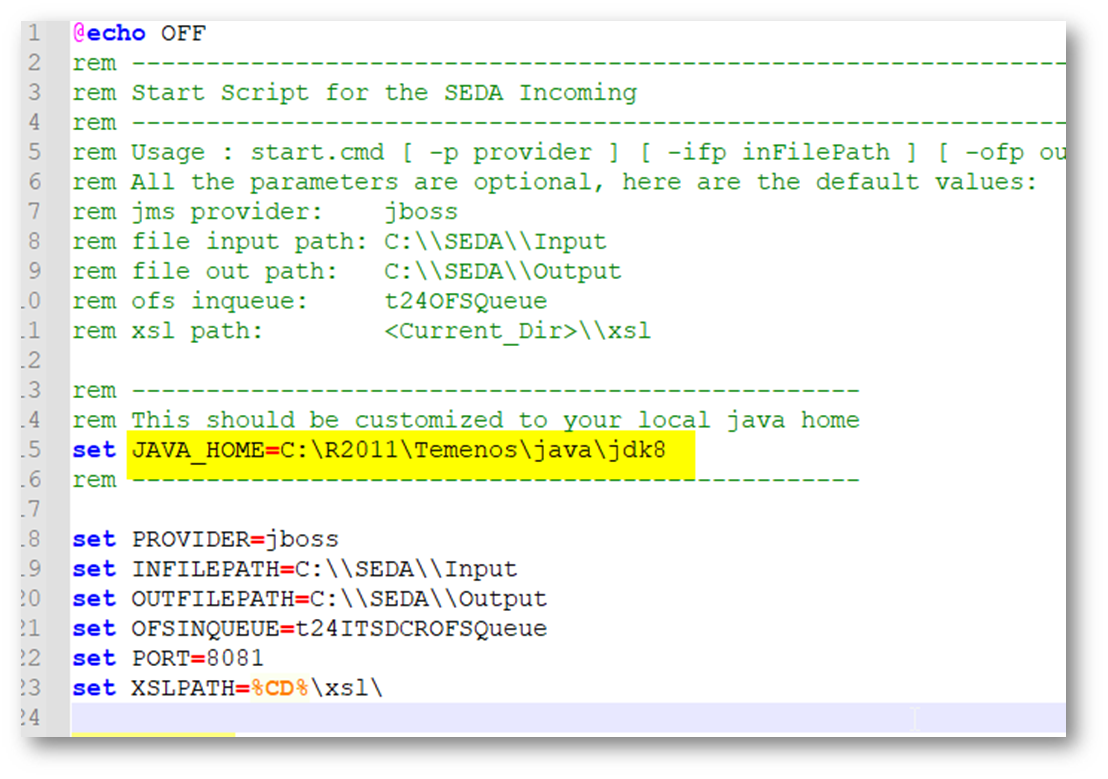
- Set the JAVA_HOME in the start.cmd file.
- Make sure the OFS.SOURCE is also available, otherwise create an OFS source, as ITSDCR.OFS.
Specific queue names to be created in the standalone XML file for the generation of messages in queues.
<jms-queue name="t24ITSDCROFSQueue" entries="queue/t24ITSDCROFSQueue java:jboss/exported/jms/queue/t24ITSDCROFSQueue"/>
<jms-queue name="t24ITSDCROFSReplyQueue" entries="queue/t24ITSDCROFSReplyQueue java:jboss/exported/jms/queue/t24ITSDCROFSReplyQueue"/>

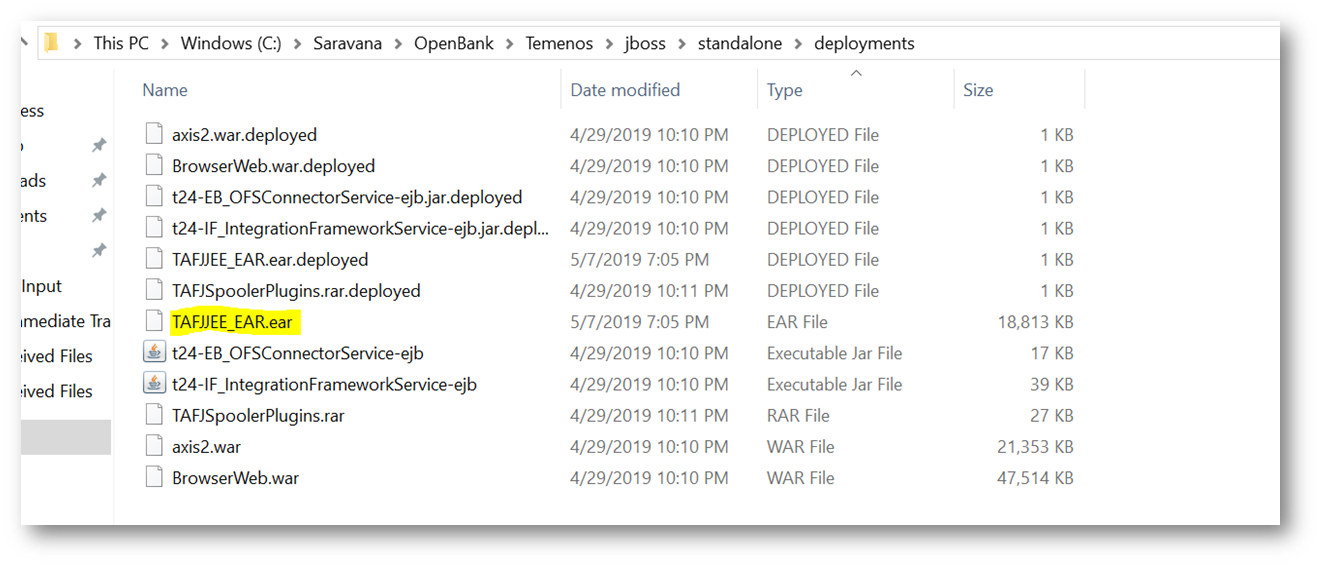
- Edit the TAFJEE_EAR.ear as displayed below.
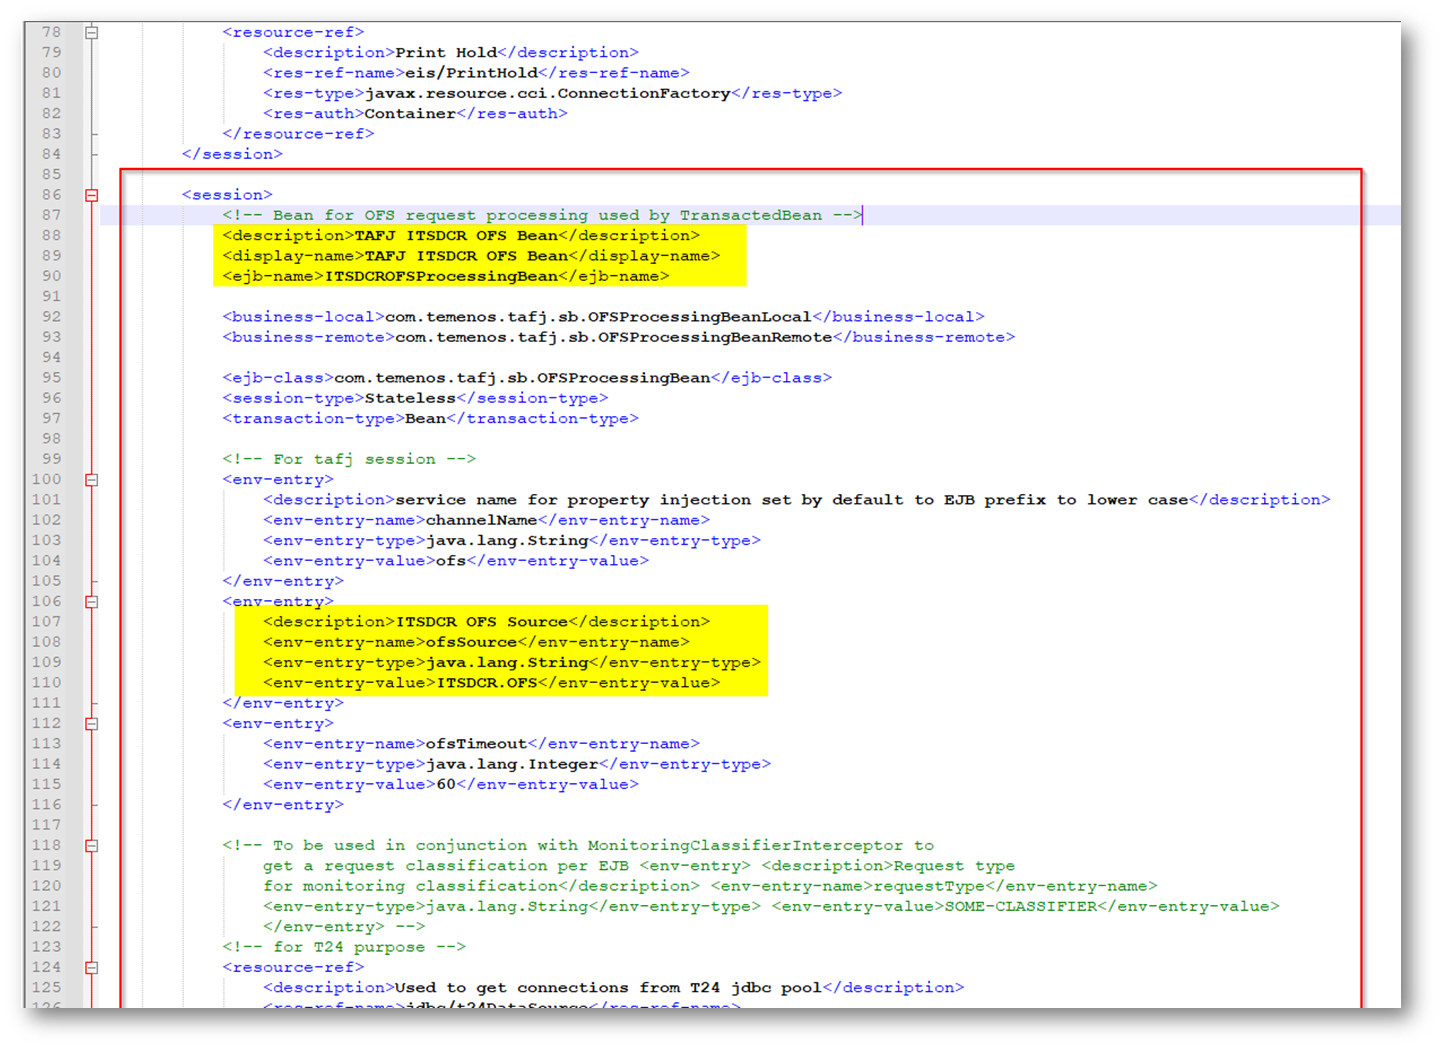
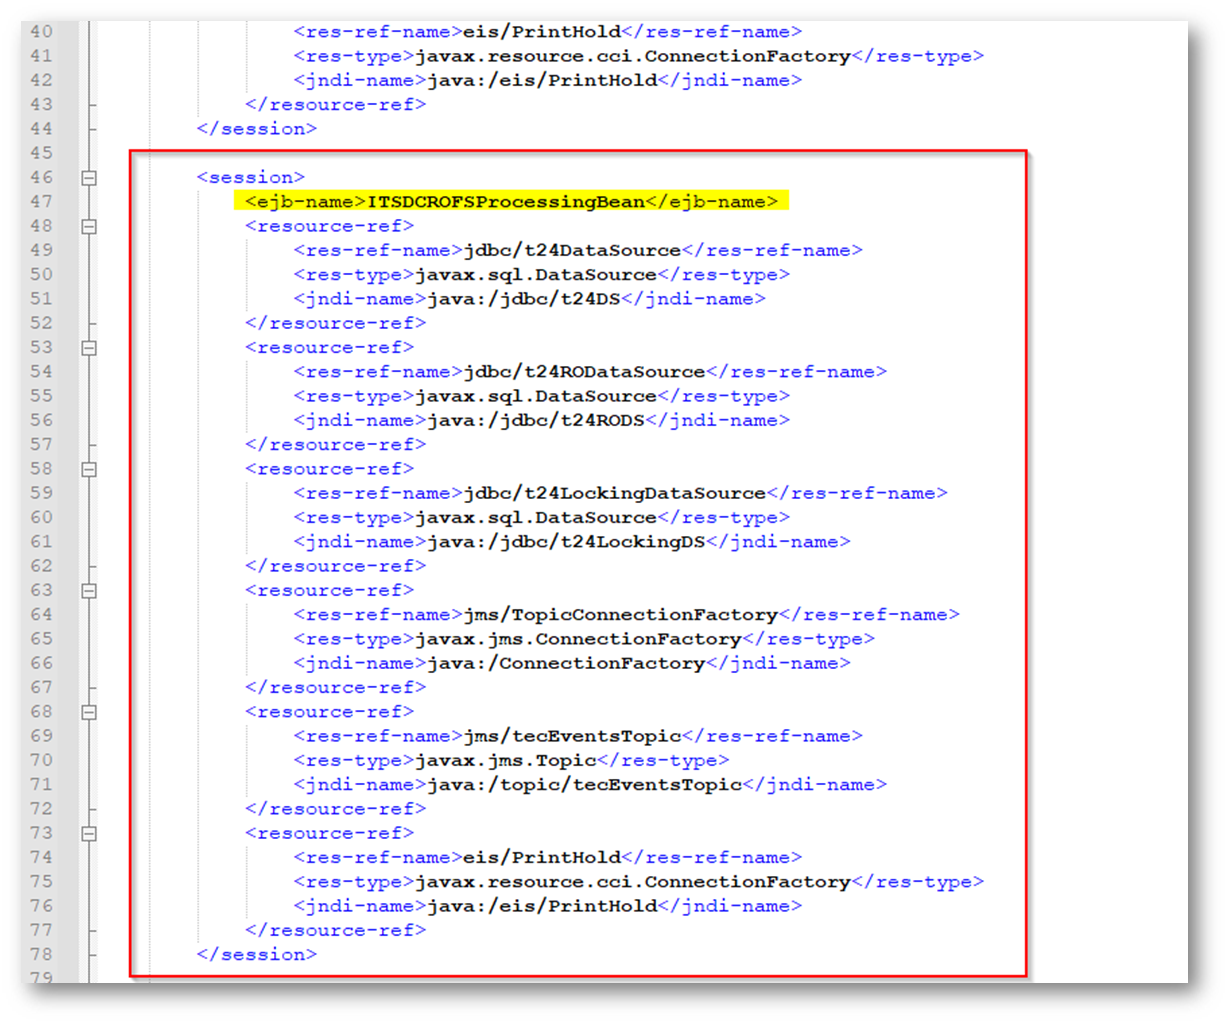
- To update the OFS source in the TAFJEE_EJB.JAR:
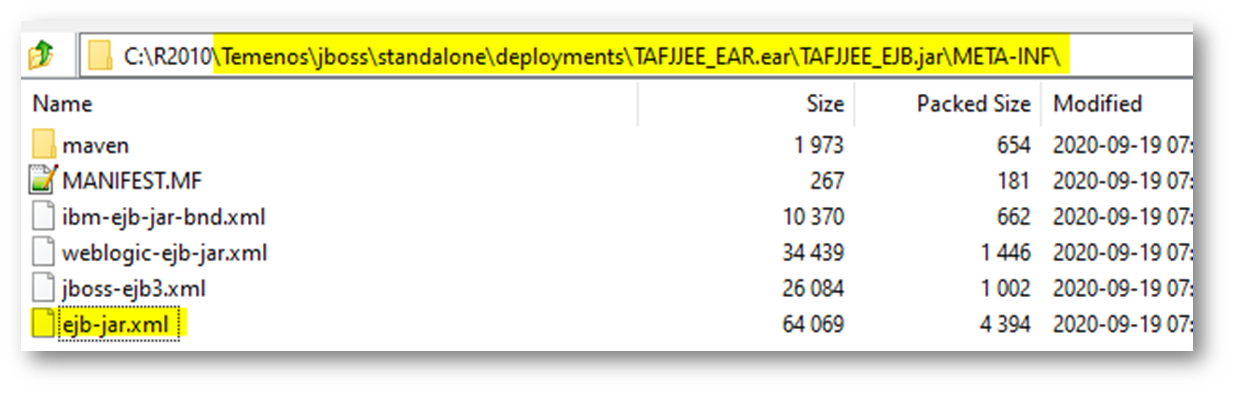
- Copy and paste the existing <session> tag and amend the highlighted lines below in the ejb.jar.xml file.
- Copy and paste the existing <session> tag and amend the highlighted lines below in the jboss-ejb3.xml file.
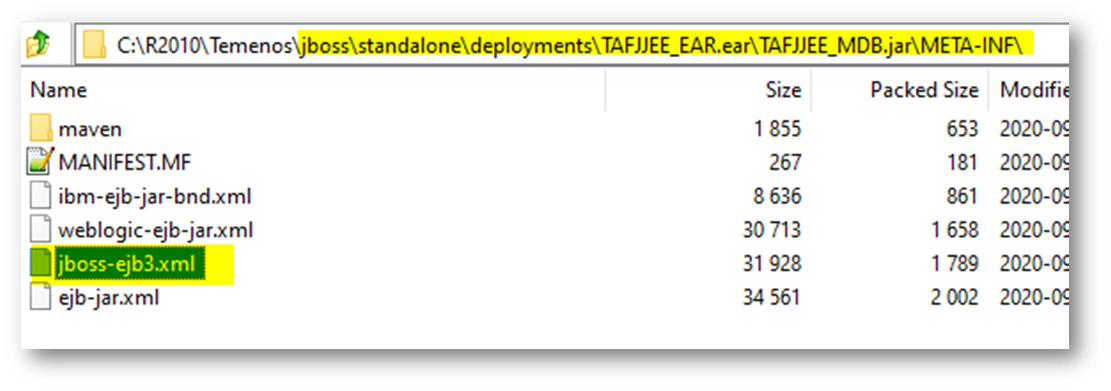
- Edit the details below in the TAFJEE_MDB.jar.
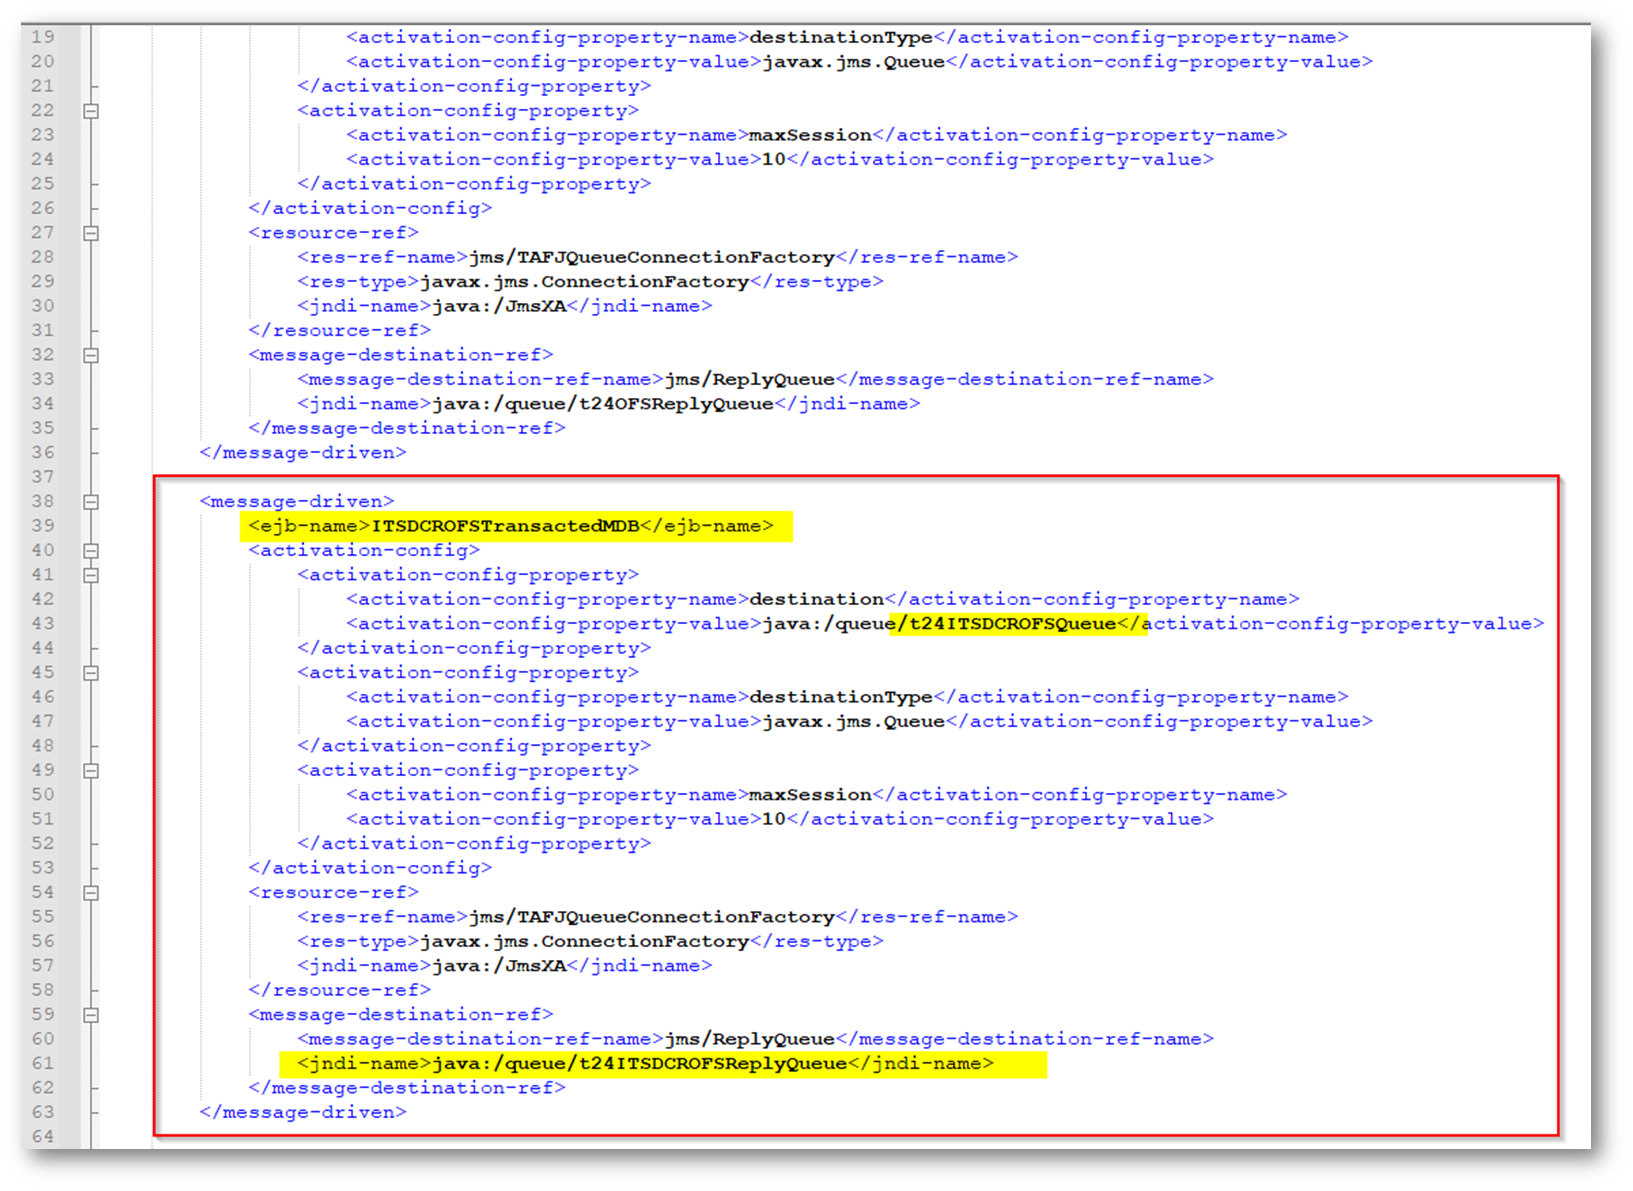
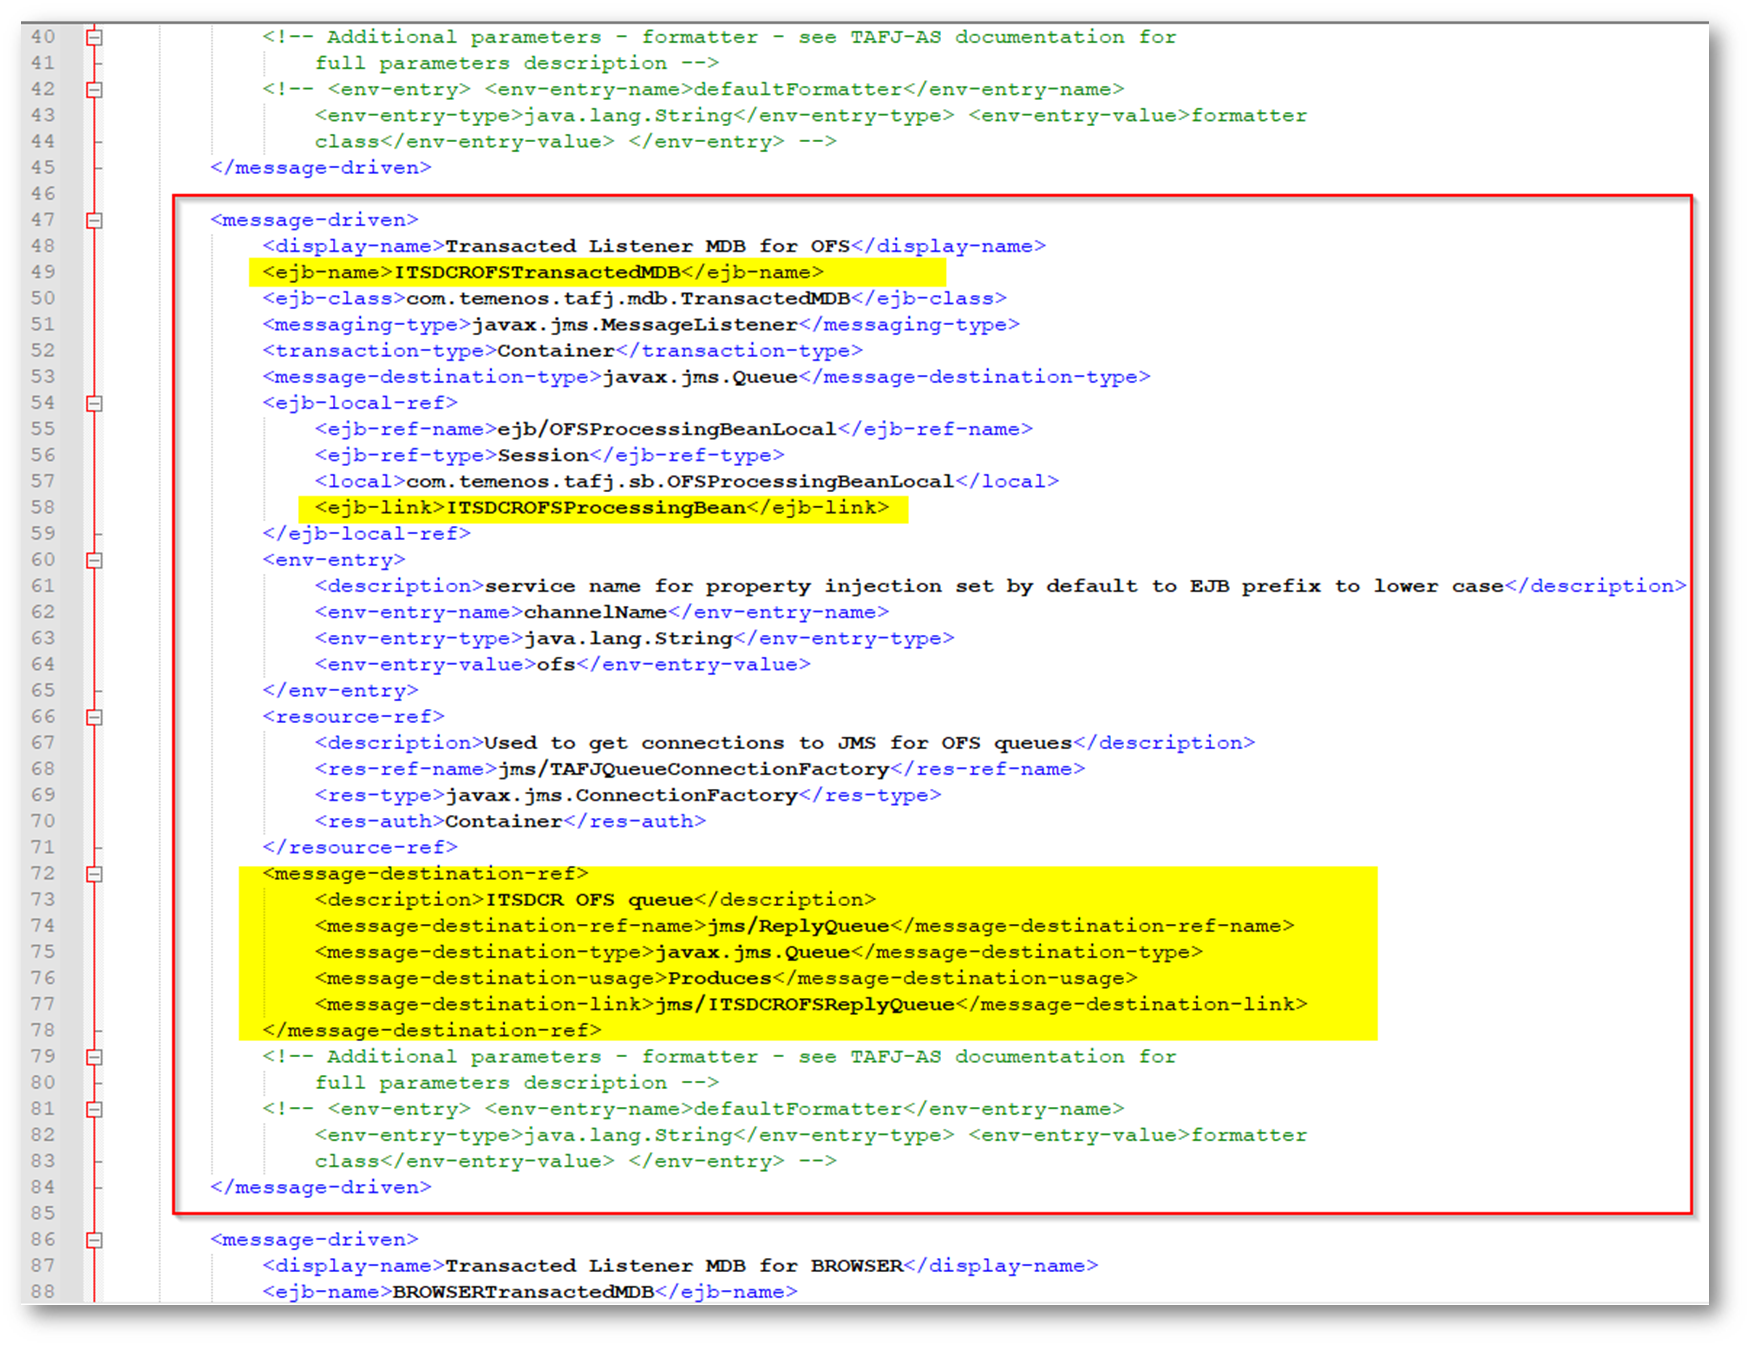
- Copy and paste the <message-drive> tag and amend the highlighted lines below in the jboss-ejb3.xml.
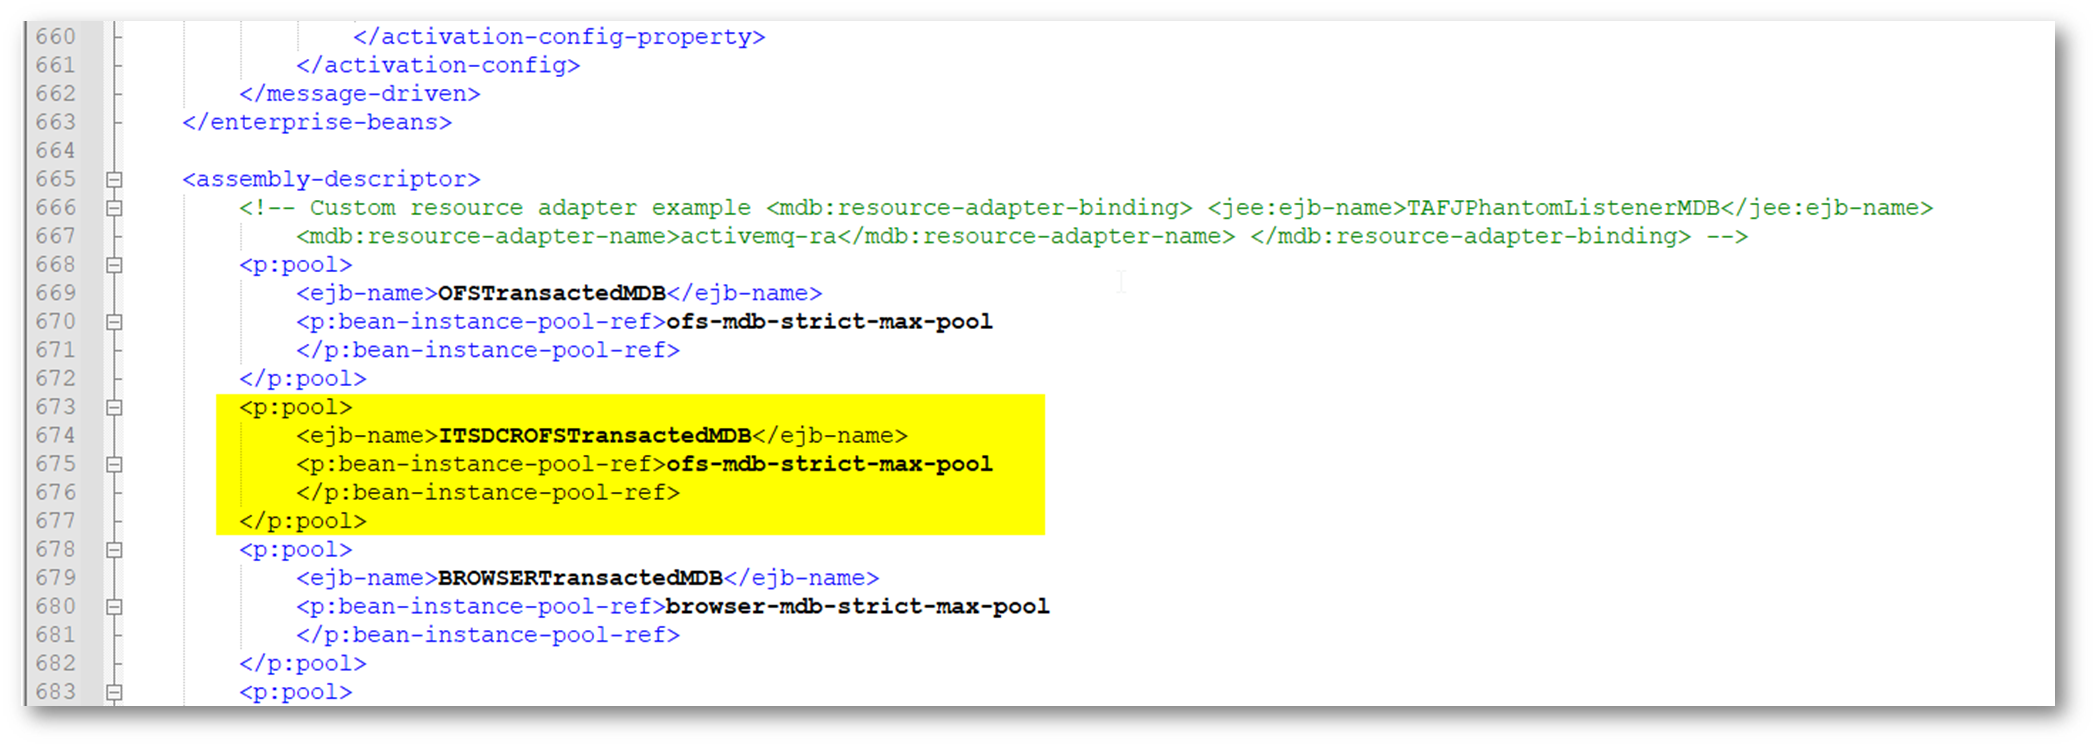
- Add the details below in the <assembly-descriptor> tag.
- Copy and paste the <message-drive> tag and change the highlighted lines below in the ejb-jar.xml.
- Application.properties:
- Restart the Temenos Transact area.
- Now, start with the package as per the installation steps below.
- Extract the .zip file.
- In the start.cmd file, set the following details:
- JAVA_HOME variable: points to java jdk location.C:\java\jdk11\jre.
- PROVIDER variable: contains the queue broker name. It accepts the following values: jboss, ibmmq, activemq, amazonmq, weblogic.
- PORT variable: can be any available port number to be used by the package.
- XSLPATH: path of the XSLT files.
- JAVA_HOME variable: points to java jdk location.
- If the above values are not set, then the following values will be defaulted:
- PROVIDER=jboss.
- PORT=8080.
- XSLPATH=%CD%\xsl\.
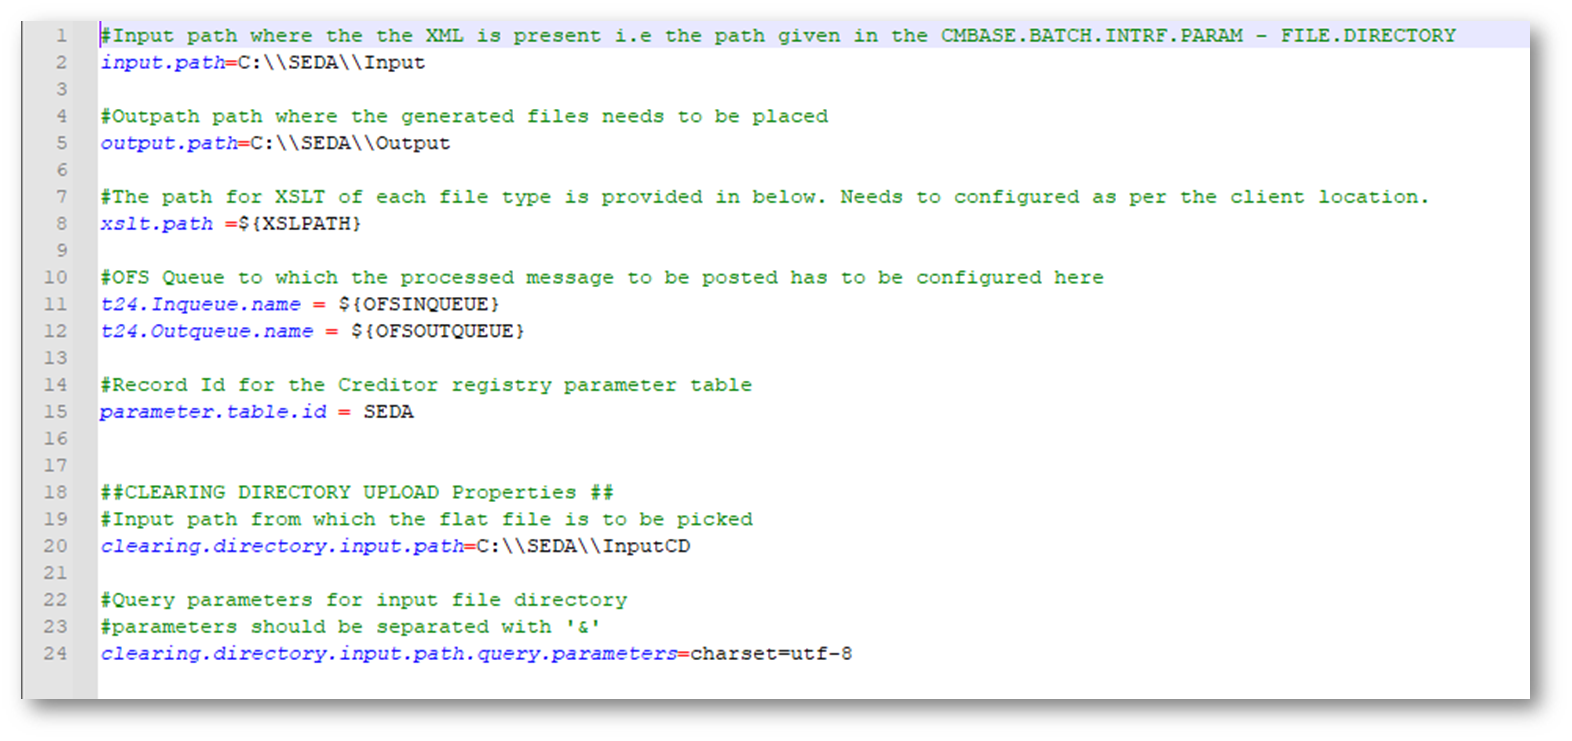
- The items below need to be modified in the application.properties.
- input.path.
- output.path.
- t24.inqueue.name.
- t24.outqueue.name.
- parameter.table.id.
- clearing.directory.input.path.
No changes should be done in the xslt.directory.path. - Open the respective application properties for the queue broker type and set the JNDI values. If the queue broker is jboss, the user needs to open the application-jboss.properties and set the values.
- In the UserCredentials.xsl from the xsl folder, configure the username/password.
The following steps need to be done for deployment.
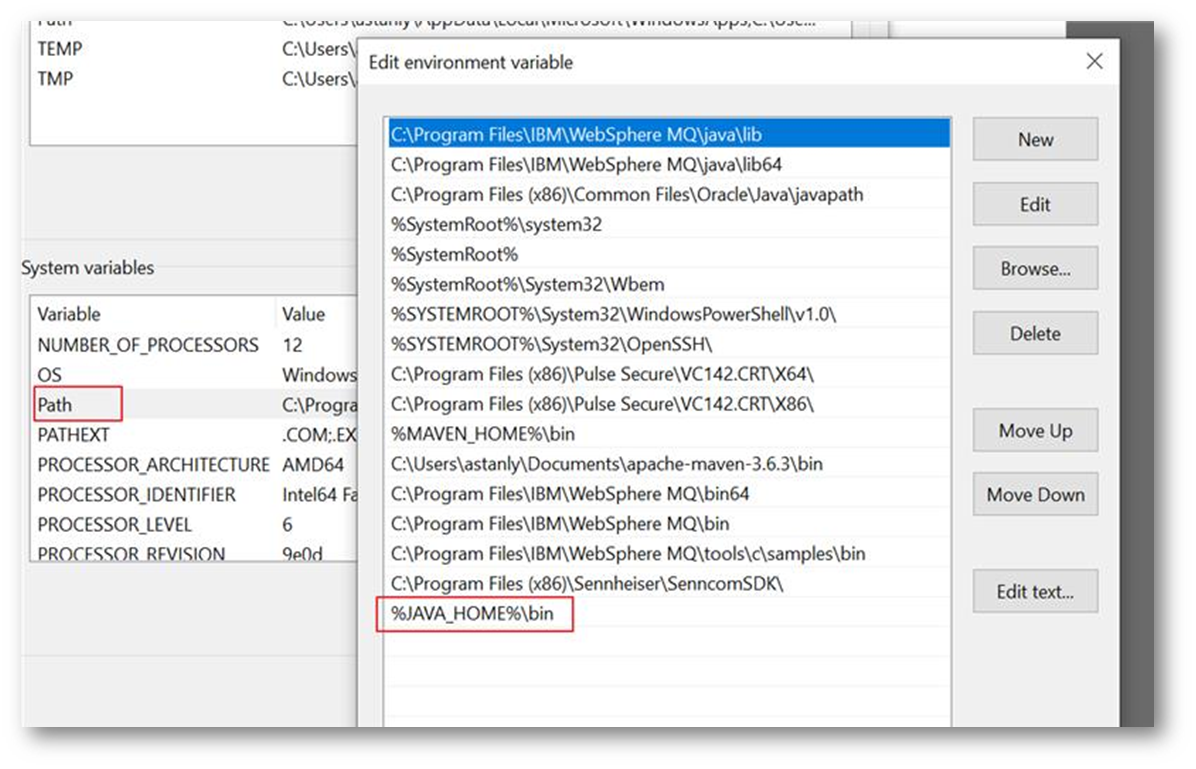
- Configure the environment variables as given below.
- Set JAVA_HOME as displayed below.

- Add the %JAVA_HOME%\bin in the path variable as per the screenshot below.
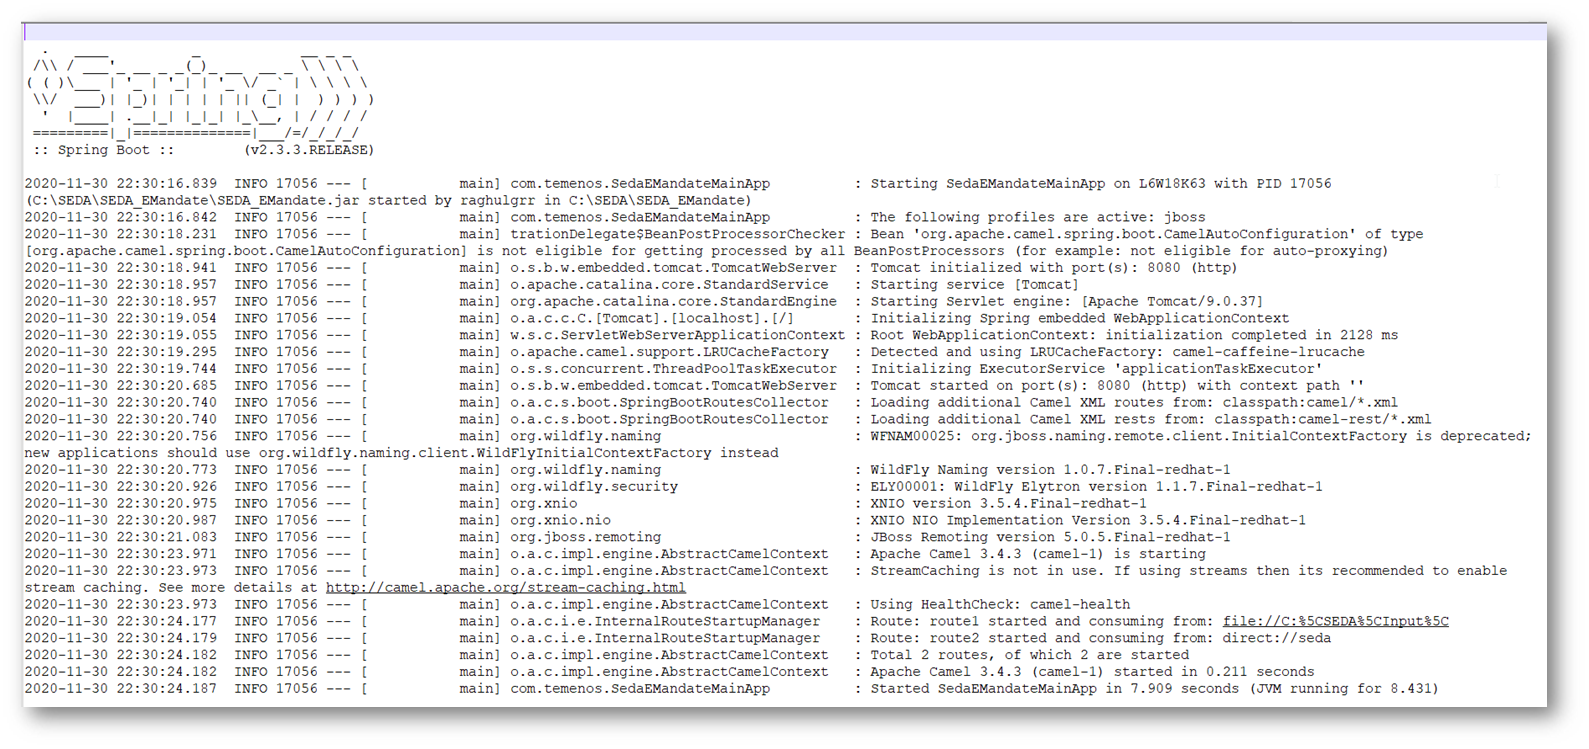
- Open a command window in the extracted package location, and execute the start.cmd command.
- Syntax:
start.cmd [ -p provider ] [ -po port ] [ -xp xslPath ]
Start.cmd –p jboss –po 8080 -xp [path]
…\package>start.cmd -p jboss -po 8080
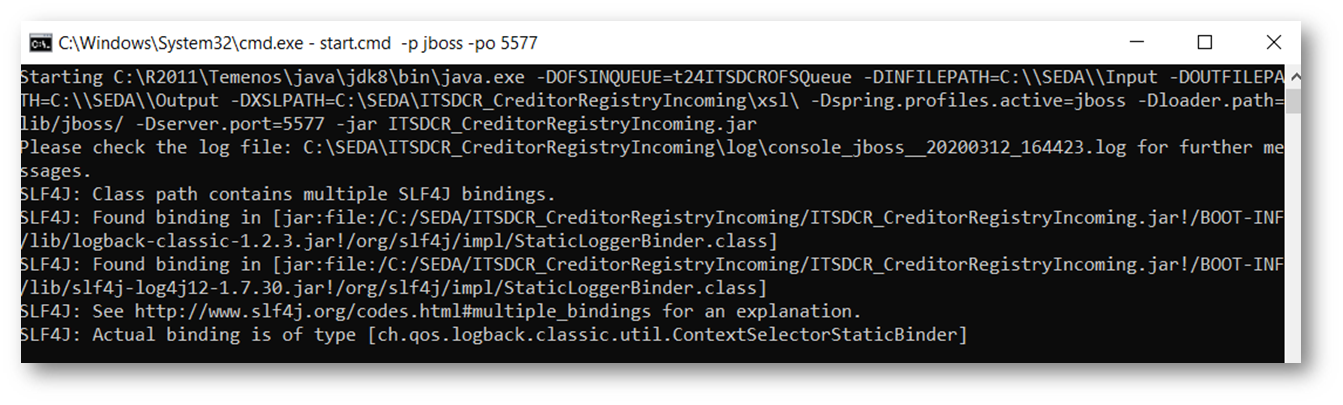
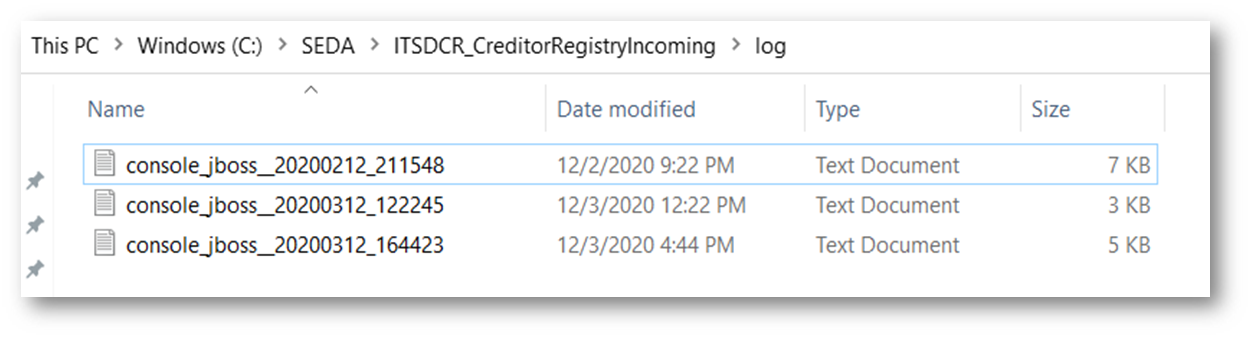
- The logs will generated in the log folder for monitoring purpose. …\package\log\ console_[providername]_[datetime].txt
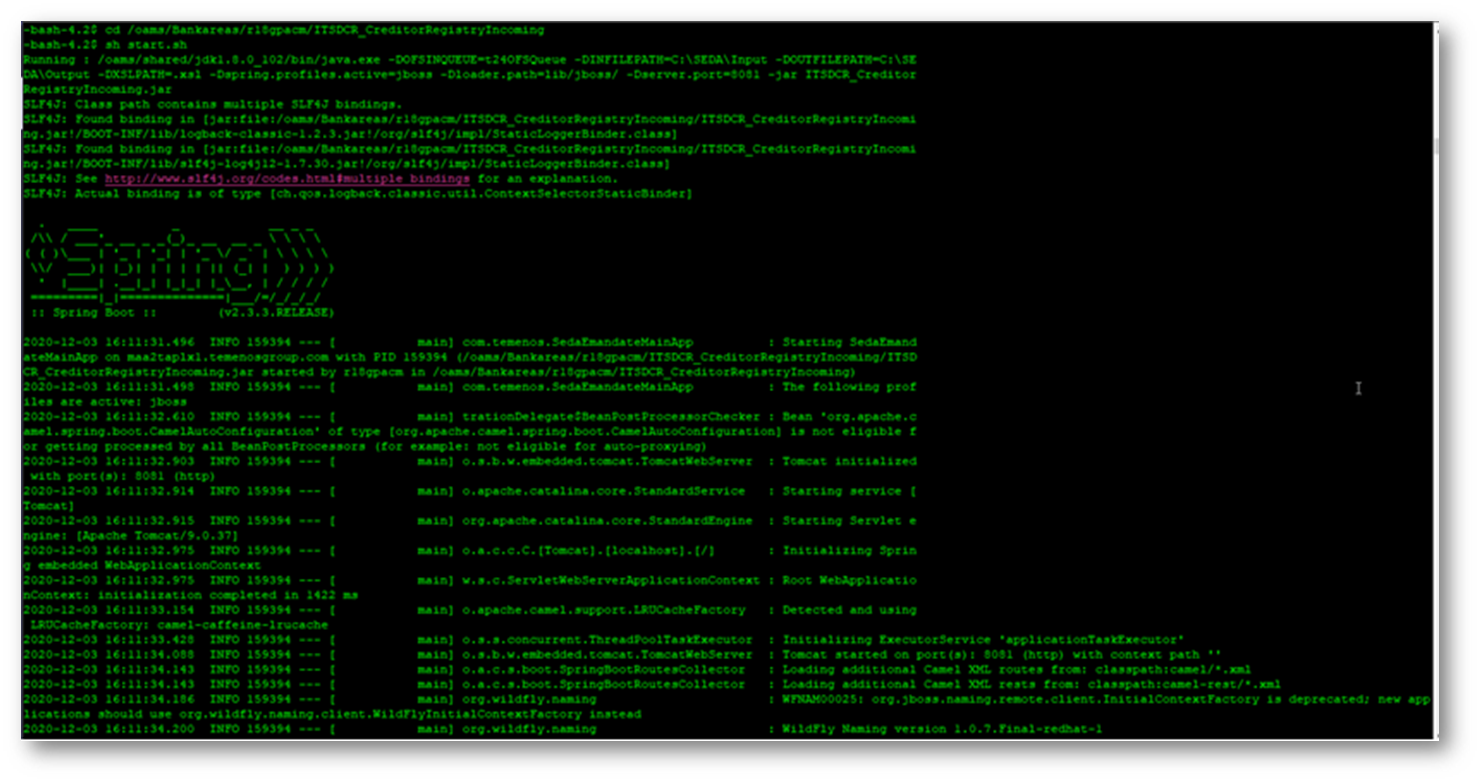
- Go to the part where the zip file is extracted.
- Launch the shell using the sh start.sh command.
In this topic