MS J2EE Package Installation Guide
This document is a step-by-step guide to configure the ms-edpmsidpms micro-services in the Websphere Application Server and INLEND__JmsDataProcessingOutgoing interface adapter, to feed the export and import information of all the exporters/importers to a separate database outside the core banking system and provide an ability for the core banking system to query the exporters/importers' information based on the input parameters.
The following are the pre-requisites for installing this package.
- Jdk 11.
- Current release – Temenos Transact.
- Temenos Transact application server in running service.
- IBM Websphere MQ in running status.
- Oracle in enable and running status.
General Considerations
- Consider that the INLEND_EtlFileConversionMsIncoming service is up and running and can generate the output file in the configured location.
- The INLEND_EtlFileConversionMsIncoming service output file path serves as input file path for the ms-edpmsidpms microservice service.
Contents of the Package
The package contains the following items:
- ms-edpmsidpms-package-j2ee-202011.0.3.zip file.
- The package contains the artefacts below.

- The Edpmsidpms-j2ee folder contains the artefacts below.

- The package contains the artefacts below.
- INLEND__JmsDataProcessingOutgoing.zip file.
Pre-Deployment Steps
The user needs to follow the pre-deployment steps as per below.
- The Ms-edpmsidpms-package-j2ee-202011.0.3.ear file is the required file to be in the Temenos Transact application server deployments. This .ear contains the wars below.

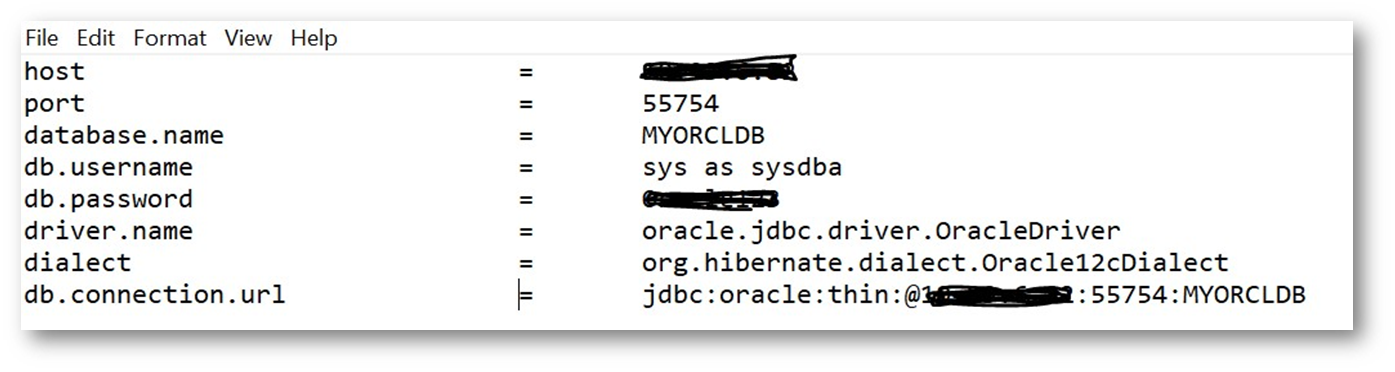
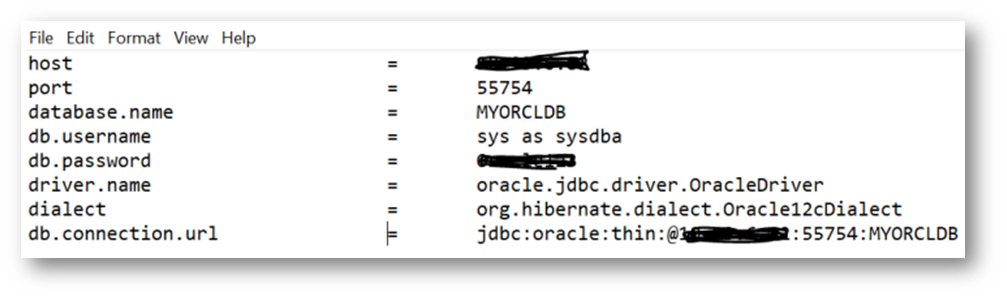
- The Ms-edpmsidpms-j2ee.war will hold the db and API related configurations. These files needs to be configured by the client: db.properties file in the location below.
ms-edpmsidpms-package-j2ee-202011.0.3.ear\
ms-edpmsidpms-j2ee.war\WEB-INF\classes\properties\db.properties
- The Ms-edpmsidpms-file-ingester.war will hold the db and file ingester related configurations. The file ingester configurations include the location of the input file, processed files and the stream vendor details. Files configured by the client:
- Db.properties file in the ms-edpmsidpms-package-j2ee-202011.0.3.ear\ms-edpmsidpms-file-ingester.war\WEB-INF\classes\properties\db.properties location.
- fileIngester.properties file in the ms-edpmsidpms-package-j2ee-202011.0.3.ear\ms-edpmsidpms-file-ingester.war\WEB-INF\classes\properties\fileingester.properties location.
- Db.properties file in the ms-edpmsidpms-package-j2ee-202011.0.3.ear\ms-edpmsidpms-file-ingester.war\WEB-INF\classes\properties\db.properties location.
- The highlighted fields below are configurable as per the required setup.
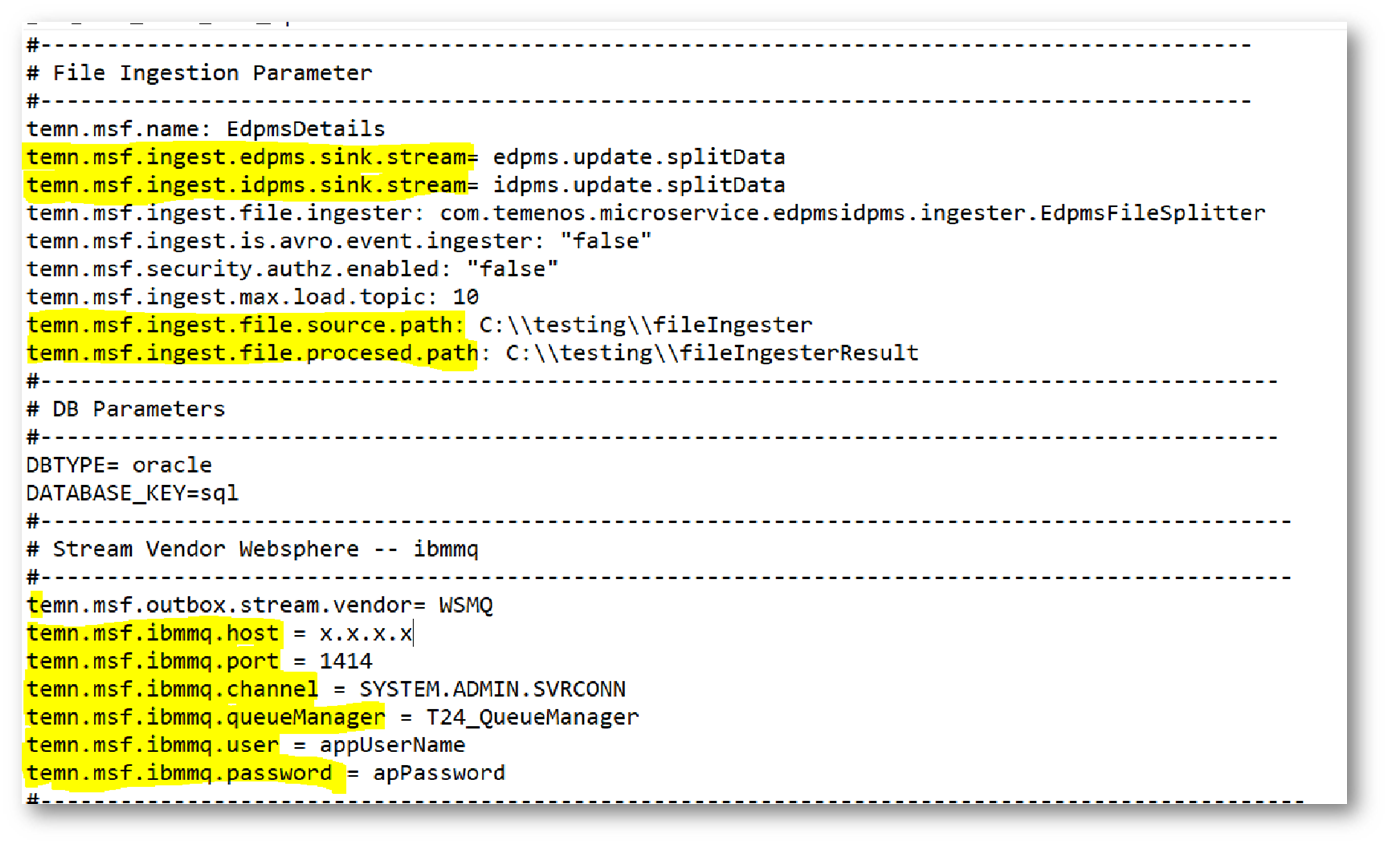
- The highlighted property descriptions in the file above are given below.
Property key Description temn.msf.ingest.edpms.sink.stream
Holds the MQ queue name which will acquire Edpms data.
temn.msf.ingest.idpms.sink.stream
Holds the MQ queue name which will acquire Idpms data.
temn.msf.ingest.file.source.path
Specify the output file location of the
INLEND_EtlFileConversionMsIncoming service.
temn.msf.ingest.file.procesed.path
Specify the location in the local machine to store the processed files.
temn.msf.ibmmq.host
Specify the hostname of IBM Websphere.
temn.msf.ibmmq.port
Port on which the Websphere is running.
temn.msf.ibmmq.channel
Specify the required Channel name.
temn.msf.ibmmq.queueManager
Specify the QueueManager name running.
temn.msf.ibmmq.user
Specify the app user name.
temn.msf.ibmmq.password
Specify the app user password.
- Configure the related DB and Log file properties in the given zip folder as per below.
- Extract the zip file and modify the properties in the shown paths as per below.
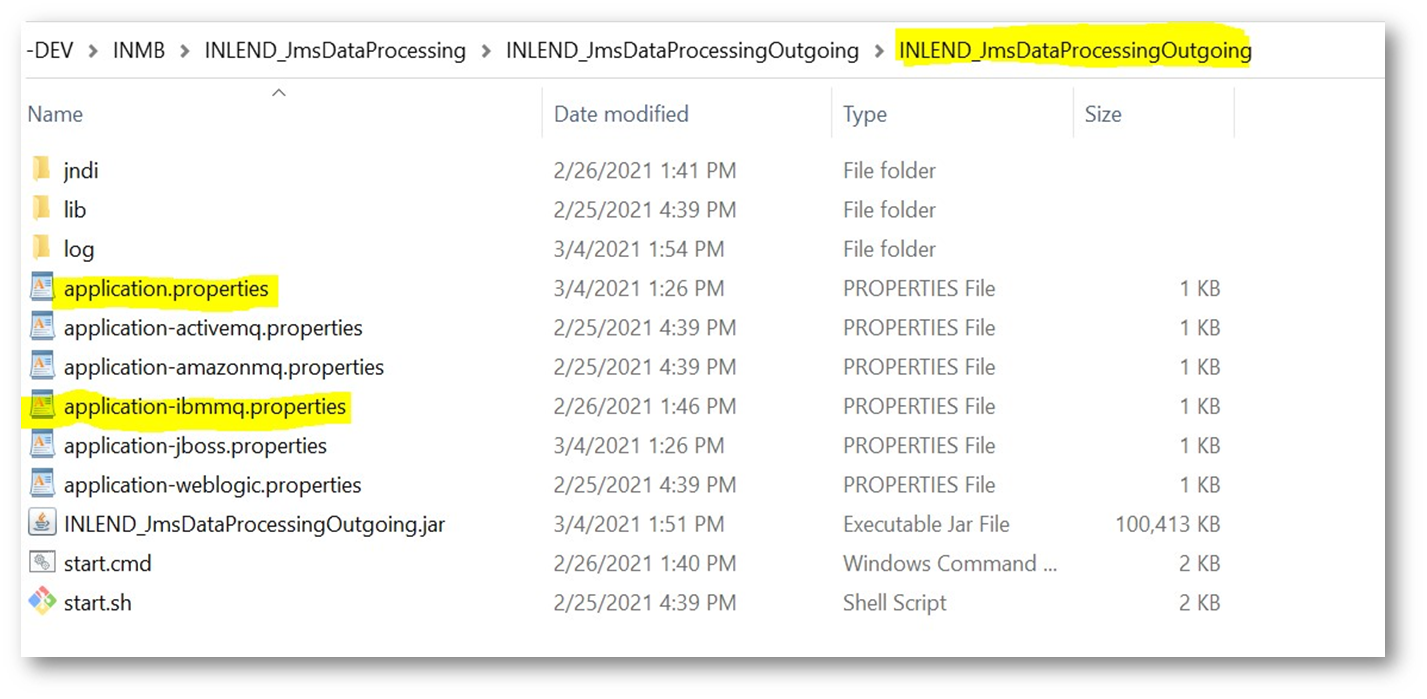

- The highlighted properties below in the application.properties file are configurable.
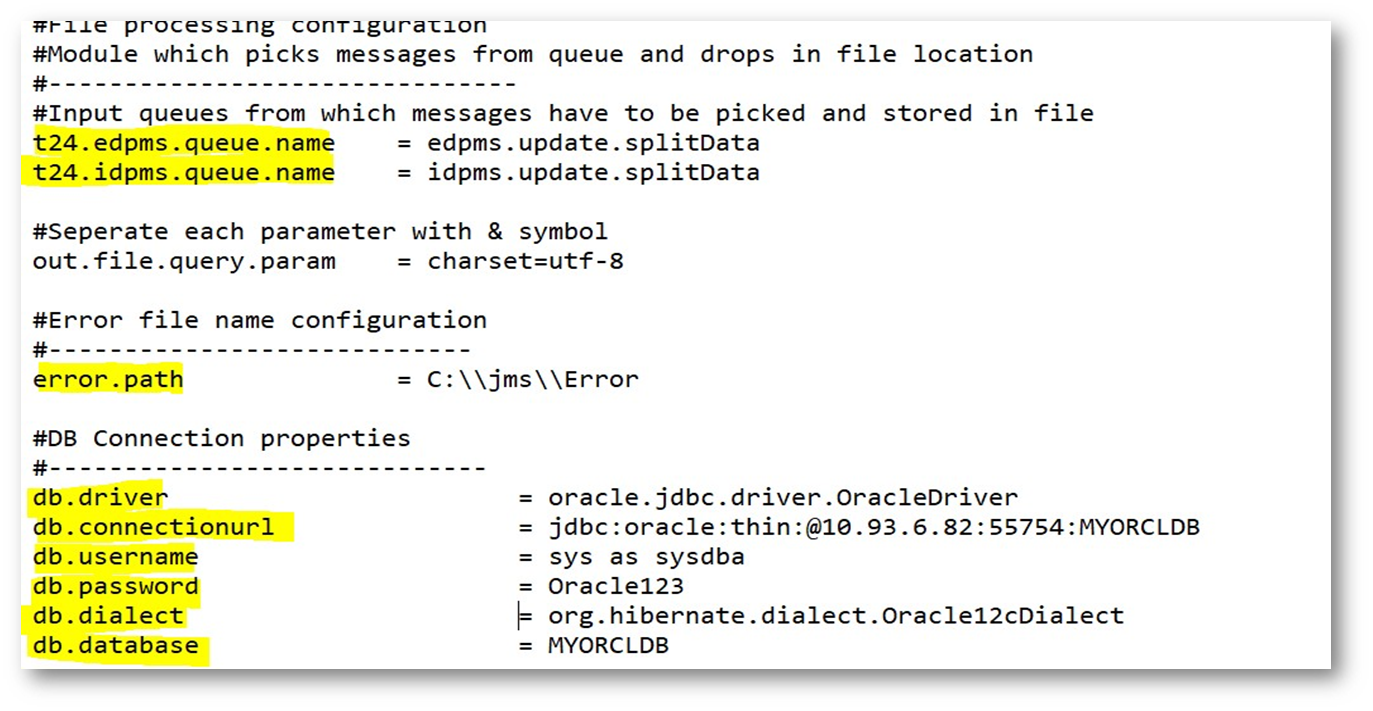
- The highlighted property descriptions in the file above are given below.
Property key Description t24.edpms.queue.name
Holds the MQ queue name which will acquire Edpms data.
t24.idpms.queue.name
Holds the MQ queue name which will acquire Idpms data.
error.path
Specify the path to store error logs.
db.driver
Specify the required Db driver name.
db.connectionurl
Specify the connection URL of the required Db.
db.username
Specify the user name to connect DB.
db.password
Specify the user password to connect DB.
db.dialect
Specify the dialect for connecting DB.
db.database
Specify the database name to create tables and store the data.
- The application server configurations must be done in the corresponding property file.
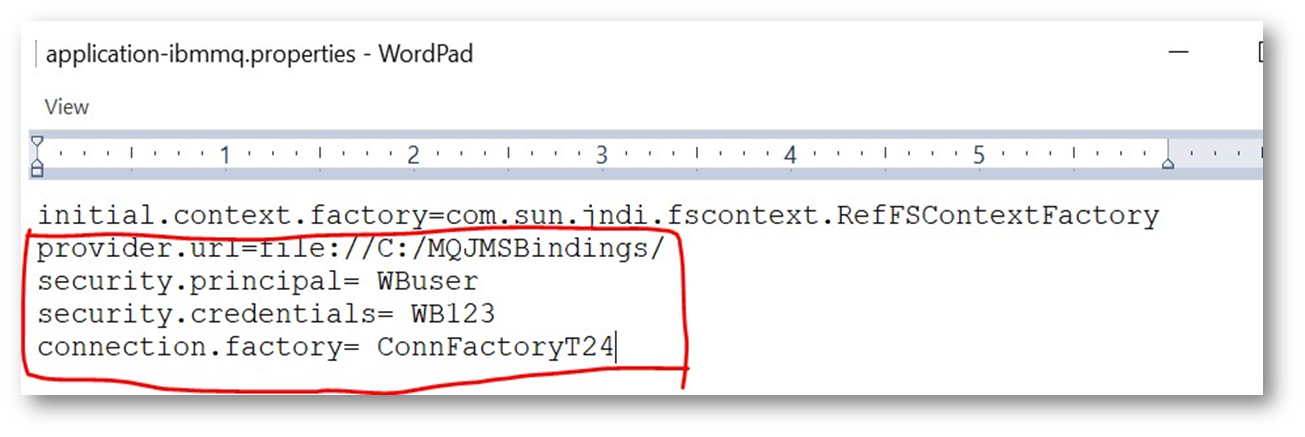
- The property descriptions in the file above are given below.
Property key Description provider.url
This will contain the path where the .bindings file is located.
security.principal
This will contain the user name.
security.credentials
This will contain the password.
connection.factory
This will contain the connection factory name while creating the .bindings file.
- The corresponding .bindings file has to be placed under the jndi folder as per below.

- Refer to the WebSphere Connectivity section to obtain the .bindings file.
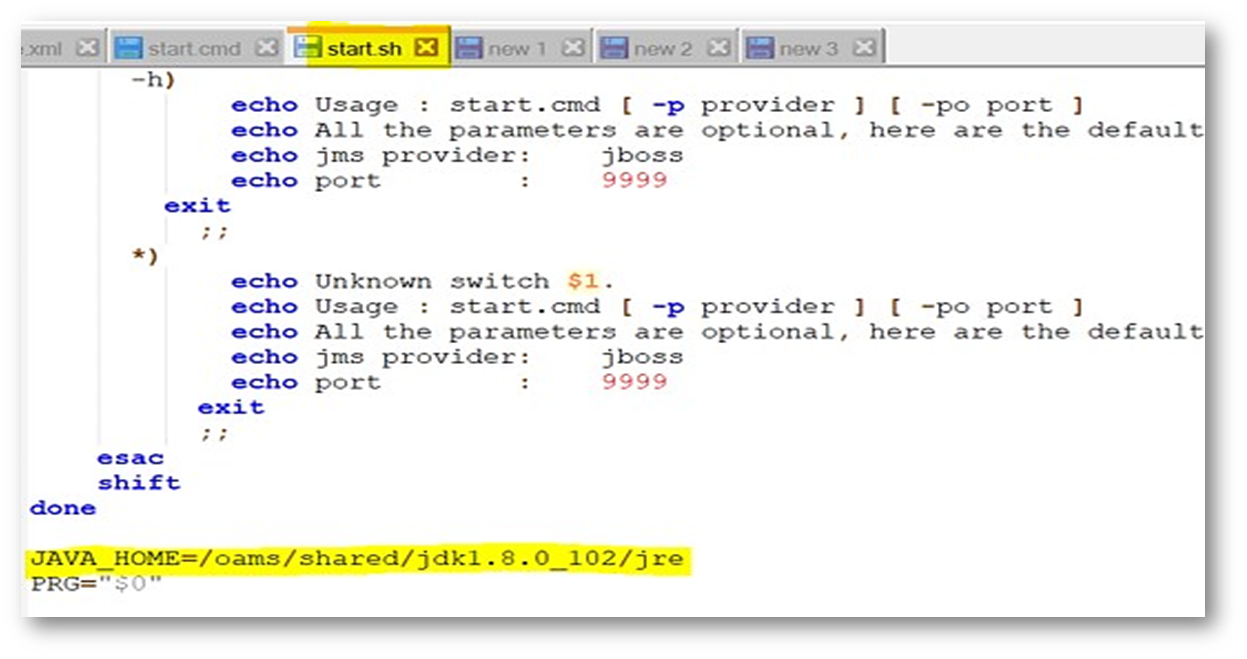
- Modify the java home path in start.cmd and start.sh (for Linux) file.
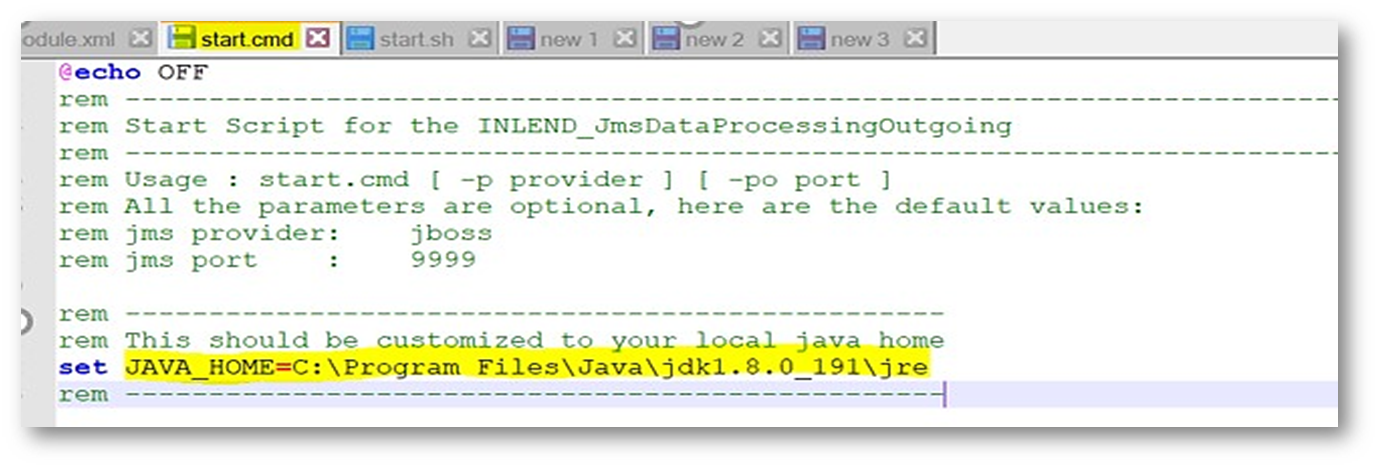
- The start.sh is displayed below.
Deployment Steps
The user needs to follow the steps below to deploy the package file.
- Place the ms-edpmsidpms-package-j2ee-202011.0.3.ear in the path below of Temenos Transact application server.
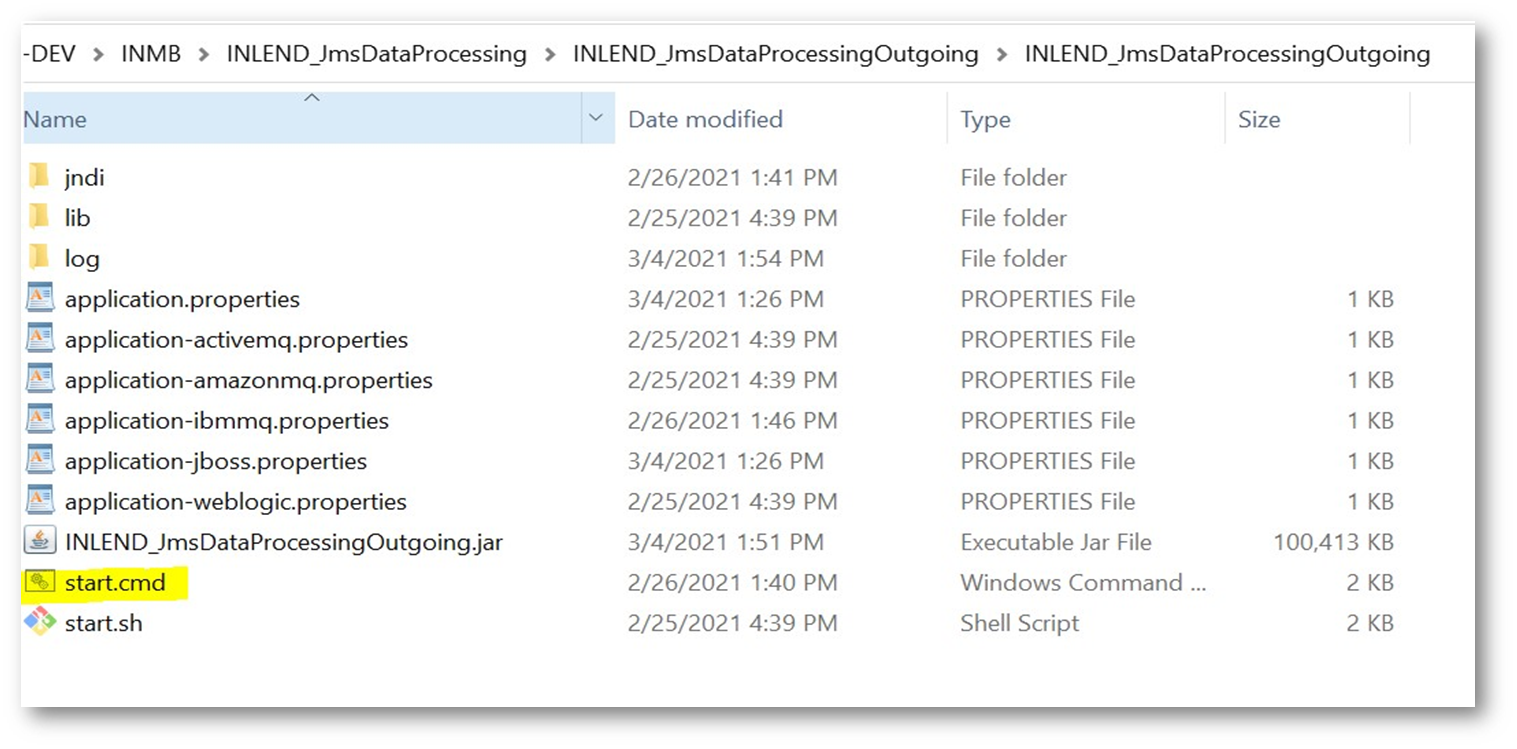
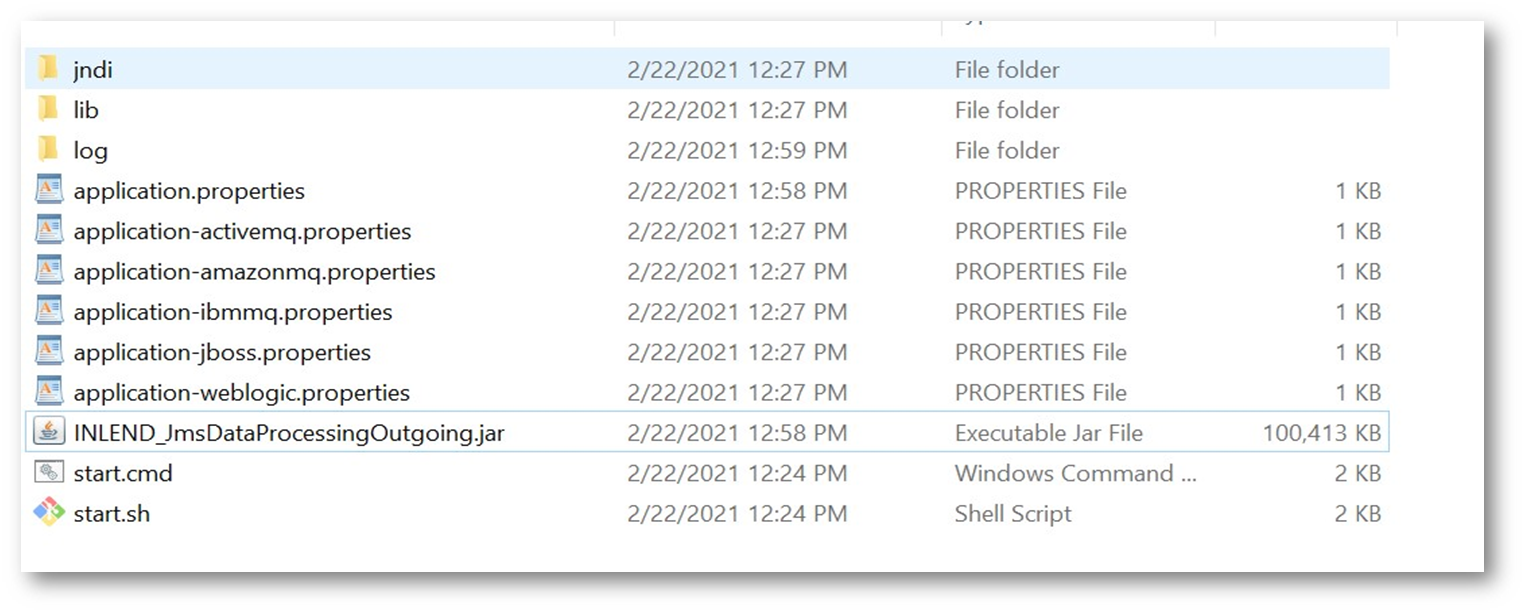
- Once the ear is deployed successfully, extract the contents of the INLEND_JmsDataProcessingOutgoing.zip folder into the local machine folder.
- Make sure the structure is as per below.
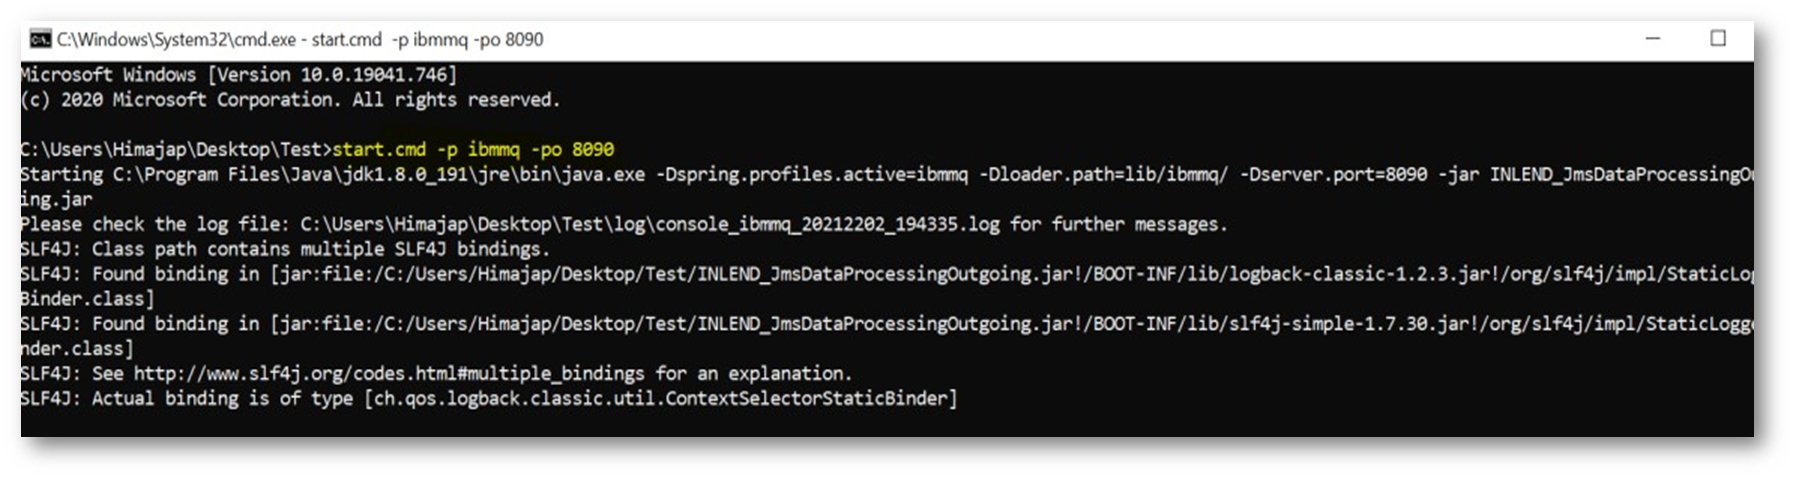
- Open the command prompt from the above location and run the Start.cmd –p ibmmq –po {DesiredPortNo} command.
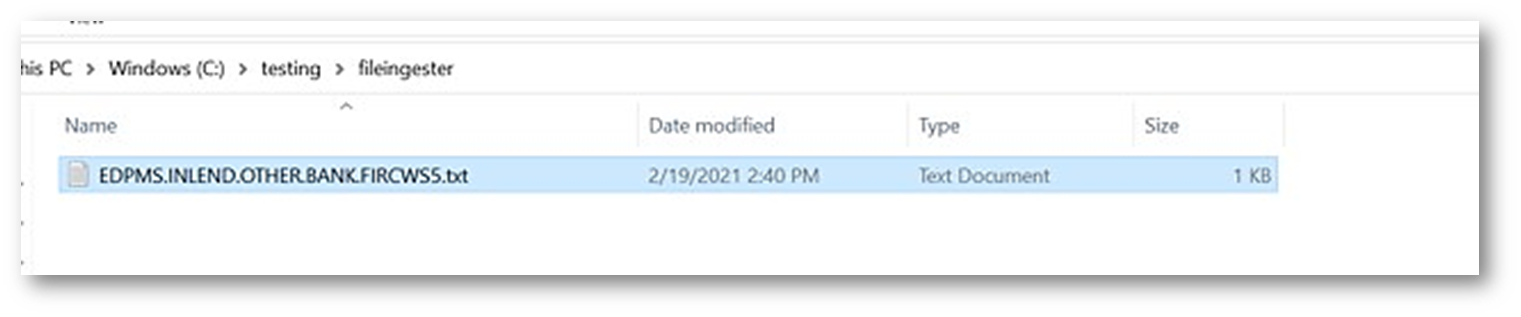
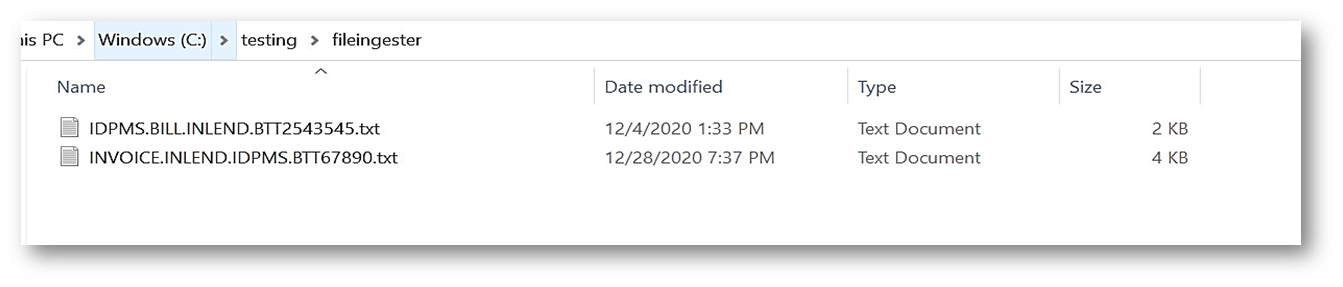
- Once the INLEND_EtlFileConversionMsIncoming service generates the output files, the ms-edpmsidpms-package-j2ee will pick those files as input.
- The Edpms file data from the INLEND_EtlFileConversionMsIncoming service is displayed below.
- The MS service will trigger and process the data, and then load into the MS database.
- The Idpms file data from the INLEND_EtlFileConversionMsIncoming service is displayed below.
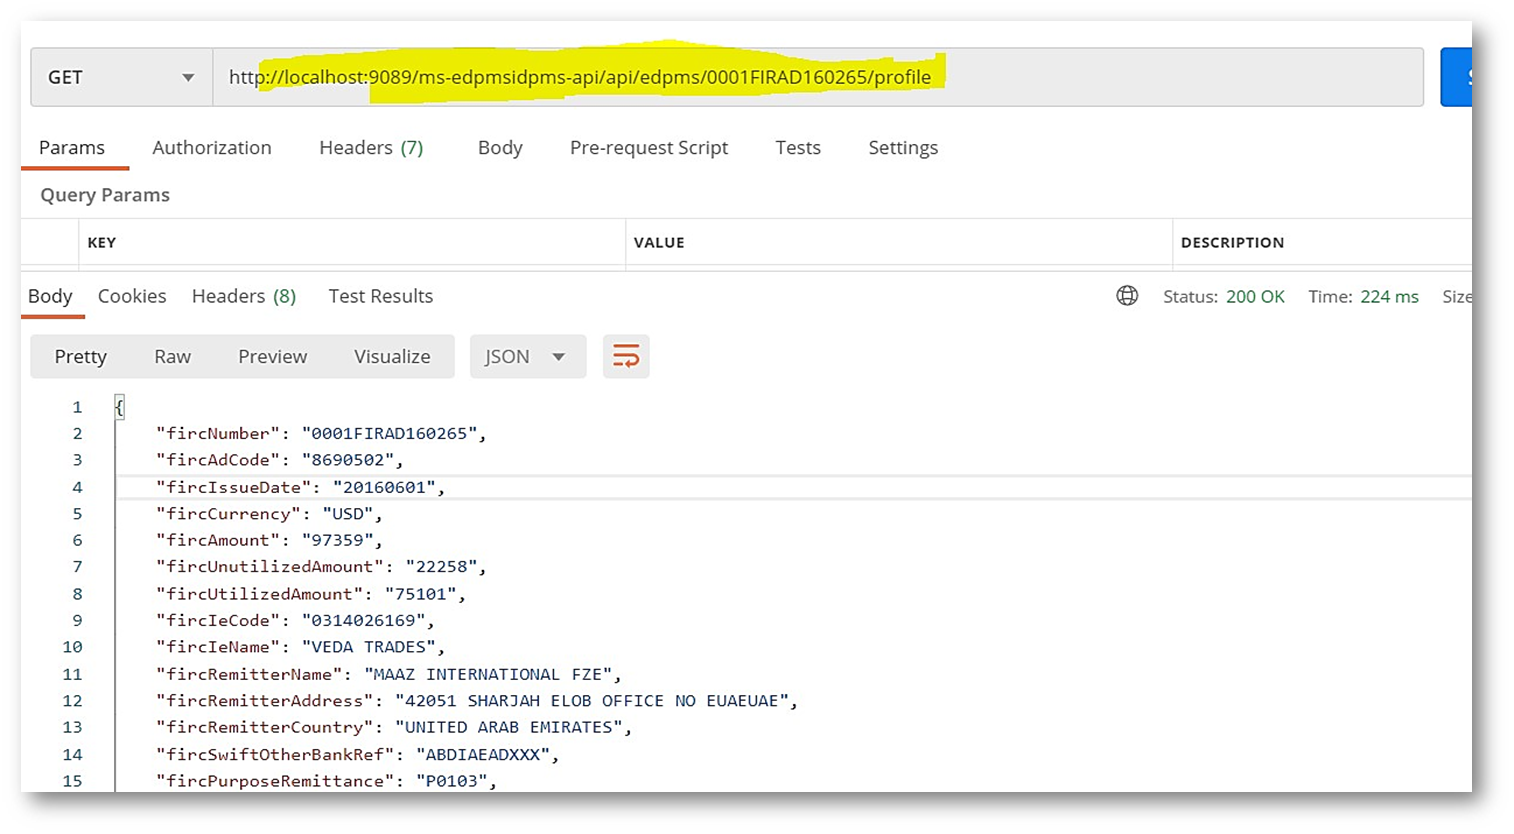
- The data from the MS DB can be viewed or verified through the postman tool or else, in the configured oracle DB.
- The URL’s are as follows:
- Edpms: http://{hostname:port}/ms-edpmsidpms-api/api/edpms/{fircId}/profile
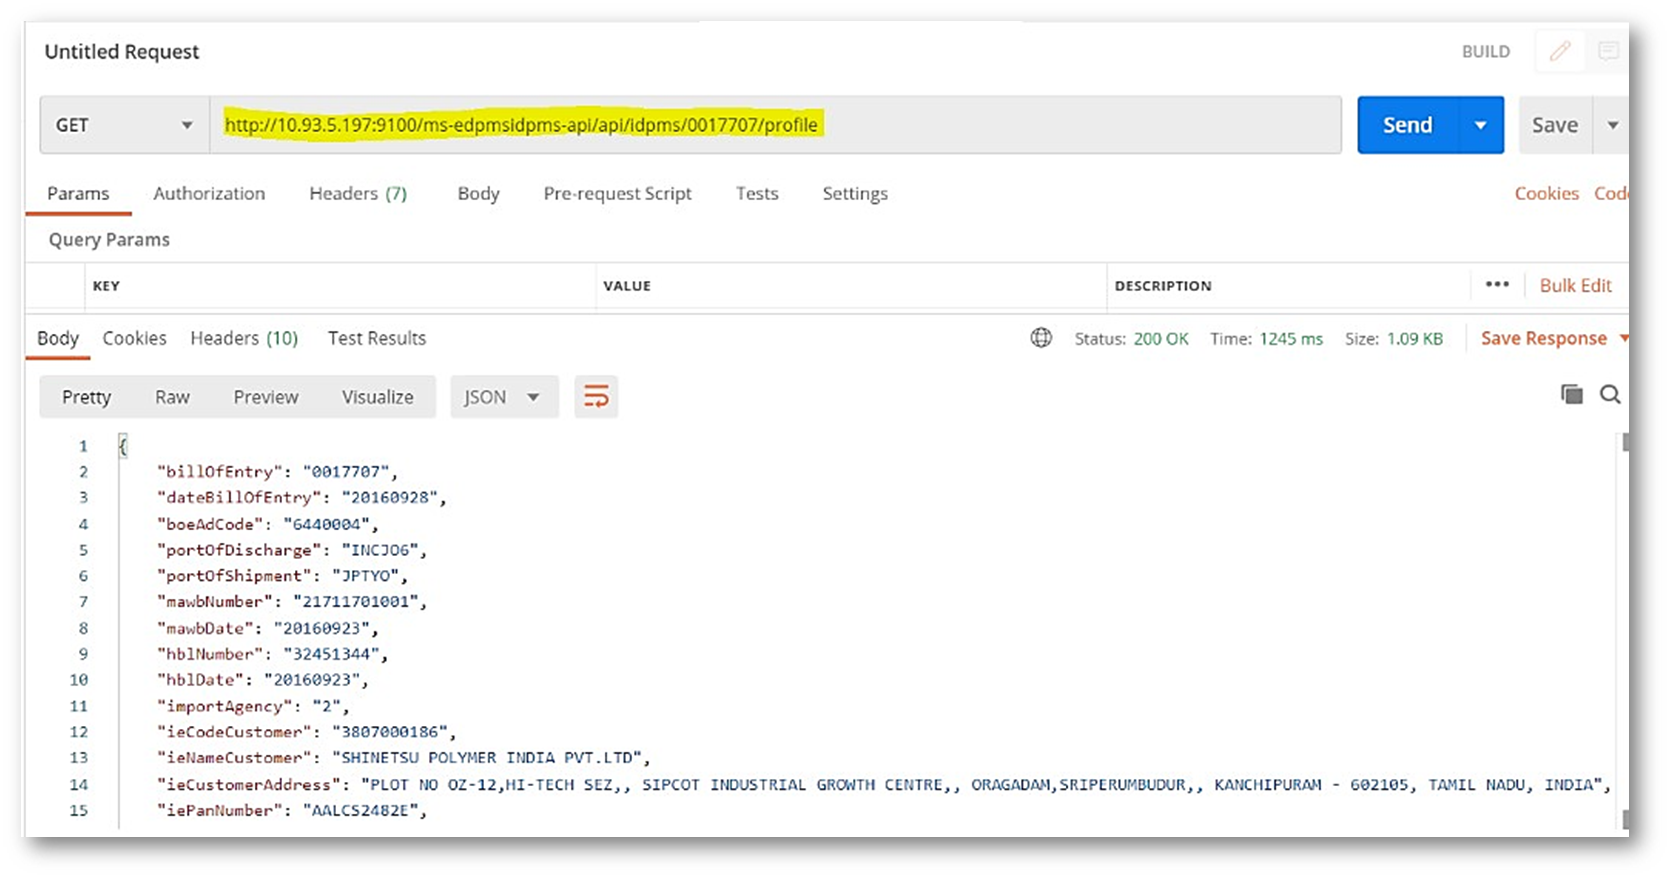
- Idpms: http://{hostname:port}/ms-edpmsidpms-api/api/idpms/{billofEntry}/profile
- The Edmps data is displayed below.
- The Idmps data is displayed below.
Web Sphere Connectivity
Follow the instructions below to create the .bindings file in MQ.
- Create an empty folder (for example, C:\MQJMSBindings) on the computer where the IBM WebSphere MQ application is installed.
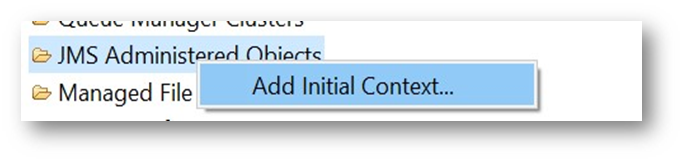
- On the IBM WebSphere MQ application Explorer page, drill down to IBM WebSphere MQ > JMS Administered Objects.
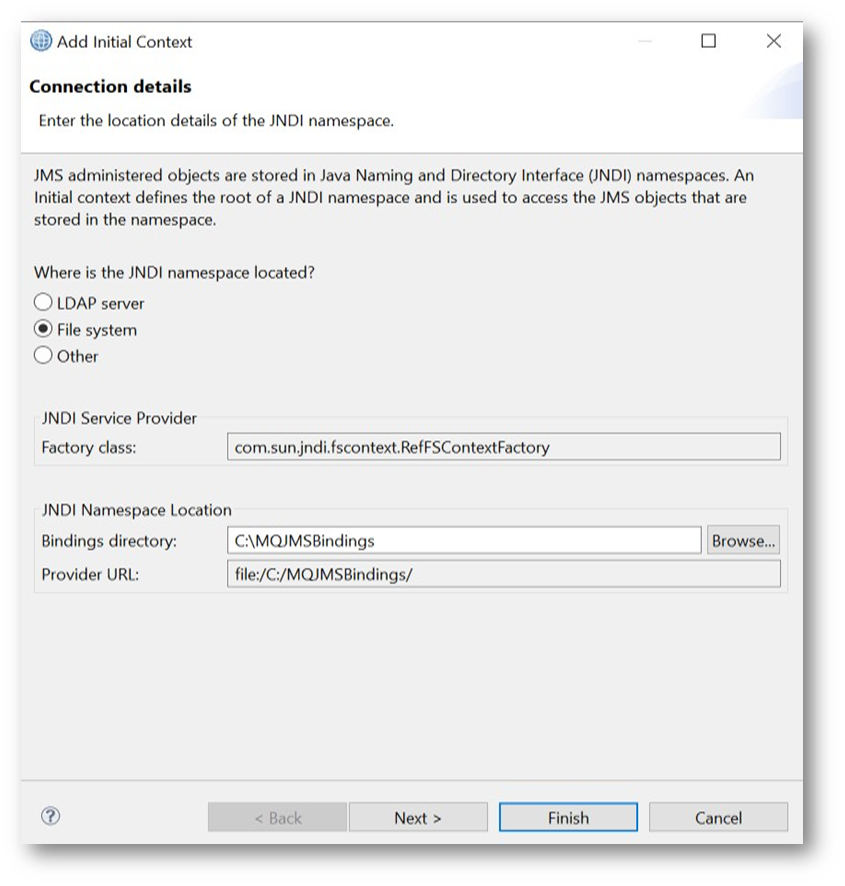
- To create the default bindings file, right-click on JMS Administered Objects, select Add Initial Context.
- Select the File system option and for the Bindings directory point to the created empty folder. Click on the Next button.
- Give a nickname for the connection factory and click on the Finish button.

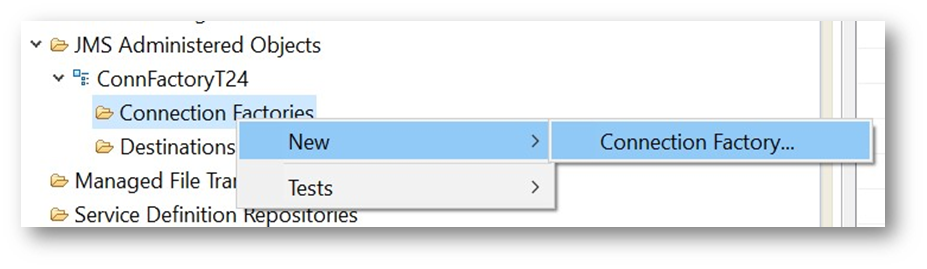
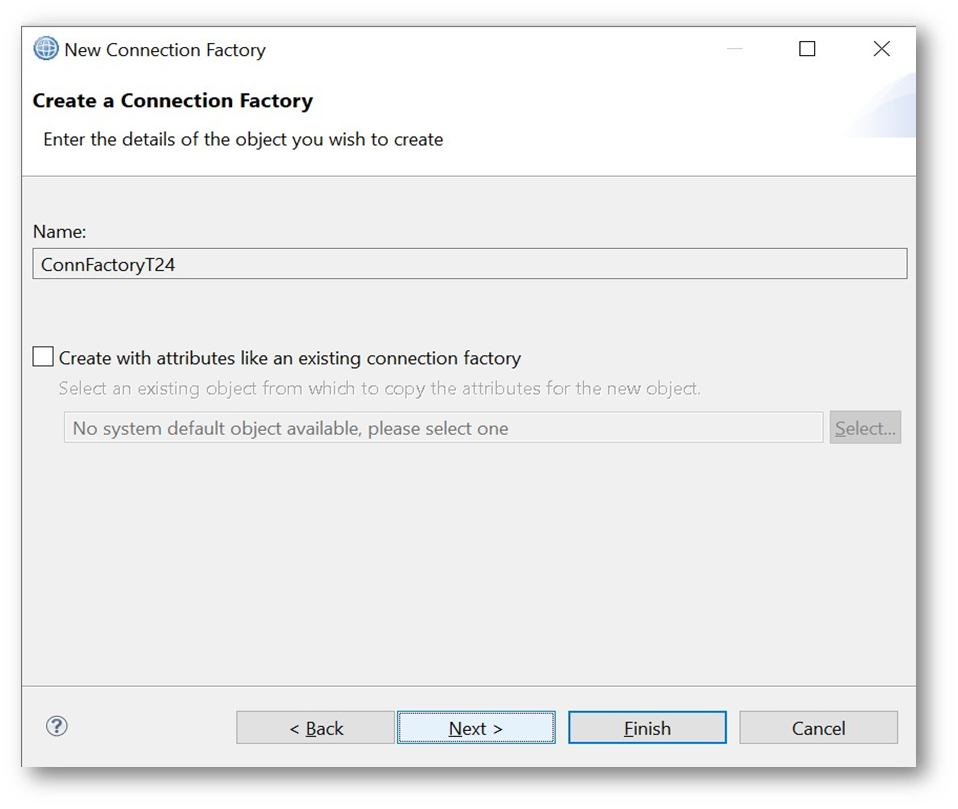
- Under the created connection factory nickname, right click on Connection Factories>New>Connection Factory.
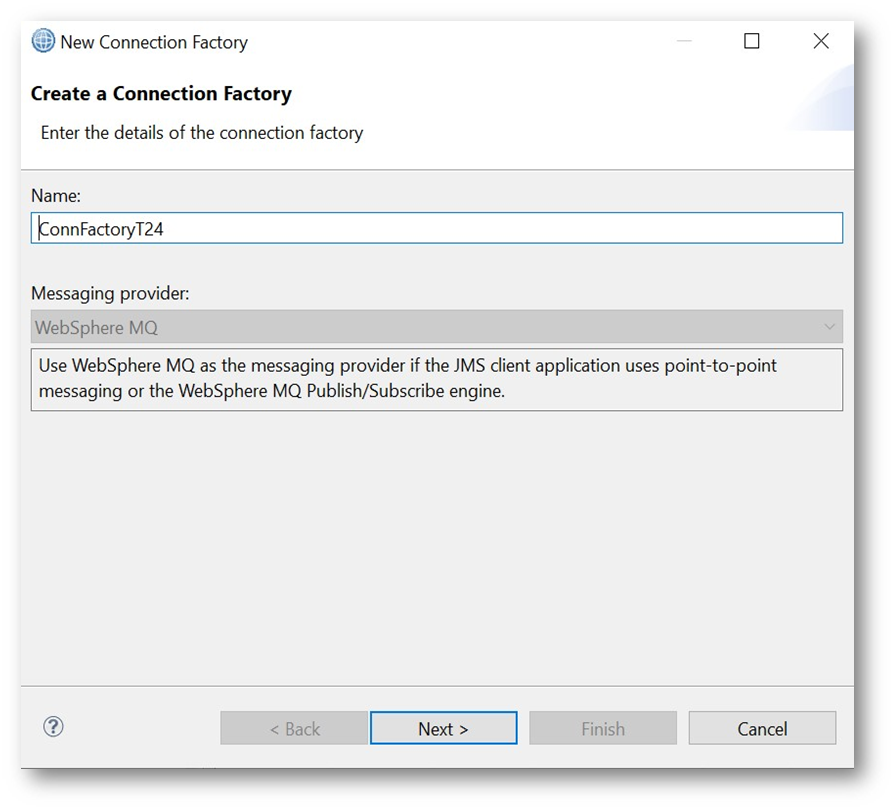
- Give the connection factory name. Can be the same or different from the nickname. Click on the Next button.
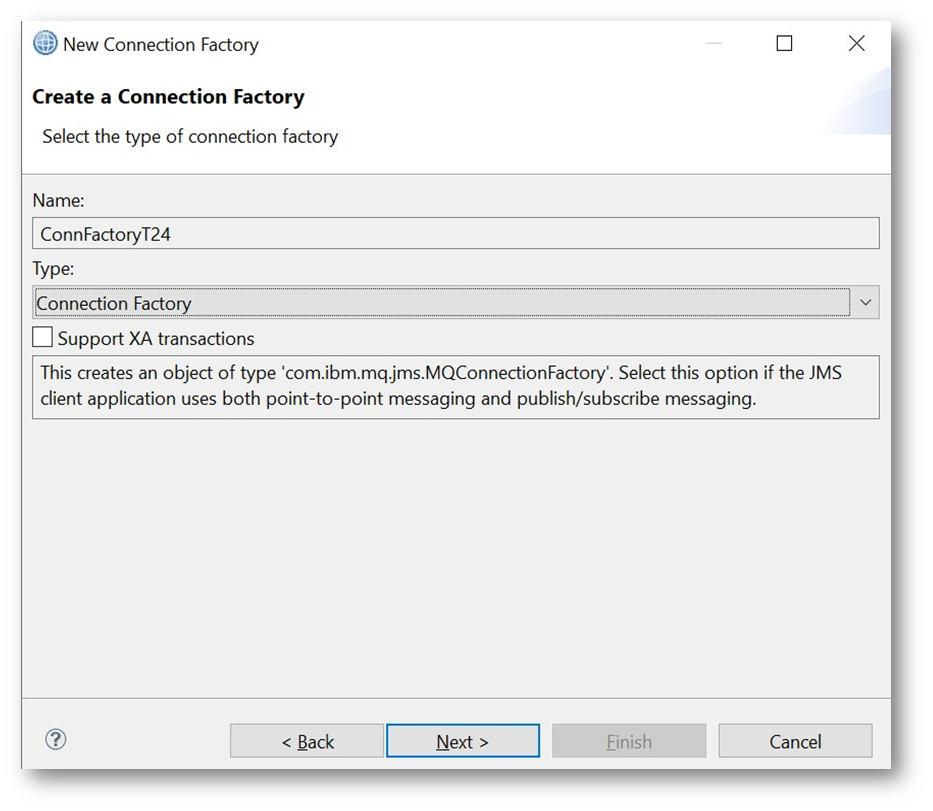
- Ensure that the Type is Connection Factory. Click on the Next button.
- Ensure that the Transport is MQ Client. Click on the Next button.

- Click on the Next button.
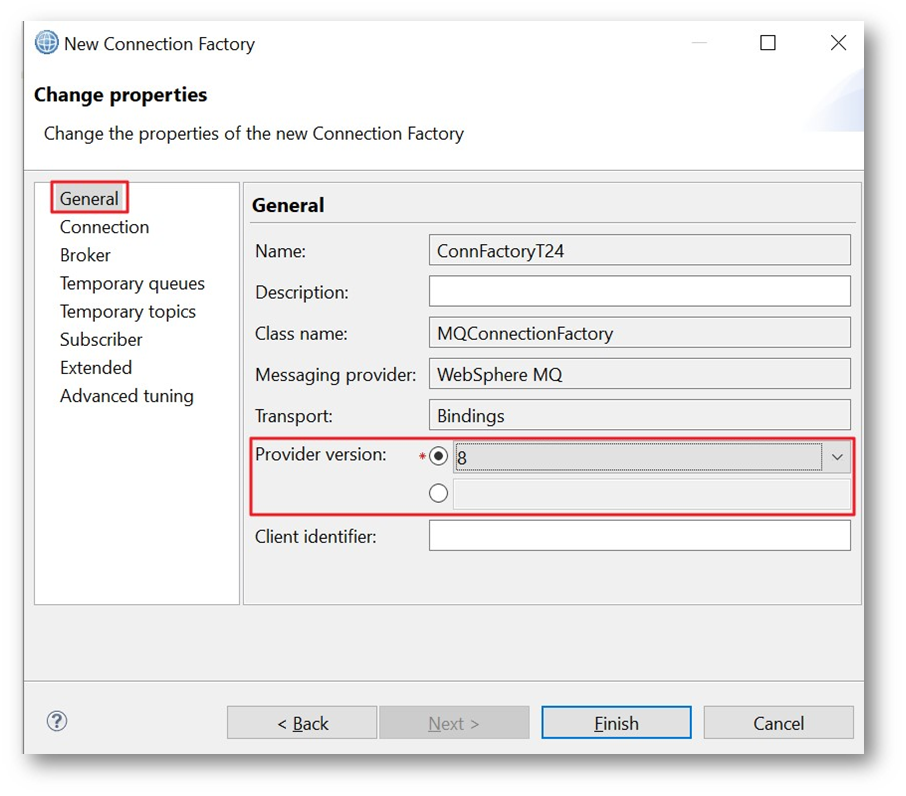
- Give the Provider version in the General tab, for example, MQ version.
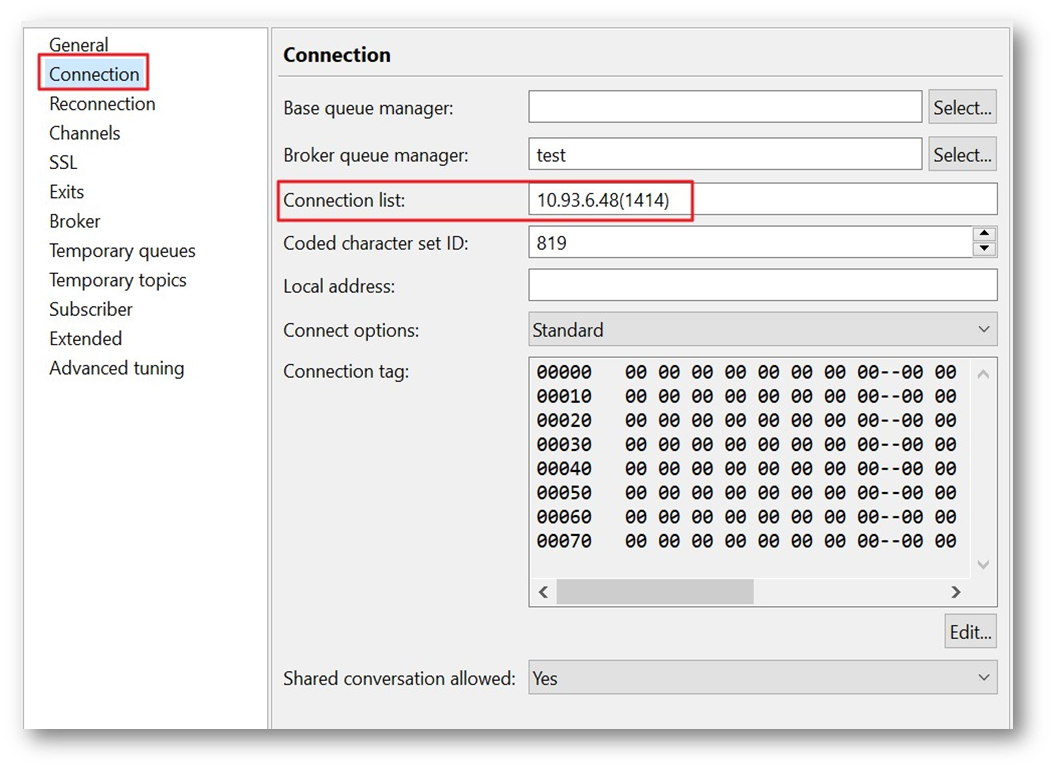
- For the IBM MQ Server IP and port, in the Connection tab, in the Connection list field, input the server IP and listener port in parenthesis, as per below.
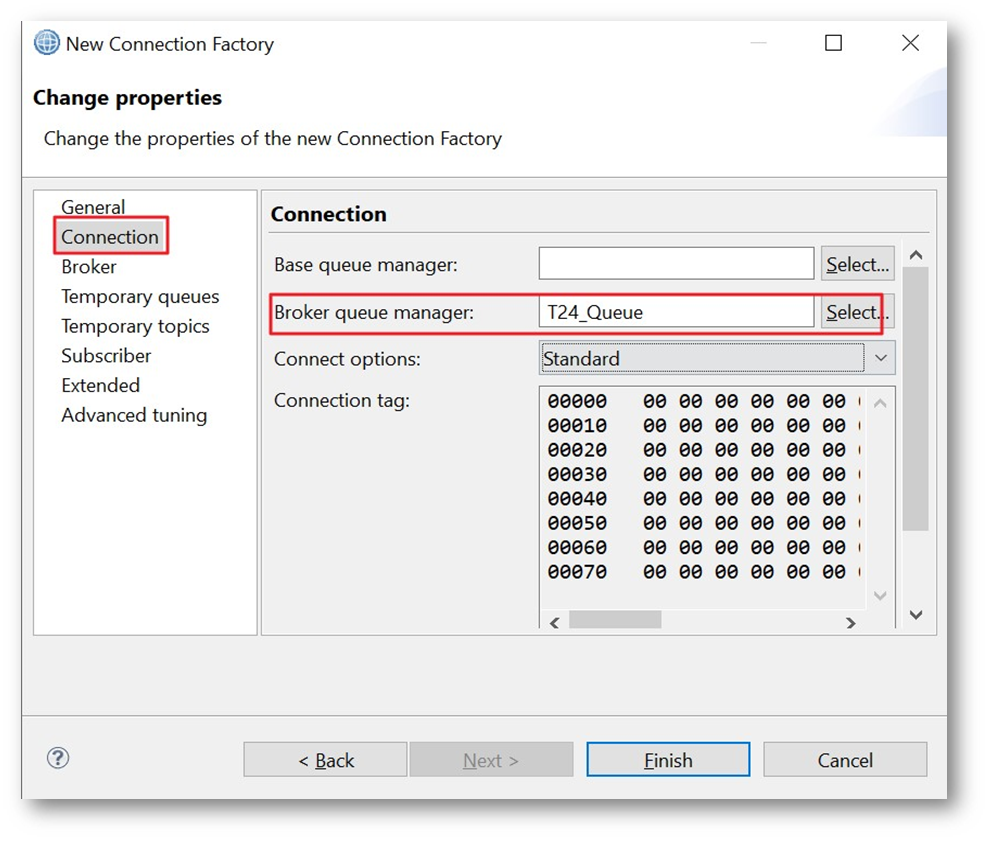
- For the IBM MQ Queue manager name, in the Connection tab, give the Broker queue manager name, as per below.
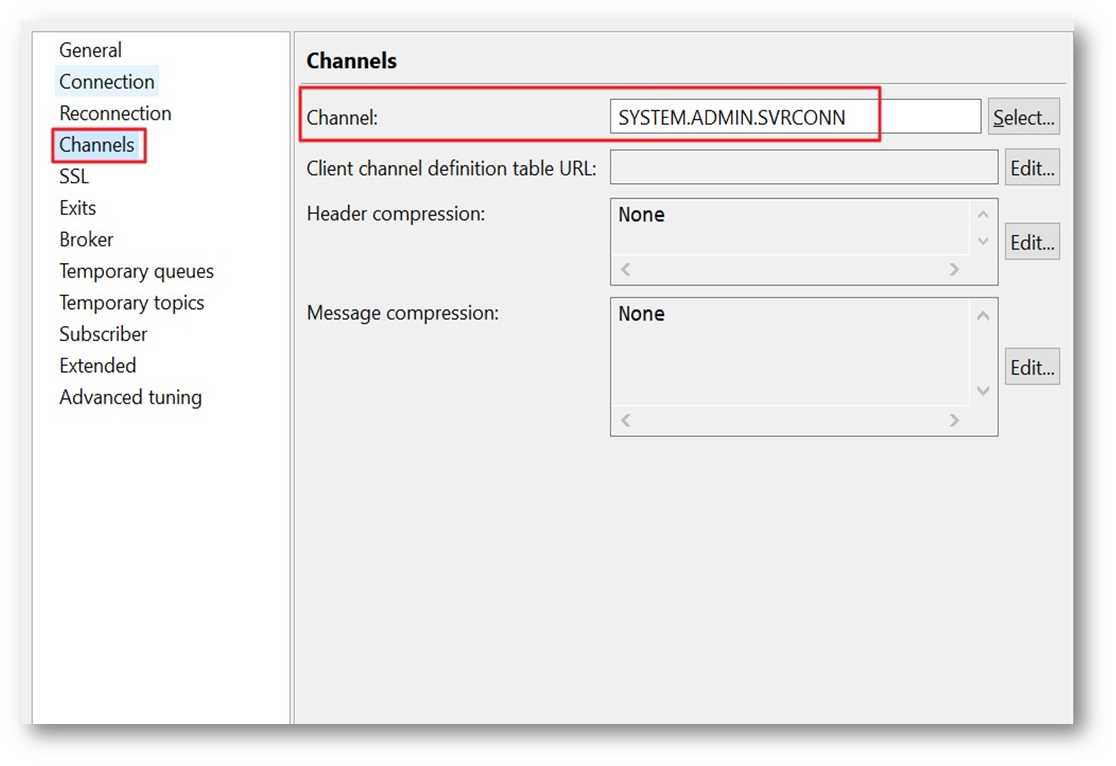
- For the IBM MQ Channel name, in the Channels tab, give the Channel name, as per below.
- Click on the Finish button.
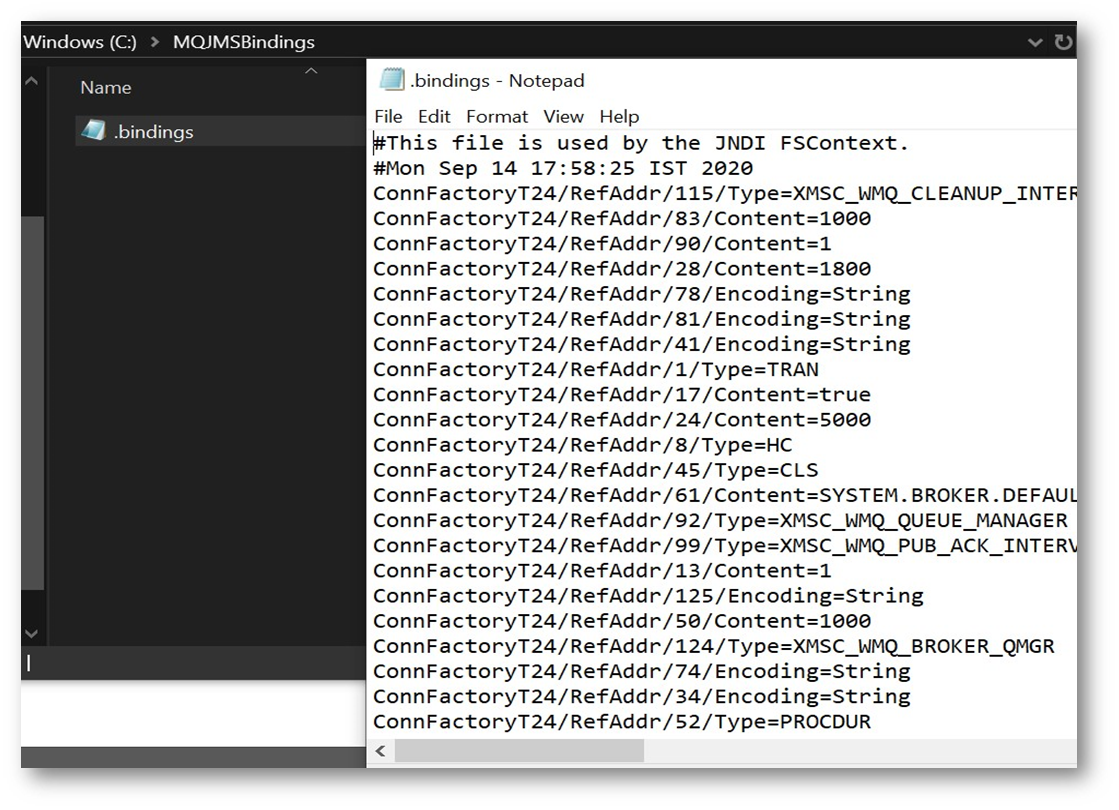
- The .bindings file is created in the folder as per below.
In this topic